OP
Runner
Elite Member
- Joined
- May 12, 2007
- Messages
- 4,284
- Location
- Missouri
- Tractor
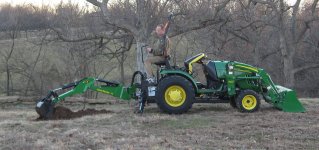
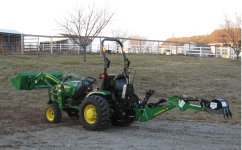
- 2024 Cub Cadet Ultima ZTXS5 54, 2007 John Deere 2520, 1989 John Deere 185, 1960 Panzer T70B
It's 60 degrees here in Kansas City today, so I'm planning on trying it out this afternoon. First job, after intial familiarization run, will be to take out a couple of stumps and rocks.
Hopefully, I won't do anything too stupid during the learning process...
Hopefully, I won't do anything too stupid during the learning process...