EddieWalker
Epic Contributor
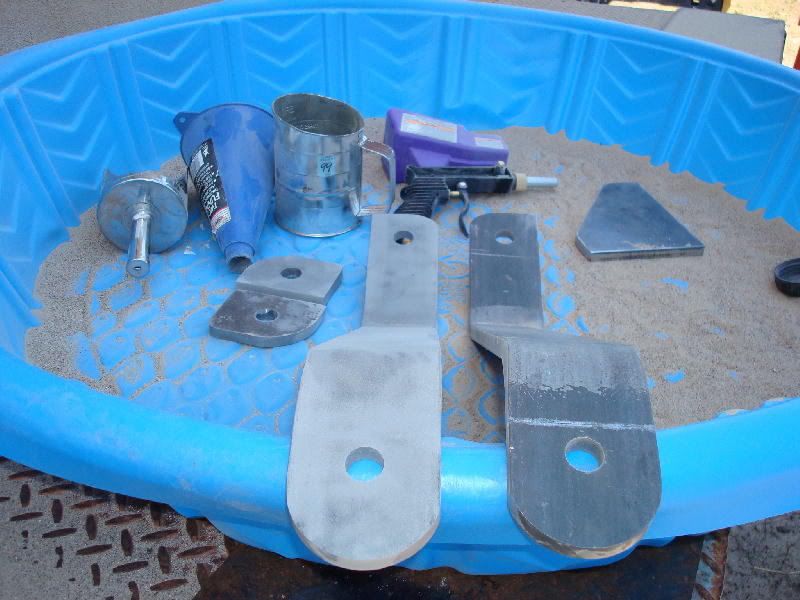
I painted my rake with a can of Rustoleum Primer and paint. They have the cheap stuff and their premium brand. Cost is about double for the premium spray paints, but still well under $20 for both. I didn't spent much time prepping my rake, I just cleaned it up a little and sprayed it.
It spends all day outside in the elements and a year later, it still looks great. If it starts to rust or have some issues, I can just sand it down and spray it again. With all the damage that it goes through, spending allot of money on the finish didn't make any sense to me.
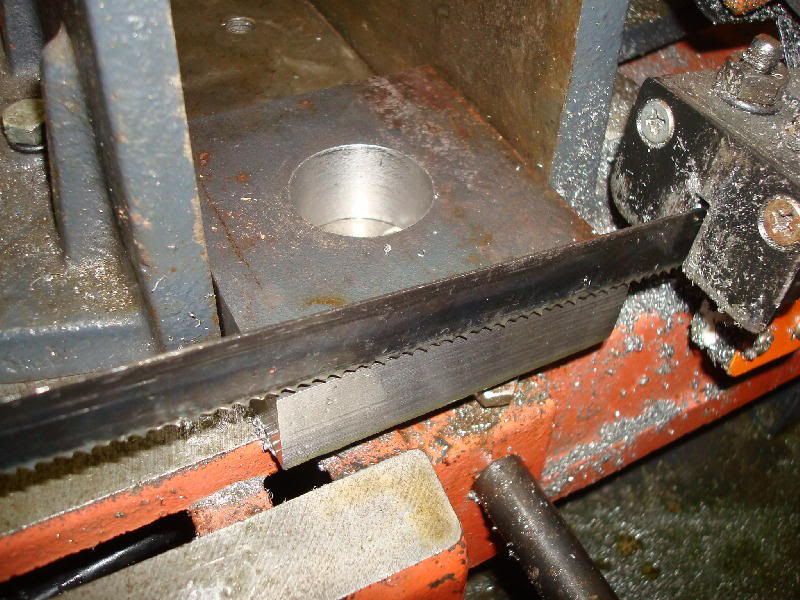
I've broken two tines so far. When they break, they go a flying!!!!!! The first one I saw fly off, the second one I found on the ground when I got to that area. I had no idea it had broken off until I found it.
Eddie
It spends all day outside in the elements and a year later, it still looks great. If it starts to rust or have some issues, I can just sand it down and spray it again. With all the damage that it goes through, spending allot of money on the finish didn't make any sense to me.
I've broken two tines so far. When they break, they go a flying!!!!!! The first one I saw fly off, the second one I found on the ground when I got to that area. I had no idea it had broken off until I found it.
Eddie
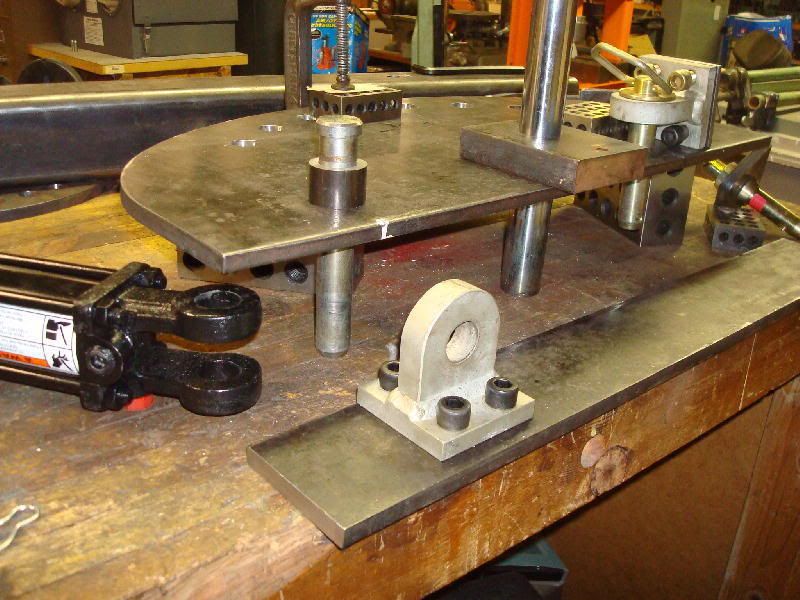
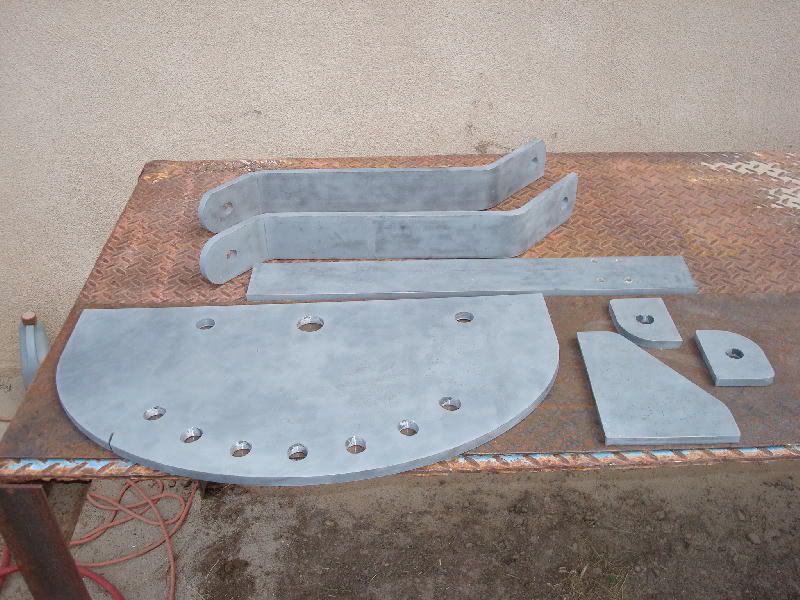
 I guess it's all relative. After that, I vowed to never take on jobs like that again. If your really serious about wanting "several" of these, PM me to work out the details offline. Hope your not wanting them before I finish my rake!