Shield Arc
Super Member
Here you go.What is spray mig?
Mig Welding - Short Arc and Spray Transfer - Welding Resources and Tips
Sure didn't mean to be, he is very good! I do understand that is some cases, like automotive work people go for that look. I'd really like to hear a CWI opinion of his welds.Man you guys are rough on ZTFab. Yes the subject always comes down to strength. But you have to consider the simple heading of this thread and ZTFab fit in. You also have to consider what different people do for a living as welders. As a pipe welder it is all based on strength and integrity. But as a fabricator it is also important to have knoledge of many things more that welding.
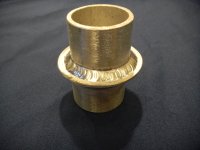
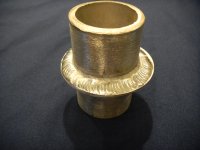
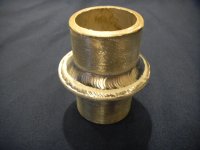
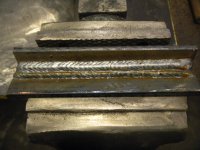
The thread is "Lets see your welds" thats all.
Chris
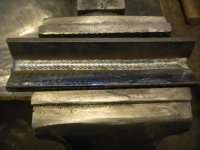
As I understand the MIG process difference between short circuit (globular transfer)and spray is more or less, you just keep cranking the amps till the wire no longer pulses. By pulses, I mean that this is where it contacts the weldment, melts the short wire section between the weldment and contact tip which turns to a molten globule that then transfer into the weld puddle due to polar attraction. In spray arc, the amps are so high that the wire becomes a constant arc and vaporizes into a spray that is transferred to the weld puddle which pretty much eliminates any possibility of cold lap and makes for a very smooth weld with very, very small ripples. Unfortunately, this is too many amps to run root passes with on open butt and without rolling it like a subarc, it is too hot to fill with. This then lead to the pulsed arc that can use higher current but still allow it to cool between pulses similar to the short circuit method (supposedly if you believe the hype from Miller and Lincoln)
Gary I think it's more of really cranking the volts up. I used C10, I understand with 98% Argon and 2% oxygen you don't need as many volts to hit spray arc.
")