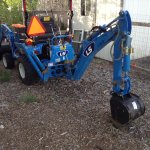
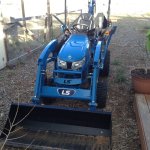
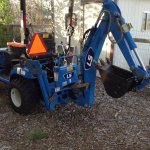
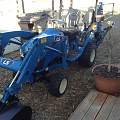
I have found that taking the mower on and off is the most work. BH and FEL are very easy. The first time I took off the BH I did not put anything under it and it sank to the ground, but it was not a problem getting it back on as the hoses were long enough.
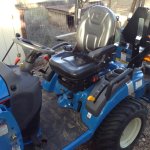
I started asking about the HST pedal linkage on the buying post, but thought that discussion should be here. Pushing the forward pedal down was starting to really go slow. It stops fine when the pedals are released, so I didn't adjust the neutral lever or switch. I finally got the time to crawl under it with a wrench and made some progress, but still think it is not right.
View attachment 512729 I can't find a digital version of the manual, so I attached a picture of page 5-13. I adjusted the rod marked 6 after loosening the bolt 5. The bolt was on the forward side of the rod unlike the picture. This allowed the forward pedal to engage earlier when depressed, but then the reverse didn't engage. I adjusted reverse stopper bolt marked 9. What am I missing?