OldeEnglish
New member
Yep - That's right where we started 4 pages back - red, orange & blue = same = same = same.
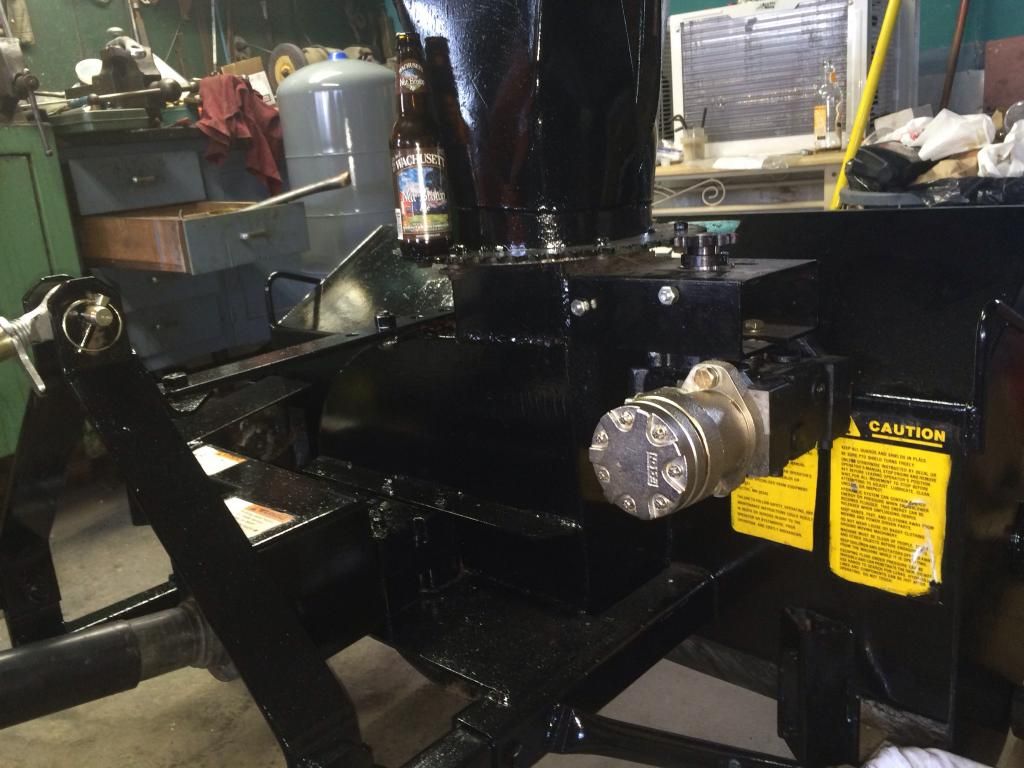
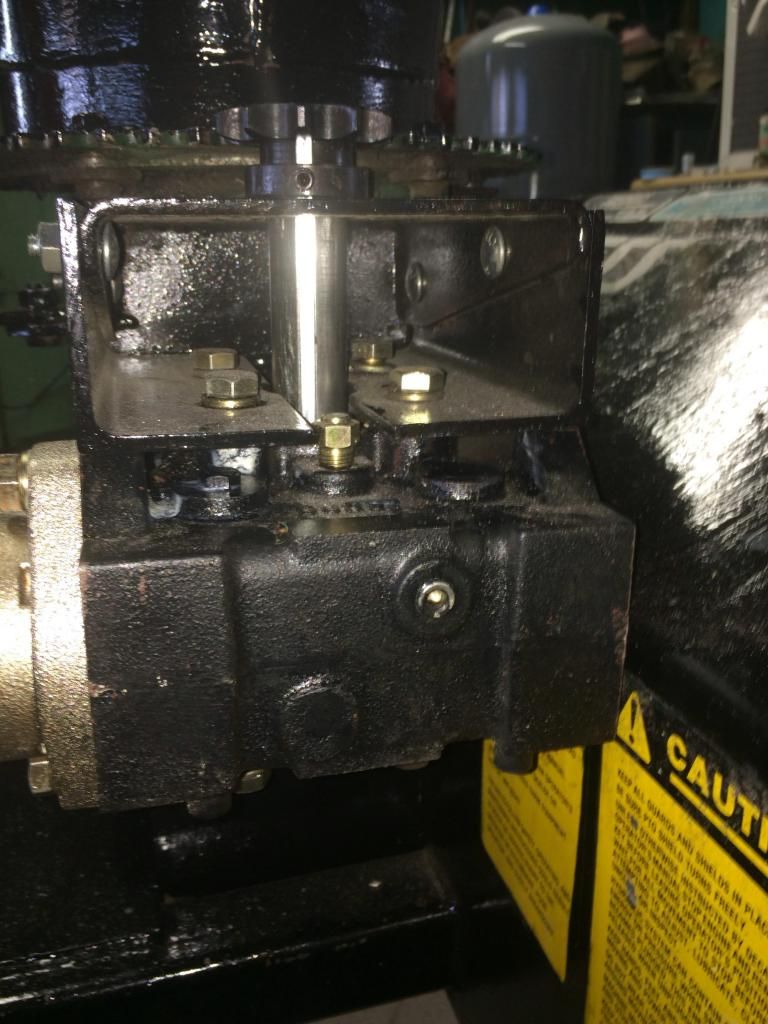
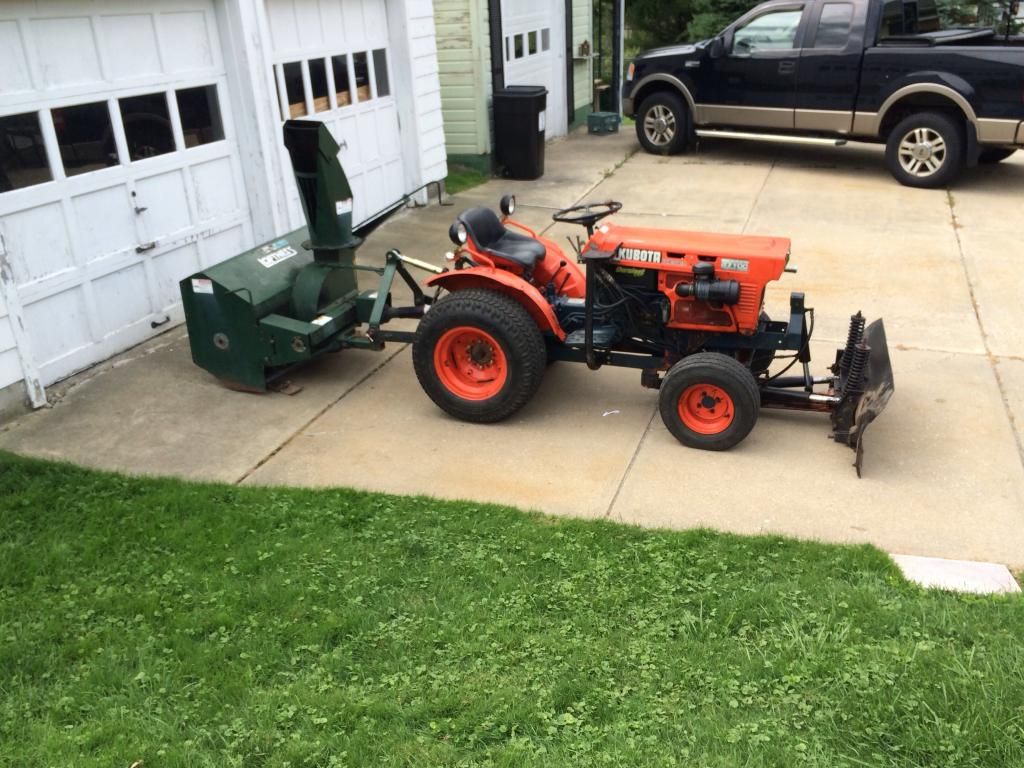
Just to follow up: a while back, I a bought hydraulic rotation kit for a Cub Cadet/Yanmar blower
I used only the motor, hoses (w/needle valve flow restricters ),and the motor gear.
All I had to change was the hose ends from Male to Female for my FEL control
The motor bolted perfectly to my Kubota BX5450 - works like a charm.
While it's not as warm as my former plow truck, it does a way better job..... and no more stacking.
View attachment 413953 View attachment 413955 View attachment 413954
Nice job! How fast does the chute spin? I built one for my Loftness blower and I have it dialed in for 9 second 180 deg turn. I find it a bit slow when turning the full 180 but when blowing it is the perfect speed to put the snow exactly where I want it. Sure beats cranking by hand!
I ended up using a low speed hydraulic motor into a 10:1 gear reducer. Worked out well, it's a bit over kill but prevents any force from creating excess pressure inside the motor. Plus it gave me a way to mount everything with a few pieces of angle iron. Everything cost me $150 less then the kit from Loftness that didn't even include the hoses, that includes a new spool to operate everything.