mudcat
Platinum Member
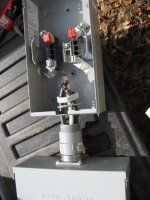
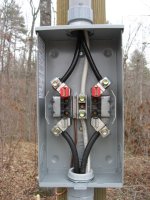
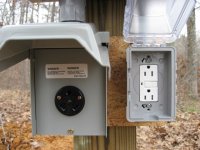
And FIRST PRIZE goes to............Obed. Congradulations Sir, You just received the TBN "OVER ENGINEERING" Award. What are you going to do now?
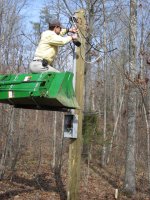
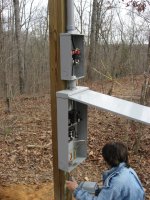
It looks good. Overbuilt, yes. Who cares, From what I see you are having a blast. Keep up the good work!
It looks good. Overbuilt, yes. Who cares, From what I see you are having a blast.
Keep up the good work!