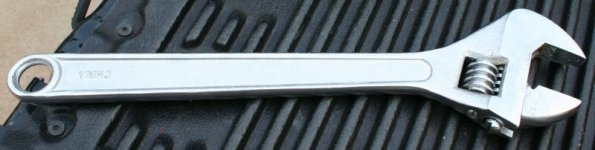
I got the wrench and it worked like a charm. I would guess it took somewhere between 100-150 lbs to get them loose. I didn't use a cheater and I didn't put all my weight on it.
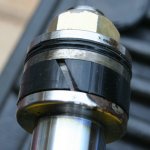
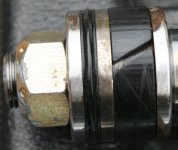
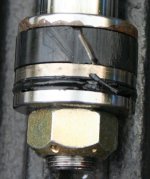
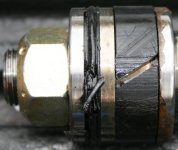
I have the cylinders apart and I'll probably put them back together tomorrow or Saturday. I have attached some pics of the broken seals. It's easy to see what the problem was. I think the small frayed seal in cylinder 2 was what was causing the initial slow leak down and the split larger seals in both cylinders are what happened this past weekend when the bucket would stay up at all.
One question I have is when I removed the caps, it looked like there was either some pipe thread sealer or some sort of Loctite on the threads. I don't have a picture of the cap threads, but the white stuff on the seals in one of the pictures is what I'm talking about. Does anyone know what this is? Do I need to put thread sealer or Loctite on the cap threads when I put it back together?