opalko
Member
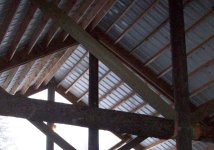
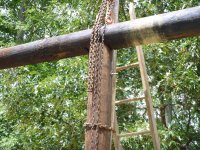
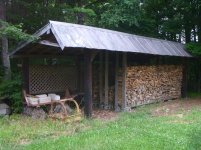
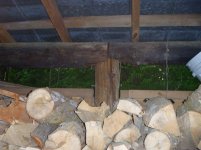
I have finally started work on a small (16x30) tractor & implement shed, single pitch shed roof. This will be made with post & beam construction but with round poles (they were free). My question for you all is what is the best method to attach the top plates / girts to these round poles. I have seen pictures of circular nailing spike grids in pole barn construction books (like these), but my local building supply places have never heard of them..! What is the next best way? I have also seen pictures of people using a chainsaw to notch out a place for the girts but it would appear if you did this on the top of the pole, and on both sides, it would significantly weaken the pole...? Lag bolts? Carriage bolts?
Thanks for ideas & help.
Robert
Thanks for ideas & help.
Robert
") The girts are really just to hang the siding and help hold the post into position, square etc, but the headers at the top of the poles hold the weight of the roof structure and any live load. Bolt and cleat the headers and if you like liquidnails go head i've used it but i think it's over kill.
The girts are really just to hang the siding and help hold the post into position, square etc, but the headers at the top of the poles hold the weight of the roof structure and any live load. Bolt and cleat the headers and if you like liquidnails go head i've used it but i think it's over kill.