LanceH
Silver Member
Hey everyone. I wasn't sure between the "build it yourself" or "attachments" forum was the right place to post this but this seemed more fitting since i'm making it myself.
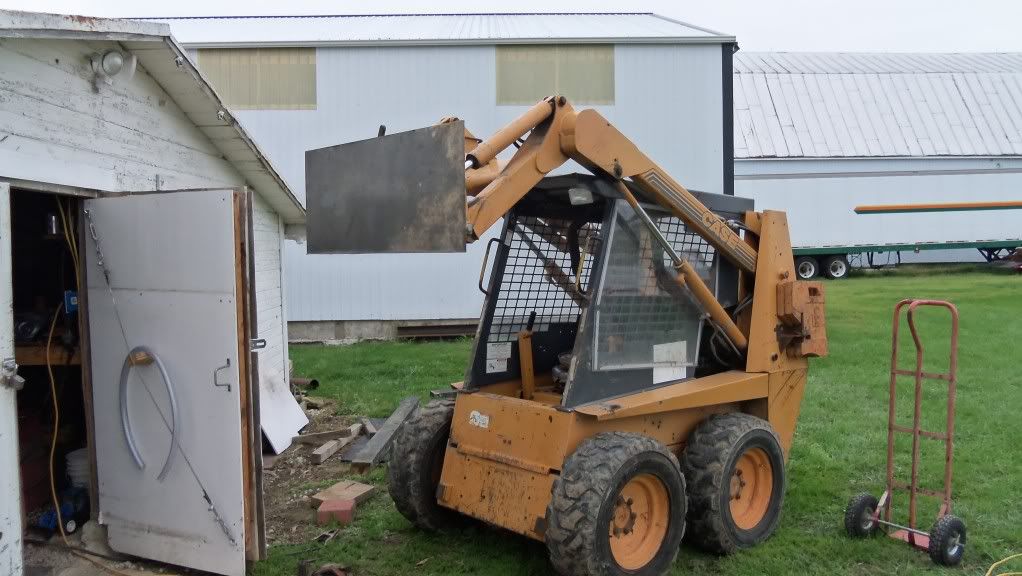
My father in law has a Case skid steer, model 1838, that he recently bought to help load wood from his tree jobs. It came with a regular bucket, two sets of forks, and a clam style bucket. The clam bucket doesnt really work that well in 'grabbing' chunks or stick of wood and loading it so i'm helping him build two additional attachments for the skid loader-a grapple and a log splitter.
Since he needs the log splitter sooner than the grapple, we started it this weekend. I'll post some pictures below and comment some more through the week when i'm at work.
He wants the cylinder and wedge to be on the bottom so the operator doesn't need to leave the cab to split up the big wood. I think his plan is to use this to quarter or halve up the monster pieces and then use his little Piqua built Lickety Splitter to process them down to normal size splits. If it were mine, I'd put the cylinder and wedge on top and just use a normal valve and do all the splitting with this single attachment-but I'm building it for him so I'll do like he wants.
One question on the hydraulic quick connections...I'm going with JIC 10F swivel fittings from Surplus Center but I dont know what kind of quick couplers I need to make the connections. Am i better to call the sales people at Surplus Center or should i remove the fittings and take them into the local TSC where i can physically try to mate it up to the other half?
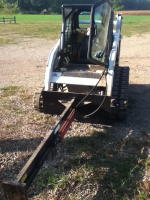
Enough typing,,,here are some pictures of it tacked together:
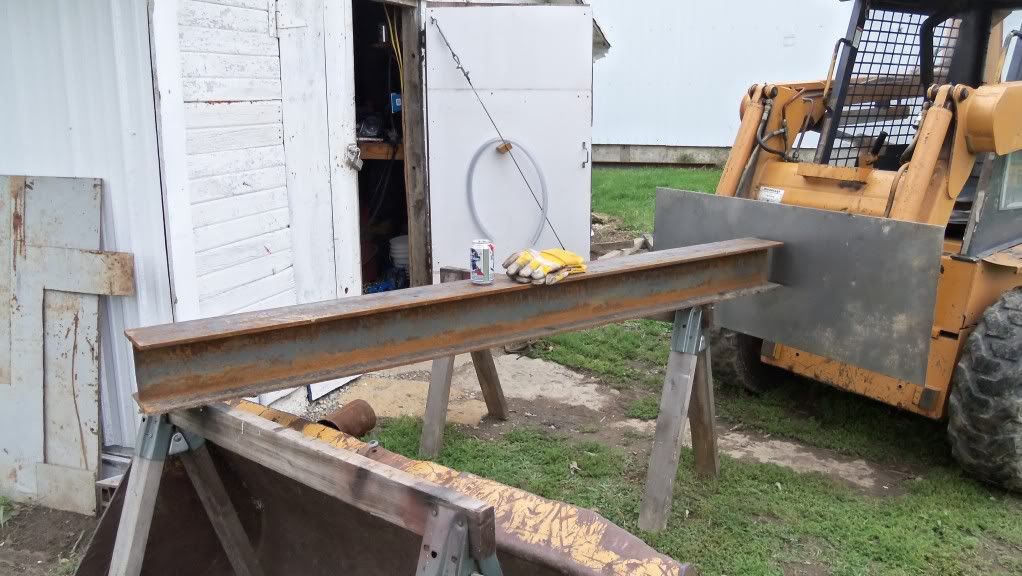
All the plate steel is cut from a sheet of 3/8" flat plate from the local scrap yard.
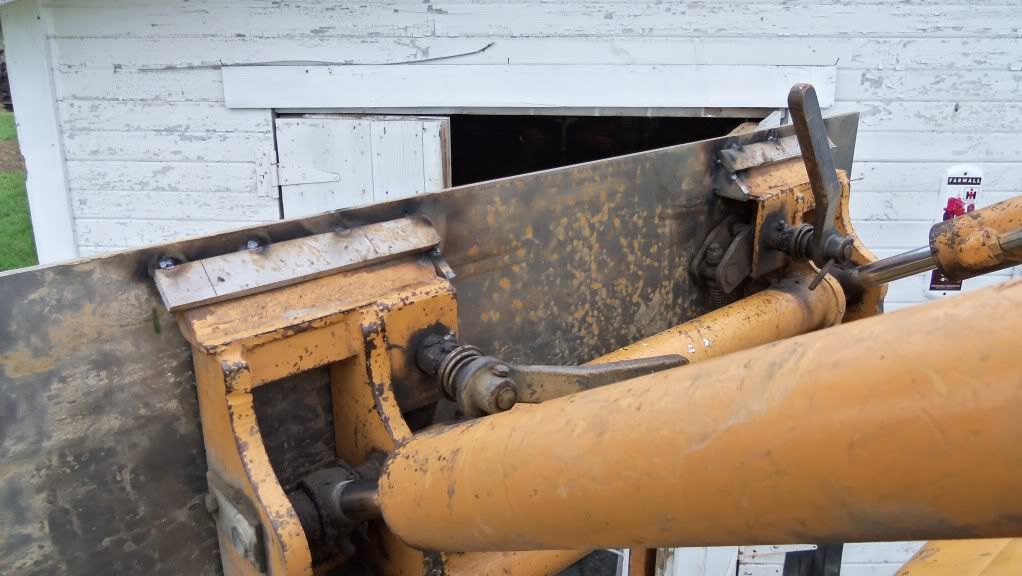
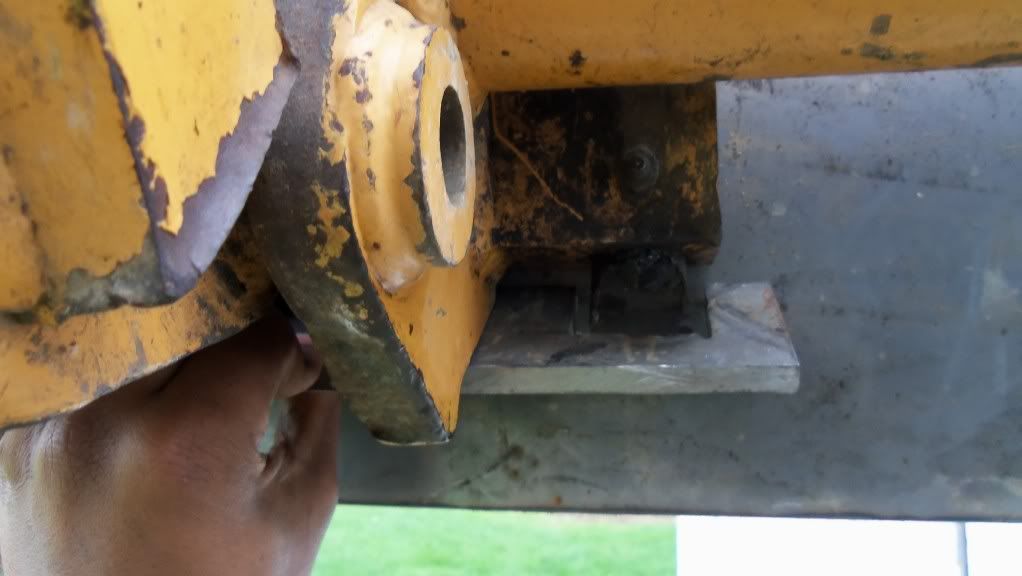
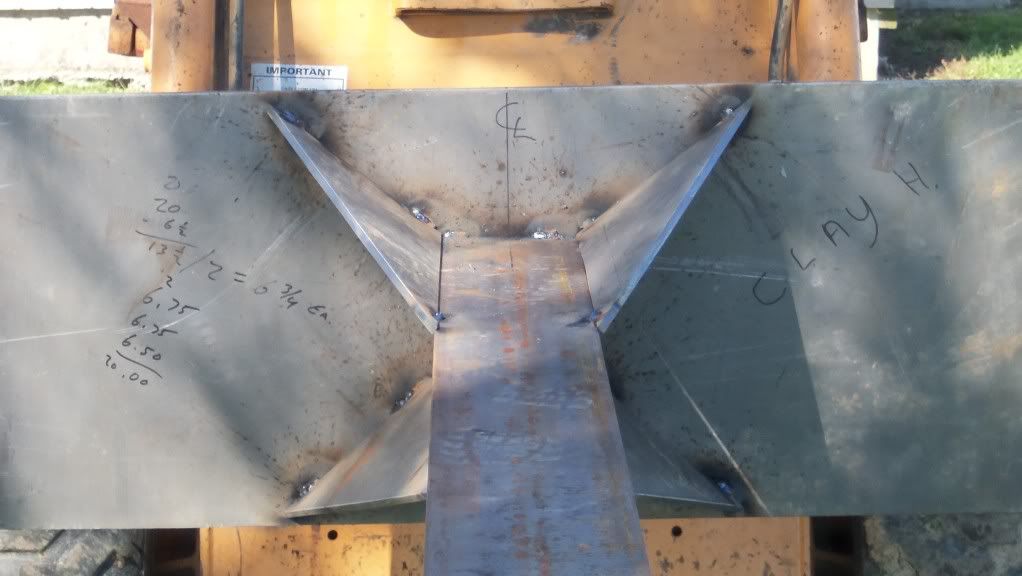
The pic below is the pieces that the pins slide down into at the bottom of the attachment plate. I cut the square holes a little deeper because his bucket doesnt release right...you have to get under it and tap the pins up with a hammer.
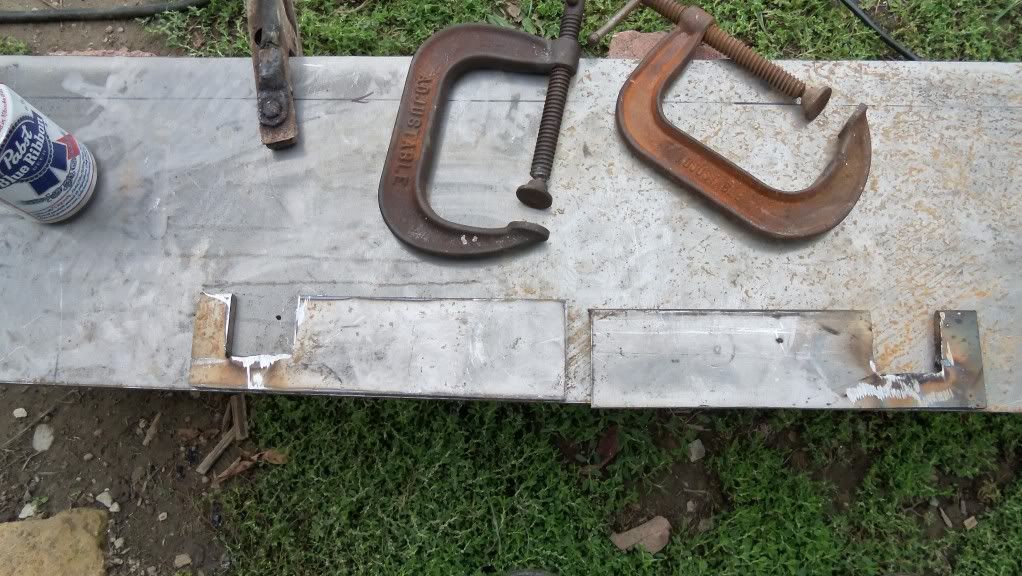
In the picture below, i left about a 1/4" gap down at the bottom.
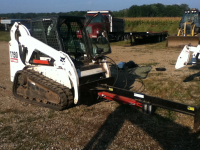
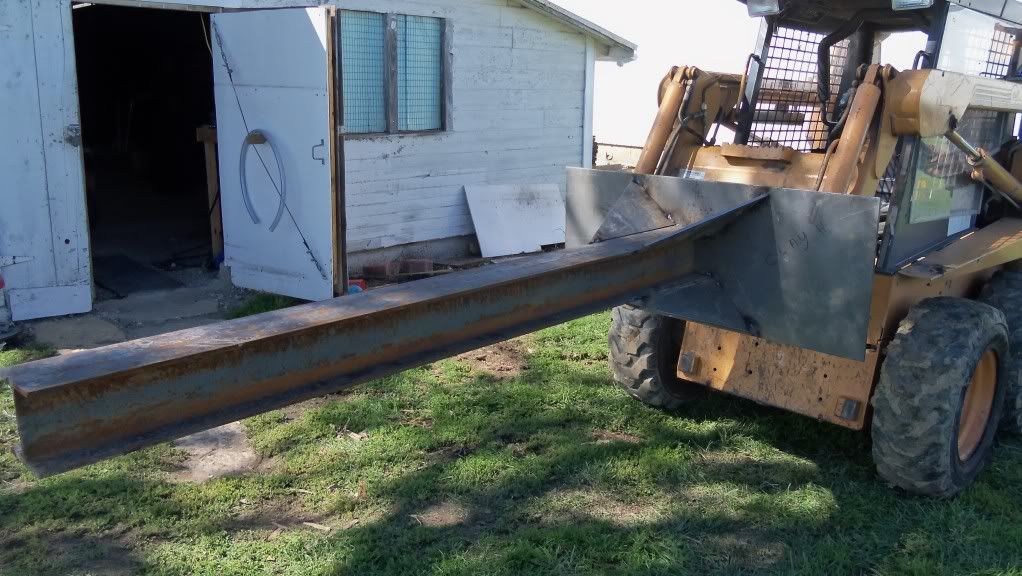
The plate tack welded together supporting its own weight:
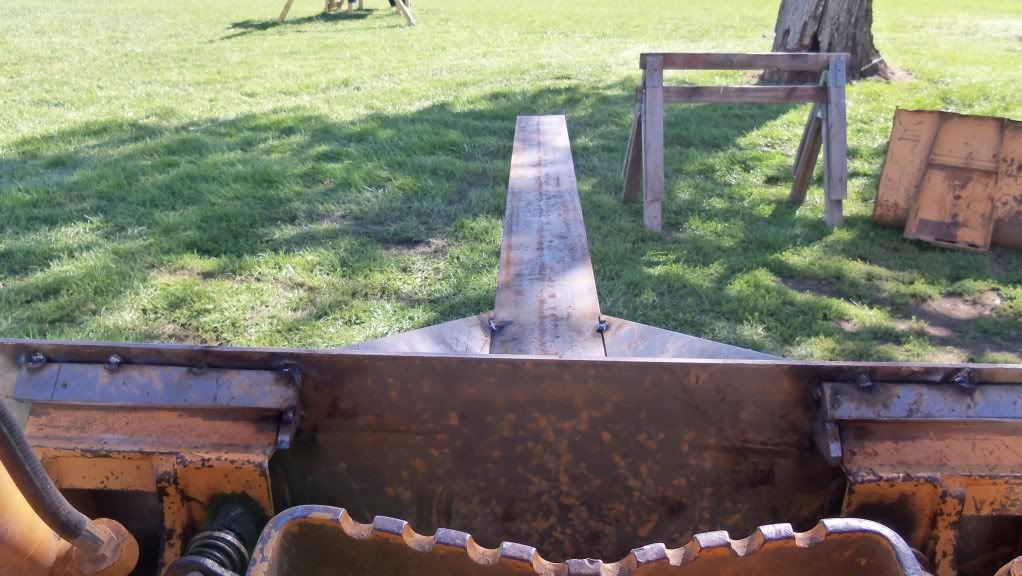
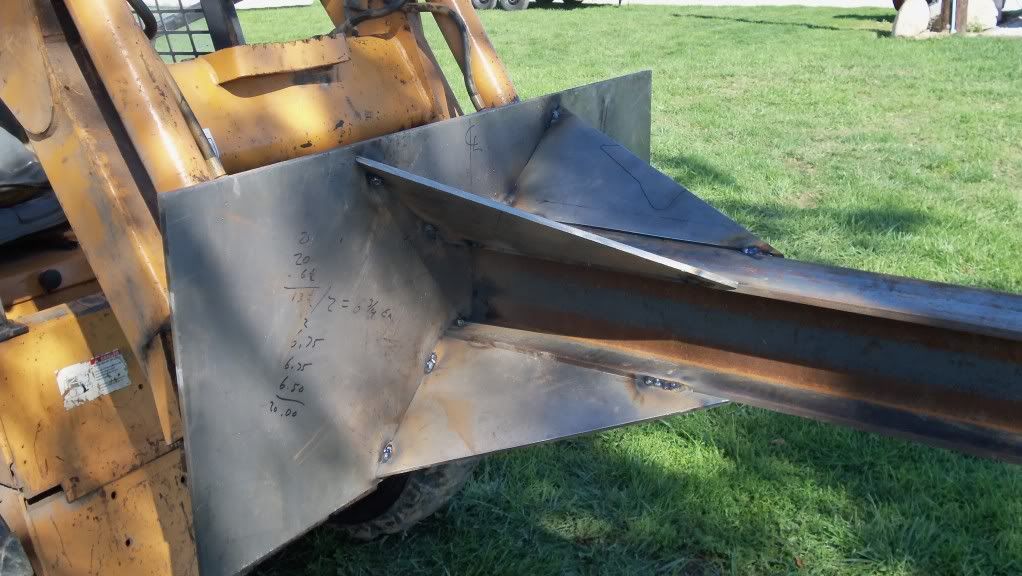
And finally the gussets or braces tacked to the beam and plate:
I'm ordering the wedge tonight off of ebay and will try to get the push plate and anchor block fabbed up this week and will then have a guy at work do the final welds next week.
My father in law has a Case skid steer, model 1838, that he recently bought to help load wood from his tree jobs. It came with a regular bucket, two sets of forks, and a clam style bucket. The clam bucket doesnt really work that well in 'grabbing' chunks or stick of wood and loading it so i'm helping him build two additional attachments for the skid loader-a grapple and a log splitter.
Since he needs the log splitter sooner than the grapple, we started it this weekend. I'll post some pictures below and comment some more through the week when i'm at work.
He wants the cylinder and wedge to be on the bottom so the operator doesn't need to leave the cab to split up the big wood. I think his plan is to use this to quarter or halve up the monster pieces and then use his little Piqua built Lickety Splitter to process them down to normal size splits. If it were mine, I'd put the cylinder and wedge on top and just use a normal valve and do all the splitting with this single attachment-but I'm building it for him so I'll do like he wants.
One question on the hydraulic quick connections...I'm going with JIC 10F swivel fittings from Surplus Center but I dont know what kind of quick couplers I need to make the connections. Am i better to call the sales people at Surplus Center or should i remove the fittings and take them into the local TSC where i can physically try to mate it up to the other half?
Enough typing,,,here are some pictures of it tacked together:
All the plate steel is cut from a sheet of 3/8" flat plate from the local scrap yard.
The pic below is the pieces that the pins slide down into at the bottom of the attachment plate. I cut the square holes a little deeper because his bucket doesnt release right...you have to get under it and tap the pins up with a hammer.
In the picture below, i left about a 1/4" gap down at the bottom.
The plate tack welded together supporting its own weight:
And finally the gussets or braces tacked to the beam and plate:
I'm ordering the wedge tonight off of ebay and will try to get the push plate and anchor block fabbed up this week and will then have a guy at work do the final welds next week.