Scooby074
Super Member
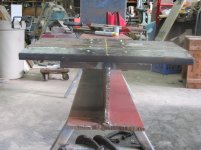
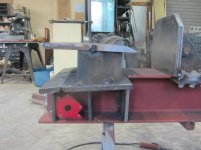
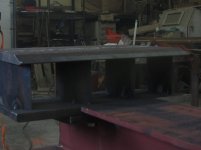
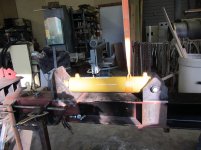
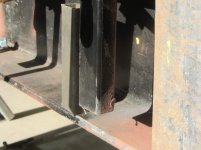
Todays work was welding the base plate used 2 # of 5/32 MG 500 rod. Nice rod once I got up to 145A and stopped making voids. This was the 60d bevel on one side. I won't do that again. I clamped it down pretty good but one side warped up a bit. I think I can work around it.
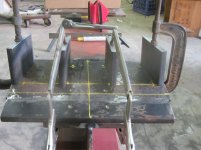
I also beveled the grader blade 60d but shallower and both sides. When I weld that not only clamp it well but keep flipping it from side to side and alternating welds end to end etc. Out of rod till Monday.
Im a bit confused by this? Are you welding those 3 pieces together because thats all the steel you have over buying a larger single piece? If thats the case i probably would have scrounged a large single piece to avoid any warping issues (as youve found) and save $$$ on rod.
I used hardened cutting edge on mine as well. Its held up well for the 6 or so cord i split so far, but i wonder if it was necessary on my splitter. I think if i had to do it over i would have used 1" cold rolled for the tip of my wedge. The 3/4 that i used isnt as strong as i would have liked.