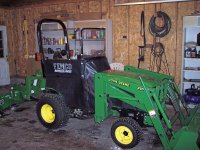
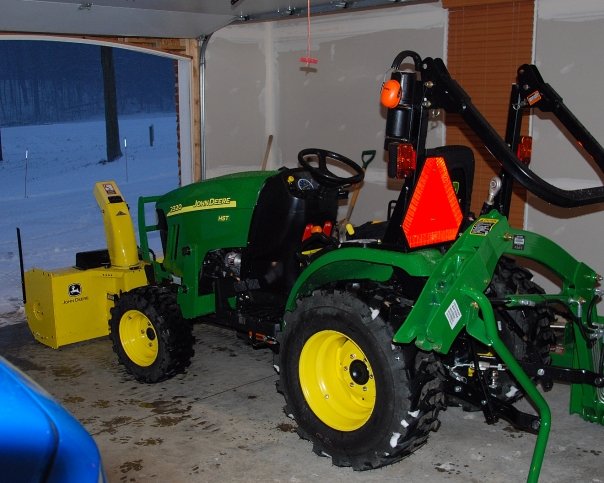
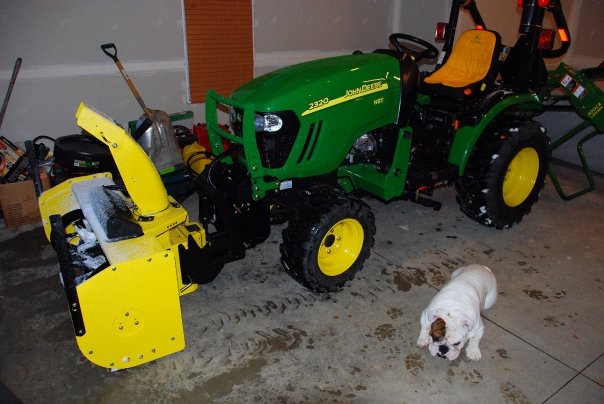
Switching from Blade to Blower on all the JD front quick hitches is pretty easy and takes about 5 minutes. The important thing is to have an easy-to access flat spot to park the snowblower so you can get it lined up to put it back on without manually wrestling with it too much (like the inside of the very clean garage pictured). I put mine on a wheeled dolly so I can move it around in the garage and store it more out of the way.
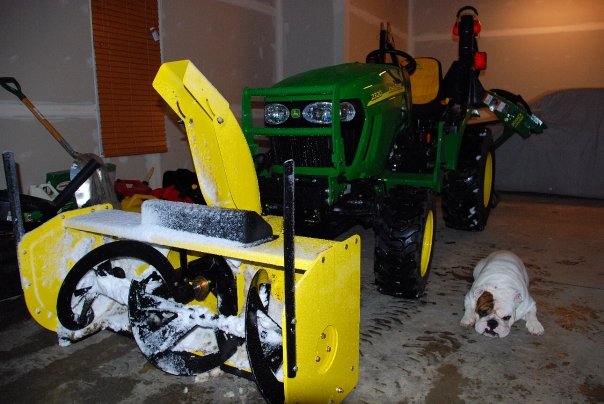
You insert a locking pin into the angle portion of the quick hitch, and disconnect the angle hoses. A small bungee is handy to keep them from flopping around as they can remain on the tractor. Then you get the blower on the quick hitch by driving up and lifting it on the two studs at the top. The bottom swings into place and latches (automatically in theory, but as the holes wear, may require some manual persuasion to get it to line up and click in). You attach the chute angle hydraulic hoses, the chute elevation cable, and the front PTO drive shaft.
All of this assumes that you leave the under-belly drive shaft installed in the tractor front quick hitch when you first put it on. If you are adding the blower to a front plow setup, you will need a kit that adds the bearings and under-belly shaft to the quick hitch. The shaft is kind of a PITA to get to slide through the bearings after it gets a little more weathered. On smaller tractors like the one pictured, I think it also has to be inserted through some portion of the frame or front axle of the tractor (on my larger 4100 it is completely clear under the front axle). Installing the under-belly drive shaft is something you only want to mess with once per season.
[ I wish they had the larger 54" width blower available back when I got my 4100! ]
- Rick