OP
Obed
Elite Member
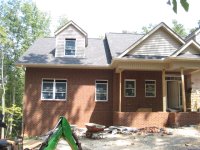
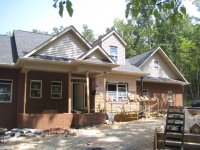
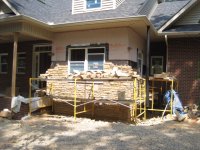
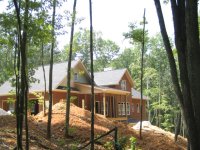
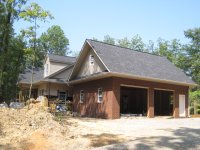
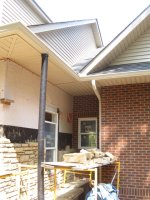
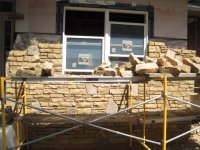
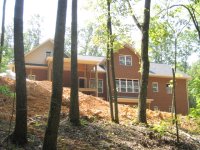
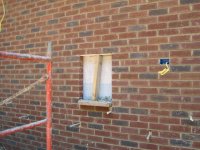
Soffits, vinyl siding, and gutters are now installed. The stonework is coming along. I didn't realize that laying stone takes so much longer than laying brick. Of course, we generally had 3 brickies working; the stone mason is working by himself. Because of the trees, I can't get far enough away from the house to get a picture of the entire front of the house.
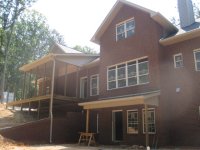
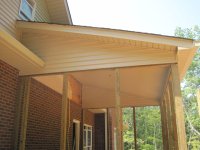
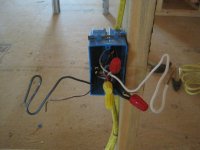
Now I need to install drain pipes to run the roof water away from the house. There's more digging in my future.
Now I need to install drain pipes to run the roof water away from the house. There's more digging in my future.
Attachments
-
 IMG_4693.JPG154.9 KB · Views: 365
 -
 IMG_4694.JPG159.8 KB · Views: 280
 -
 IMG_4695.JPG147 KB · Views: 251
 -
 IMG_4696.JPG157.8 KB · Views: 272
 -
 IMG_4700.JPG182.1 KB · Views: 208
 -
 IMG_4699.JPG150.3 KB · Views: 251
 -
 IMG_4698.JPG137.1 KB · Views: 221
 -
 IMG_4697.JPG145.2 KB · Views: 312
 -
 IMG_4708.JPG91.1 KB · Views: 214
 -
 IMG_4706.JPG120 KB · Views: 252
 -
 IMG_4703.JPG190.5 KB · Views: 218
 -
 IMG_4702.JPG192.3 KB · Views: 234
 -
 IMG_4710.JPG139.2 KB · Views: 300
Last edited:

")
