3RRL
Super Member
- Joined
- Oct 20, 2005
- Messages
- 6,931
- Tractor
- 55HP 4WD KAMA 554 and 4 x 4 Jinma 284
Hello fellow members.
Boy, it's been a long time since I wrote a new thread.
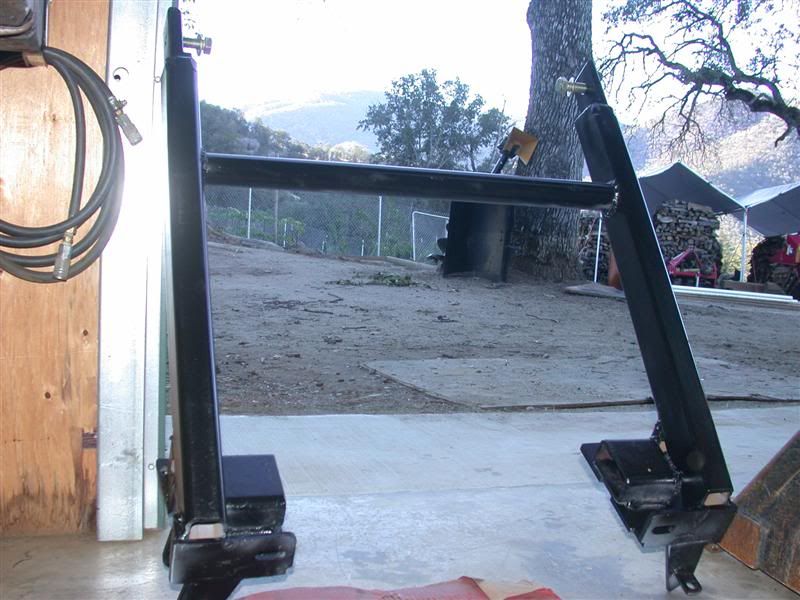
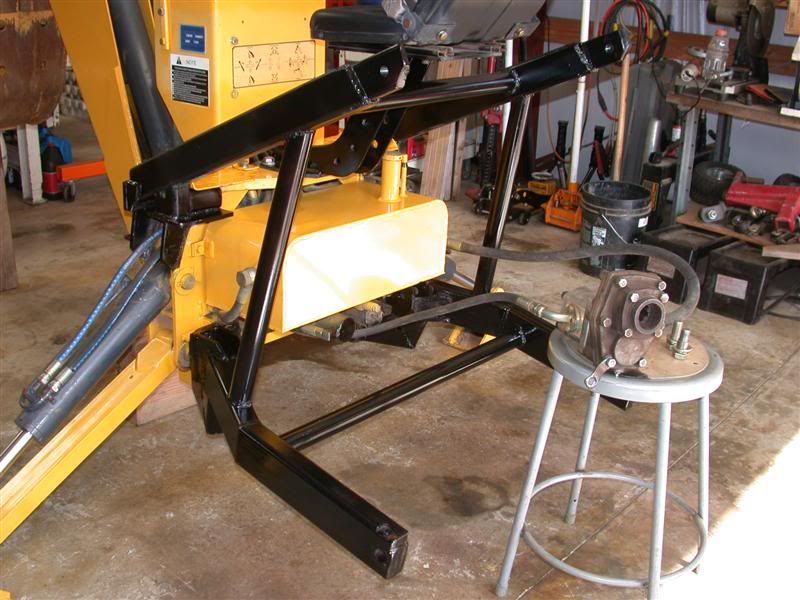
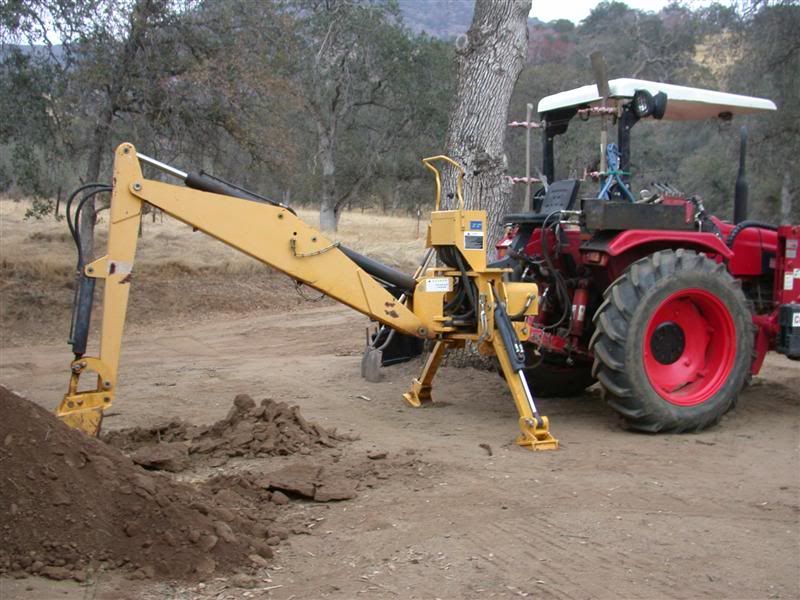
But I recently acquired a new (used) LW-8 Backhoe from my good friend Scott. It has quite a bit more reach than my Italian made Nardi 220 hoe, so I was very interested in getting it. It also weighs a lot more and has a little more power, which made it even more important to make a super deluxe subframe for the new hoe. Everyone knows how important it is to have a really good subframe to protect the tractor from stress.
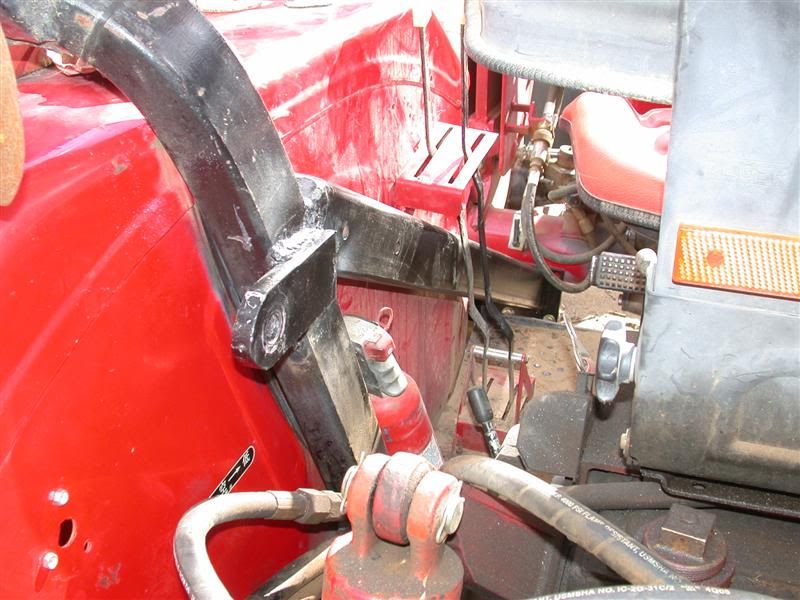
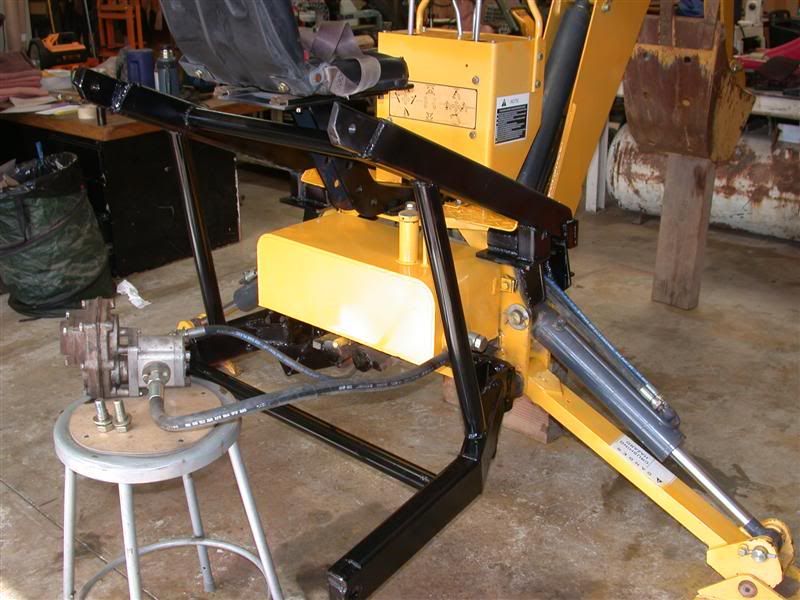
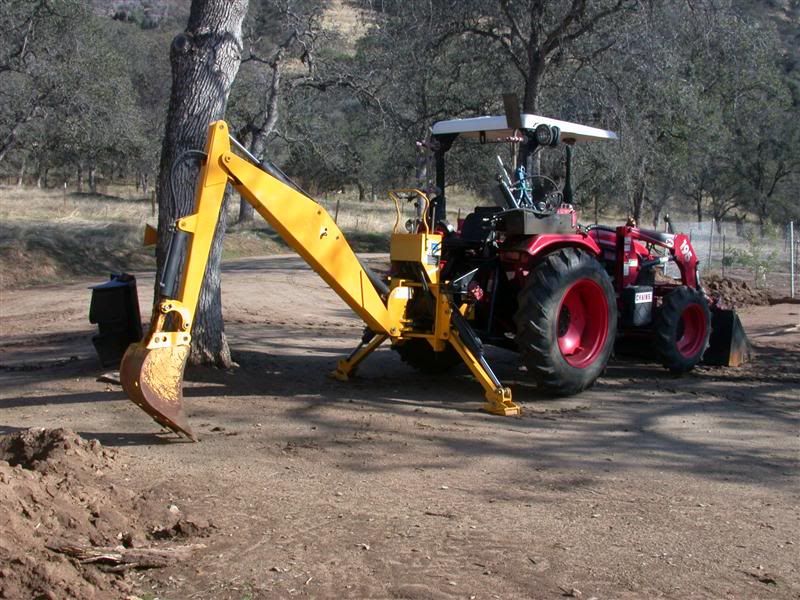
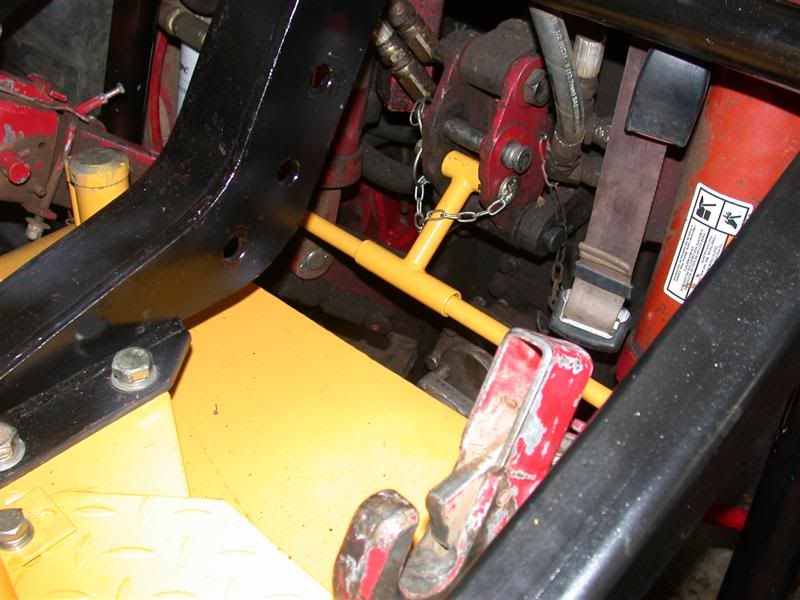
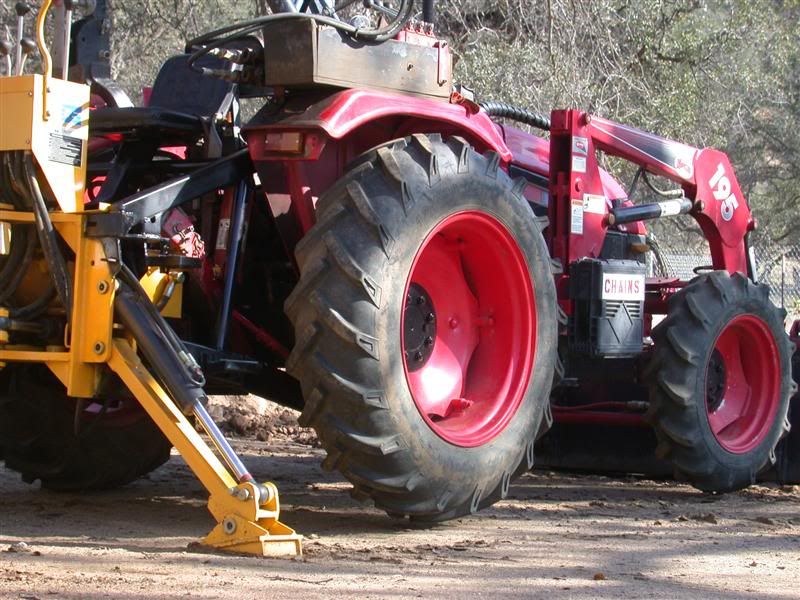
Below is a photo of the LW-8 hoe attached to my 55hp Kama.
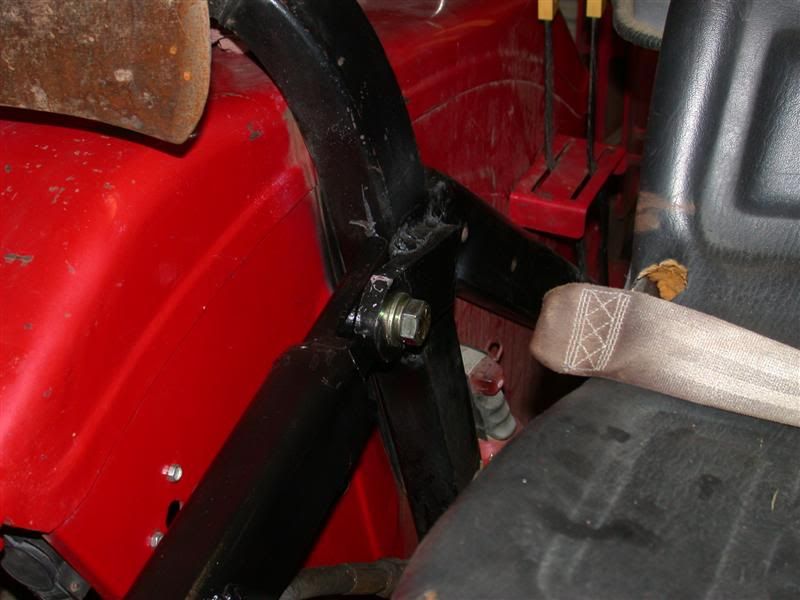
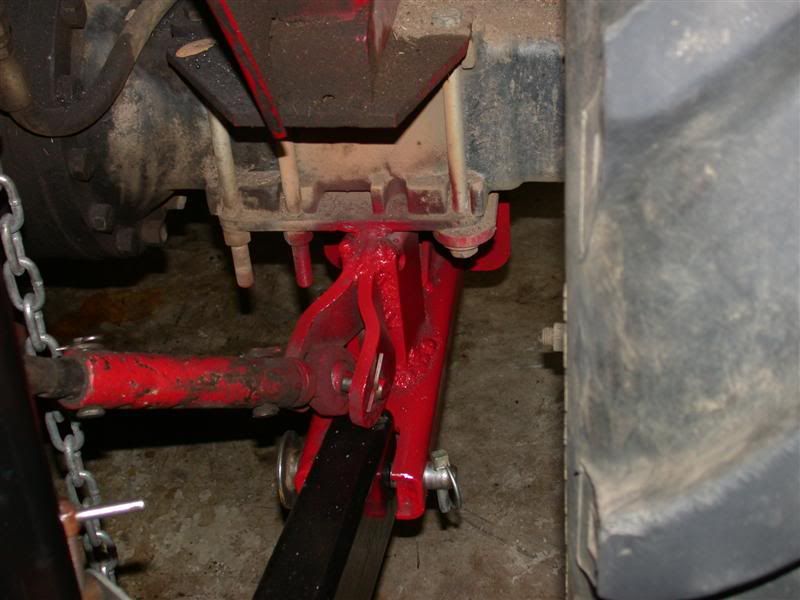
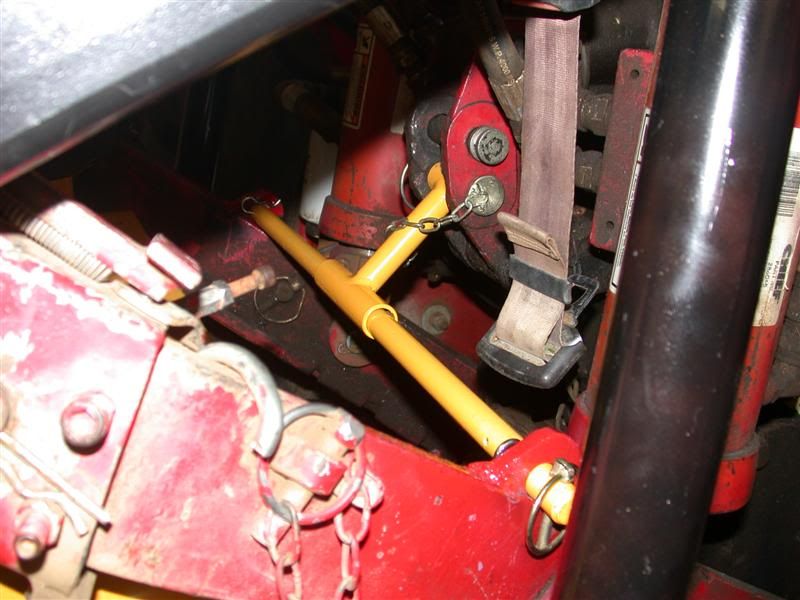
You can see I have it attached by the 3 point lower drag links and the top link. Even with the stabilizers down on the ground, it moved around quite a bit. I decided to get it into the barn and start figuring out how to make the subframe for it.

Boy, it's been a long time since I wrote a new thread.
But I recently acquired a new (used) LW-8 Backhoe from my good friend Scott. It has quite a bit more reach than my Italian made Nardi 220 hoe, so I was very interested in getting it. It also weighs a lot more and has a little more power, which made it even more important to make a super deluxe subframe for the new hoe. Everyone knows how important it is to have a really good subframe to protect the tractor from stress.
Below is a photo of the LW-8 hoe attached to my 55hp Kama.
You can see I have it attached by the 3 point lower drag links and the top link. Even with the stabilizers down on the ground, it moved around quite a bit. I decided to get it into the barn and start figuring out how to make the subframe for it.


Last edited: