DennisFolsom
Gold Member
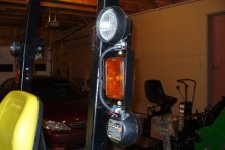
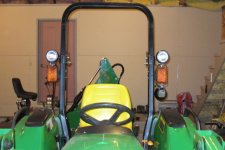
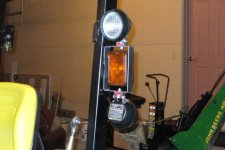
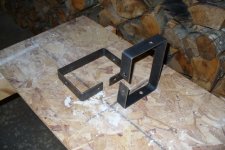
This afternoon, I made a pair of "brush guard" type light mounts for my John Deere 4600. I used 1.25 " x 1/8" steel, which I bent cold using a vise, hammer and anvil. These are a similar design to the John Deere Brush Guards, and mount the same way.
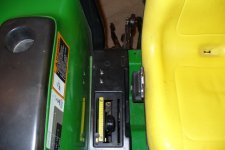
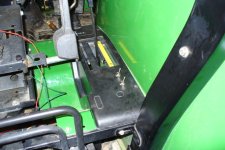
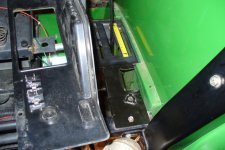
The photos show the trial fit, before painting and hooking up the wiring. There's also a shot of the mounts just before painting.
I painted the primer coat earlier this evening. I brought them into the Living Room after painting, so the paint would cure faster. I'm not sure I can get away with this, but I'd like to top coat them before I go to bed tonight, so I can install them, and hook up my wiring tomorrow.
The way my ROPS is built, the access at the bottom is poor. It may be tricky fishing the wires through them. The best method I have thought of is to pull out the existing wires, using them to pull some twine down through. Then, I can pull the new and existing wires back up with the twine.
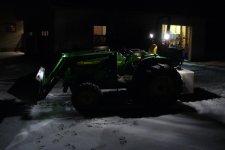
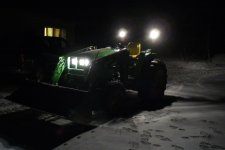
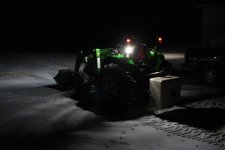
The lights are Halogen Work Lights from Harbor Freight. If I remember correctly, I paid about 8 bucks apiece for them.
If all goes well, I'll post more photos tomorrow evening.
The photos show the trial fit, before painting and hooking up the wiring. There's also a shot of the mounts just before painting.
I painted the primer coat earlier this evening. I brought them into the Living Room after painting, so the paint would cure faster. I'm not sure I can get away with this, but I'd like to top coat them before I go to bed tonight, so I can install them, and hook up my wiring tomorrow.
The way my ROPS is built, the access at the bottom is poor. It may be tricky fishing the wires through them. The best method I have thought of is to pull out the existing wires, using them to pull some twine down through. Then, I can pull the new and existing wires back up with the twine.
The lights are Halogen Work Lights from Harbor Freight. If I remember correctly, I paid about 8 bucks apiece for them.
If all goes well, I'll post more photos tomorrow evening.


")