Building a Pole Barn: Step 1

   / Building a Pole Barn: Step 1 #51  
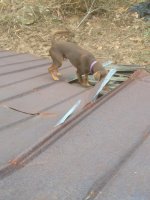
I have a helper just like that. Her favorite: I would help, but I have no thumbs. image.jpg
 
   / Building a Pole Barn: Step 1
  • Thread Starter
#53  
A couple of things I discovered over the last couple of days as I took the tin off of the roof:

1. Apparently it was common building practice in the 1940s to put anywhere from 500-900 nails into each piece of 24" wide tin.

2. R4 "Industrial" tires should not be considered R4 "Indestructible" tires. Reference point #1 above.

Fortunately, it was a front tire that took one for the team and not one of my filled rears. A quick trip to my tire guy and a $10 plug later and we were back in business.

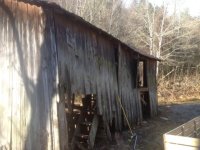
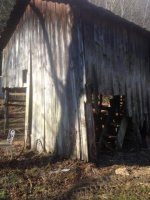
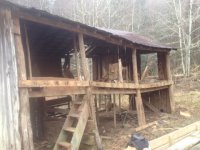
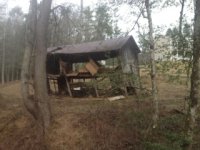
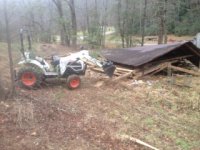
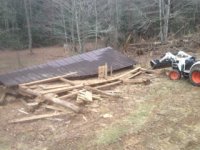
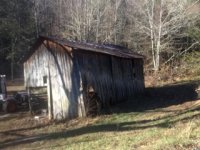
At this point, it is beginning to look like there is little salvageable material left. I had hoped to save a good bit of the loft floor but because of the volume of rat excrement (it's the New Year and I'm trying to be nice) it is just not worth the time and trouble to cut out what little good is there. Some of the roof joists are in good shape and many of the roof purlins are fine as well. I'll grab what I can.

The plan, for now, is to salvage the last bit I want, cut as much of the rest as I can and haul it off, then burn in place the remainder. After it's burned. I'll rake out all the metal I can, then rent a small excavator, dig a small hole, and bury the rest of the debris. I want to take off about 4"-6" of the top layer to make sure I get any escaped nails and such.


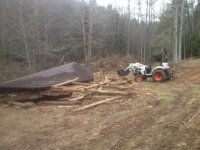
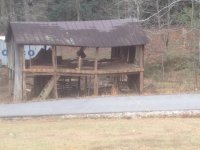
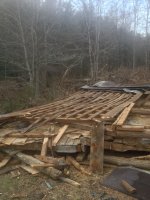
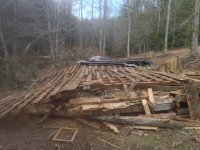
image-3206206279.jpg


image-4252708952.jpg

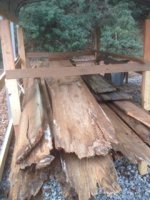
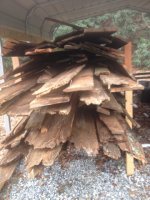
Today's work. Now to pick out the good tin.
 
   / Building a Pole Barn: Step 1 #54  
If you can keep the burn pile small, you can get a strong magnet mounted on a stick, and sweep for nails. I did that with a very old shed, and it did a good job finding the nails. I bought the magnet and stick combo from Grainger for something like $15.
 
   / Building a Pole Barn: Step 1
  • Thread Starter
#55  
Yesterday I took all of the roof purlins off. Surprisingly, they were in really good shape. However, I don't think a single one was the same size. A good many of them still had bark on the edges and were rounded and barked on the ends. It was interesting to see how the whole tree was used. Solid locust poles were used...still had the bark all the way around on those, true sized 2x4s for the roof joists, 4x4 bracing on the top of the posts with the roof joists bird mouthed on them, then random sized planking for the siding. It's been fun taking this old piece of history apart.
 
   / Building a Pole Barn: Step 1 #56  
Looks like you are doing great. Be careful when you take off the 4-6" of top soil. I am sure several things got buried over the years. Do you have or know anyone with a metal detector?
 
   / Building a Pole Barn: Step 1
  • Thread Starter
#57  
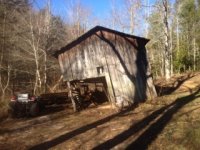
Is that a pole barn? Looks more like a stick built barn on a slab. Are you going to pour a concrete floor? If so, then going with standard framing methods used to build a house is how I would build that barn. Eddie

We're gonna be starting the build on the barn soon. Eddie, I'm taking your advice and going with stud wall build on a slab. Turns out, it will actually be a little cheaper than doing it as a pole barn. I've gotta get someone to dig my footers this coming week then we'll get the slab poured. I'm hoping to have it dried in in 3 weeks or less. As soon as we break ground, it will be time for more pics.
 
   / Building a Pole Barn: Step 1 #58  
One thing to consider with a slab is that the cheaper bids always like to use wire instead of rebar, but in every slab that I've ever seen, and the pictures of them posted on here, the wire gets walked on and ends up at the bottom of the slab. Rebar set on chairs 24 inches apart allows room to walk through them while spreading the mud. I know that they all say they pull up the wire while walking on it and spreading the mud, but that is just for show that lasts about the first five minutes. Then they are working too hard keeping up with spreading it to play that game anymore. Even when they do pull it up, the push it right down again when walking on it. Never use wire in a slab!!!! I like half inch for my footings, also called number 4, and 3/8's for the field, also called #3 rebar. Add fiber if you want, it doesn't hurt anything, but it doesn't replace rebar either.

Eddie
 
   / Building a Pole Barn: Step 1 #59  
On your slab, is it going to be thicker on the perimeter where you place your walls? I'm no expert but I think it is a good idea. Maybe Eddie or others with more experience can chime on on that.
 
   / Building a Pole Barn: Step 1 #60  
One thing to consider with a slab is that the cheaper bids always like to use wire instead of rebar, but in every slab that I've ever seen, and the pictures of them posted on here, the wire gets walked on and ends up at the bottom of the slab. Rebar set on chairs 24 inches apart allows room to walk through them while spreading the mud. I know that they all say they pull up the wire while walking on it and spreading the mud, but that is just for show that lasts about the first five minutes. Then they are working too hard keeping up with spreading it to play that game anymore. Even when they do pull it up, the push it right down again when walking on it. Never use wire in a slab!!!! I like half inch for my footings, also called number 4, and 3/8's for the field, also called #3 rebar. Add fiber if you want, it doesn't hurt anything, but it doesn't replace rebar either.

Eddie
We used 1/2" rebar (and fiber) in the foundation for my pole barn (built almost like stick frame), but went with a combination of heavy gauge wire sheets (1/4") and fiber mesh in the first section of slab. I had 2" of foam insulation, then Pex tubing with plastic clips (that also prop the mesh, then the mesh (some wood blocks to prop the mesh as well). We were able to set about half of the sheets in place, cover them, set the other sheets, and cover that section, so we weren't walking on the sheets as we poured....seemed to work out really well.

I'm sure 1/4" mesh and fiber isn't as good as 3/8" rebar, but for a slab that won't see anything really heavy (it's a shop with bathroom, one vehicle bay, etc), I think it will be fine. The good thing is that I ran a redi-mix truck for years, and was able to get the driver to keep the mix pretty tight...a lot of concrete failures are simply too much water in the mix, and lazy masons. We only had time to get that one slab poured before it got cold, so I still have the other 2/3 of the floor to pour...haven't decided how I'm doing that side yet.
 

Tractor & Equipment Auctions

Trailer Axle (A50860)
2020 Cat 299D3XE Skidloader (RIDE AND DRIVE) (A50774)
2020 Cat 299D3XE...
2016 Chevrolet Traverse LS SUV (A50860)
2016 Chevrolet...
2015 JOHN DEERE 35G EXCAVATOR (A51242)
2015 JOHN DEERE...
2018 GENIE GTH-5519 TELESCOPIC FORKLIFT (A51242)
2018 GENIE...
2023 Bobcat T770 Skidloader (RIDE AND DRIVE) (LIKE NEW) (A50774)
2023 Bobcat T770...
 
Top