Great news, but photo did not come through.
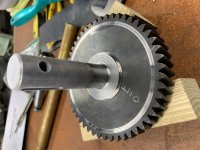
Can you check mock up for runout?
The photo is there this morning. Try again.
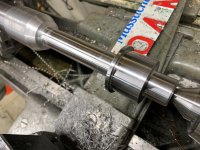
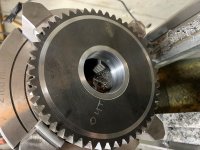
I chucked the shaft in the 3 jaw chuck and measured the gear surface that mates with the flange surface, out at the OD. I did not prepare well for making this measurement. I never machined the full length of the shaft, so the section I'm putting in the chuck is rough. Also, my 3 jaw chuck is essentially junk, with typically .010" of runout. The 4 jaw chuck is a cheap Chinese thing. So any time I need accuracy, I have to do everything without re-chucking. I'd love to have a super accurate 6 jaw chuck!!!!!! But you could argue that starting with crappy equipment makes a better machinist in the long run.
Anyway, I put the rough part of the shaft into the 3 jaw chuck and measured anywhere from .013 to .0015 in axial runout measured at the OD on the surface that mates with the shaft flange. I re-chucked it several times and got a different result every time, but that was the range.
I thinking that I should turn the real new shaft between centers so I have a chance of being able to remove the piece from the machine and continue on in the work. I'll have to rough it out and then bring everything into tolerance without removing it even with the centers. I picked up a new tailstock live center since the one that came with the machine is pretty knarled up.


