rtdiggr
Platinum Member
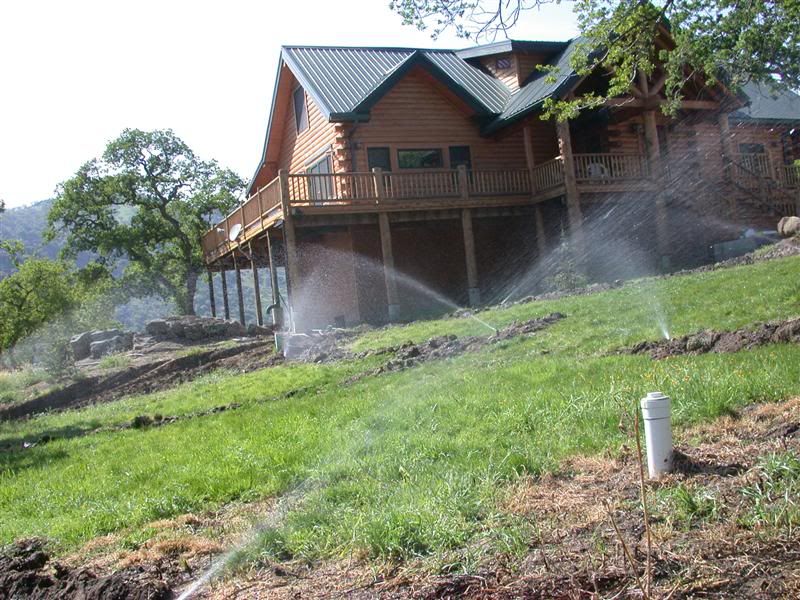
I know i have said it before Rob. but you and Loretta have such a beautiful set up.
Shane
Shane


Hello,
Time for a quarterly update I guess
So many things have happened, ...
During that time, I was also asked to make some billet aluminum collars for Cyril's mower.