3R Home and Barn Project

   / 3R Home and Barn Project
  • Thread Starter
#41  
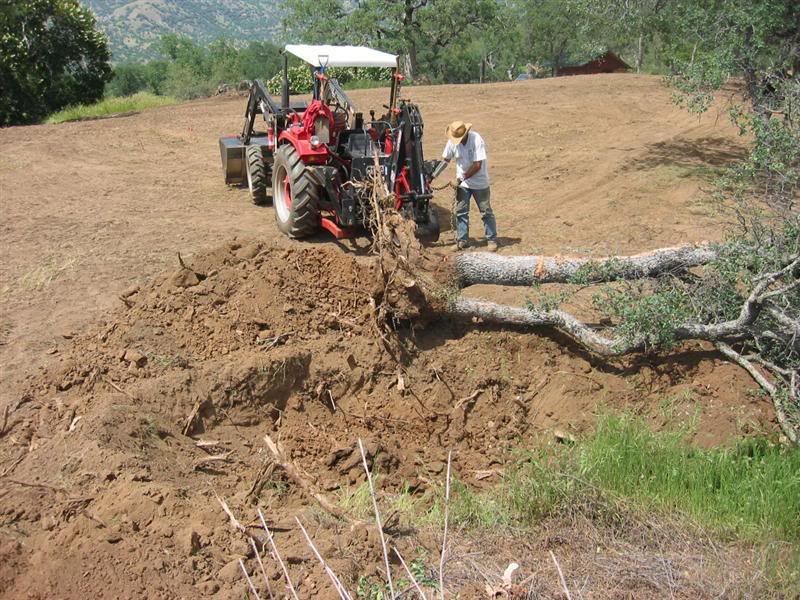
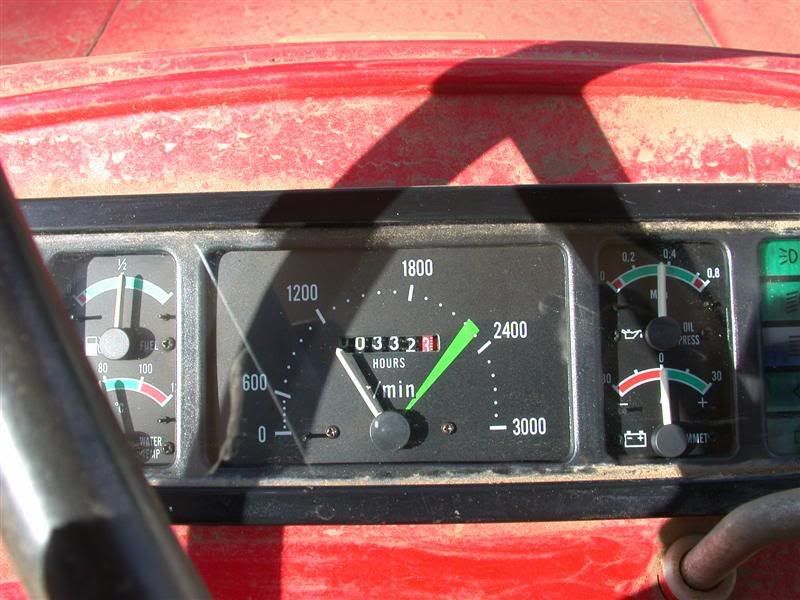
We came up the next weekend again to continue. This weekend was a BIG work weekend. We got a lot done and I got a lot more hours on the clock. I had 272 hours when I started all this and now have 332 on the clock.


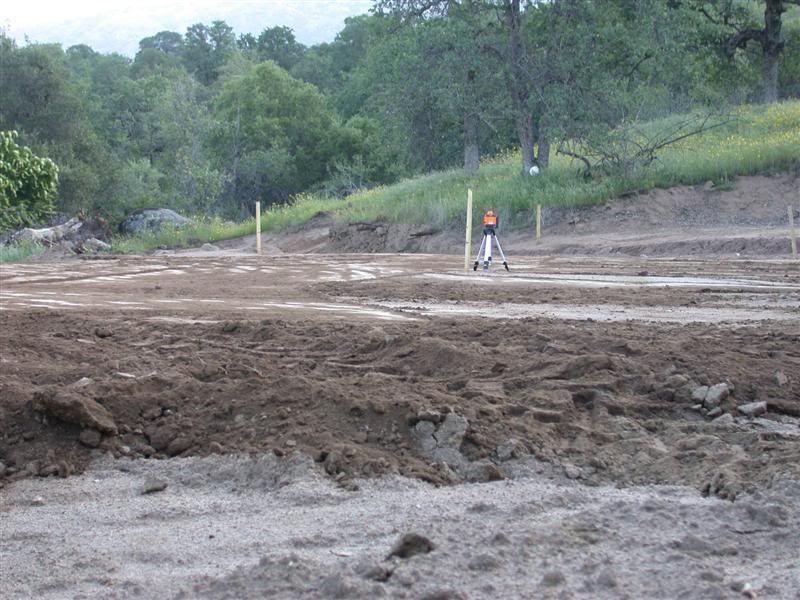
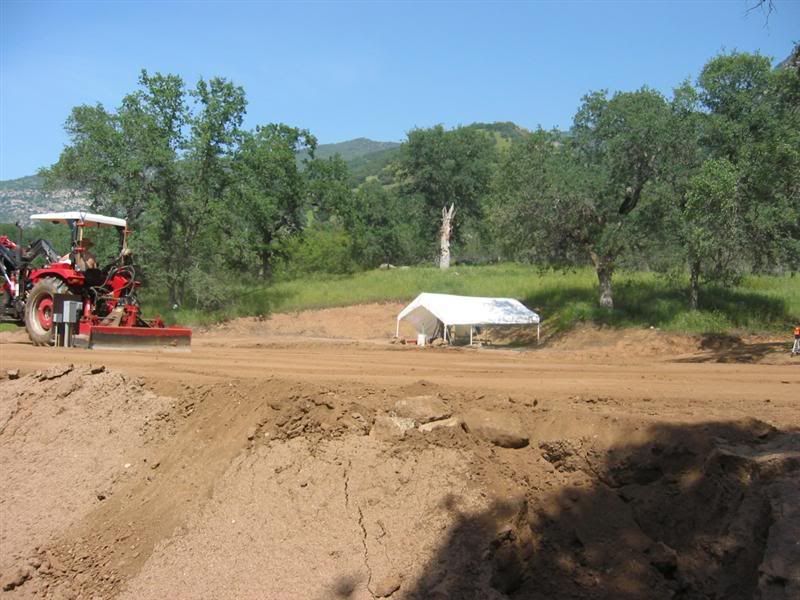
Got to the barn pad and there was standing water in a low area. It had rained very hard last week. Anyway, we started by setting up the rotary laser I bought at Harbor Freight as my friend Tim's suggested. The laser on it was great, but when spinning, I could not see the laser's projected line no matter how much I varied the rotating speed. I finally just aimed it by hand and marked all the posts. Screw it.


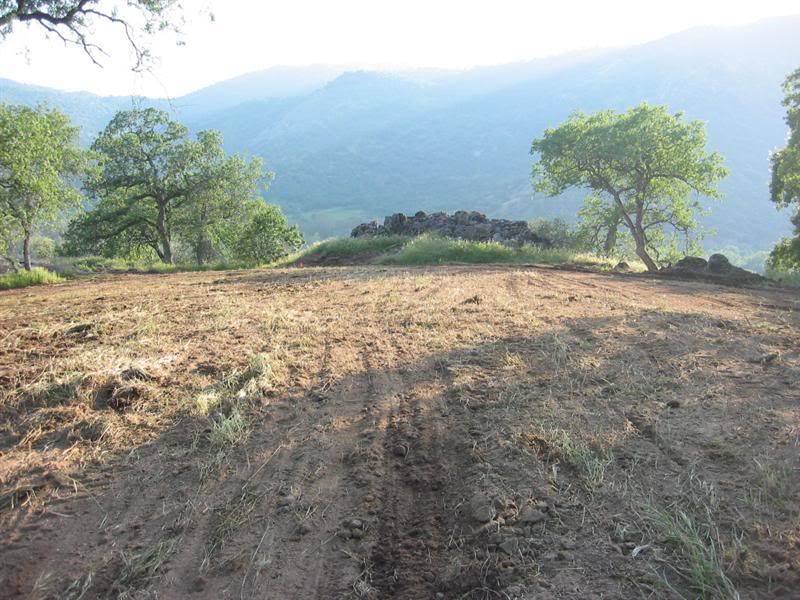
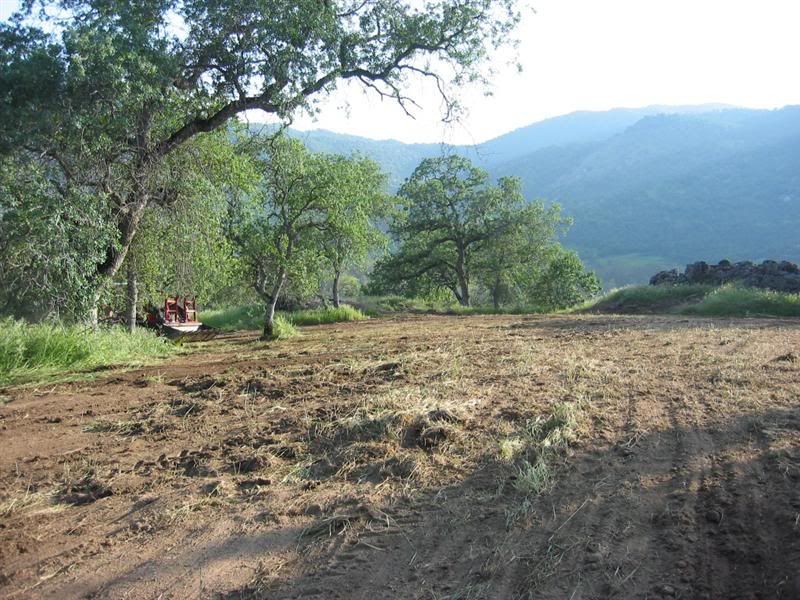
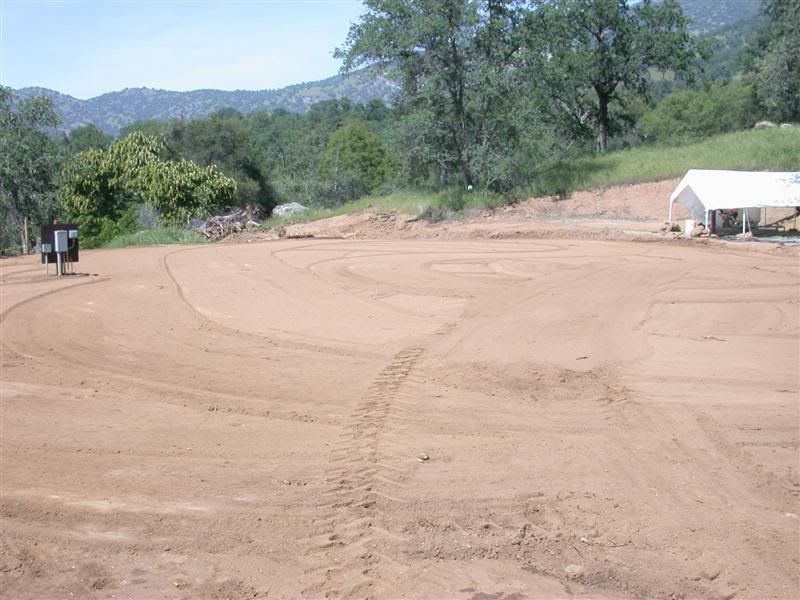
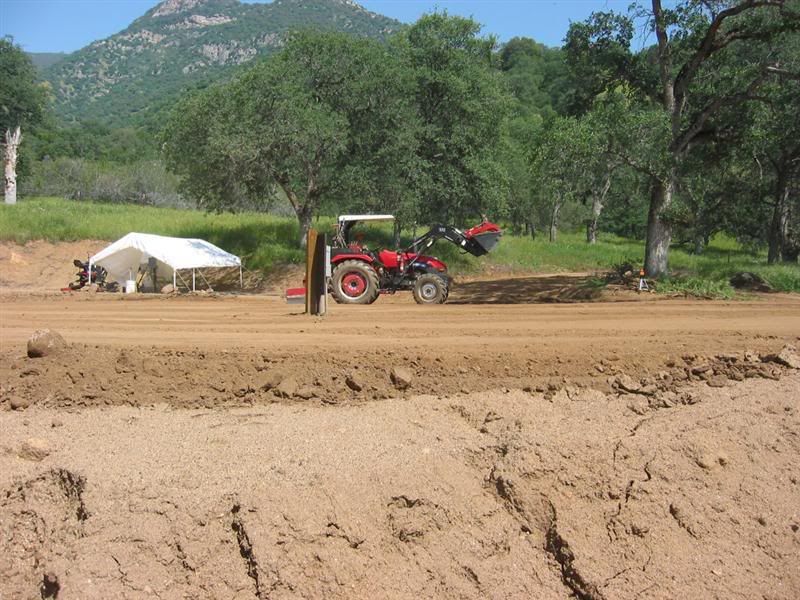
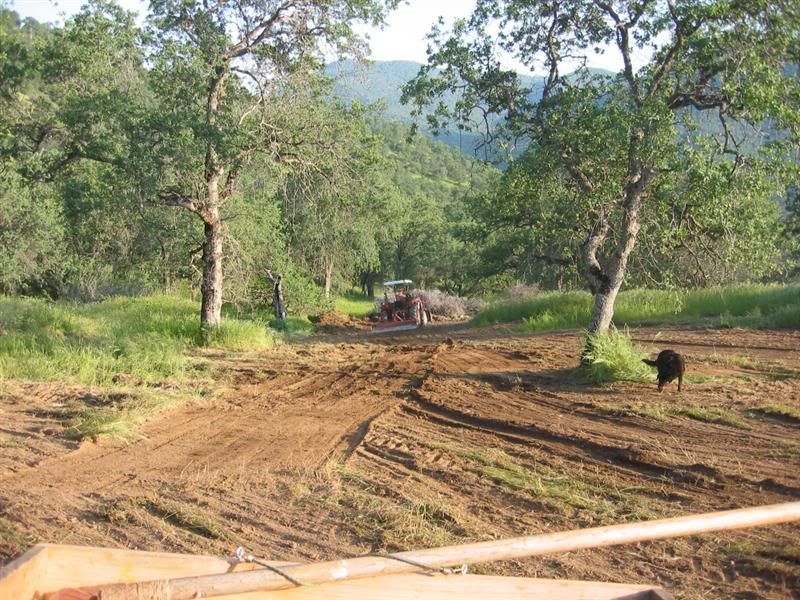
Here it is. You can see it was much drier this weekend and I started to level off the barn pad again. Also filled in that low spot.
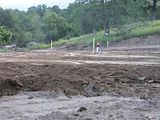
 
   / 3R Home and Barn Project
  • Thread Starter
#42  
After removing the water in that low spot, then adding DG to it, we moved back over to the homesite to do more clearing work on that part. You saw last post where I had scraped much of the 4" tall vegetation off it, but it was not completed.
This was after a couple more passes with the boxblade to make it better and better.


Loretta and Coco were kind enough to stick around and tell me what to do. Loretta took many photos of the work done this weekend. There is a lot more to do on both barn pad and homesite. It is now near the end of April and the weather was turning... it stopped raining.

 
   / 3R Home and Barn Project
  • Thread Starter
#43  
After the wet spot had dried out (it was starting to get hot now) we went back to the barn pad to finish that up. It took Loretta and me a long time to get the entire barn pad level. We did a small section at a time until it measured the same distance down on the posts we drove in.
Here's a shot of it starting to level up nicely.


I drove around the surface dragging the boxblade to see how it felt and also to see how the compacting held up. Even driving the 8,000lb Kama very near the built up edges, it was very hard and firm. So I was happy about that. The barn foundation will be set in from the built up parts a good 10 to 15 feet anyway.


It is a pretty big area and more leveling than I had ever down before. But using the technique of doing sections, it really came out nice and flat and parallel (pretty much). I was hoping it would be acceptable to my contractor. He was meeting us the following week, which was the first weekend in May.
This shot Loretta took really shows that it came out pretty good.


I watered and compacted after that for the last time just to make it look good when he arrives.
 
   / 3R Home and Barn Project #44  
Looks to me like he'll be hiring you to clear and level his next jobsite... Very nicely done!!
 
   / 3R Home and Barn Project #45  
Rob,

That's a fantastic job that you've done!!! It must be what makes you such a great machinest, you're attention to detail. I've been on many home sites where the so called pro's didn't get the pads nearly as nice as yours.

Eddie
 
   / 3R Home and Barn Project
  • Thread Starter
#46  
Oooh,
Coming from pros like you guys, that's a great compliment.
Thank you very much!
As it turned out later, when the GC came up to inspect my work, he was very pleased with it too. I'll tell you what he said after I show you the rest of the homesite clearing.

Now on to the clearing of the homesite... That turned out to be a lot of tedious work too.
I figure the barn pad is done for now unless the contractor wants more done to it. If he does, I'm gonna tell him to shove it. hahaha. But like you guys said, I think it is good enough for him to work with.

So that left us with the clean up of the homesite itself. After making what seemed like a hundred passes with the boxblade, it started to look pretty good too. Here is a shot near the end of the day from a ways out. You know it was covered with tall stuff like is shown in the foreground.


Loretta did all the weed eating around the rocks and trees and I continued to cut off the tall vegetation. Then there was one multi-trunk Oak tree to remove. It wasn't huge, but the darn roots were tough as nails.


I had to dig a big circle around the tree and then get in there and chop the big diameter ones off with an Axe. The backhoe tore the smaller ones out. BTW, the mechanical thumb worked great in yanking out those roots and moving dirt.
 
   / 3R Home and Barn Project
  • Thread Starter
#47  
After spending several hours digging, I got to a point where I thought I could push it over with the backhoe.


I purposely did not fell nor limb the tree.
I used the technique Eddie suggested in one of his previous posts I had read, leaving the tree whole and using it as leverage. I figured once I got it going over, the extra weight would keep it going down. Plus, we don't need anymore wood as there are about a million downed trees to choose from. Another thing was time. I needed to get this done today because we were leaving in a couple hours.

 
   / 3R Home and Barn Project
  • Thread Starter
#48  
This is always the good part after all that hard work. Here is a fun video of pushing the Oak over.

 
   / 3R Home and Barn Project
  • Thread Starter
#49  
After I pushed it over, I had to get the root ball out of the huge hole. ???
So I tried to grapple it out with the bucket grapple. Man, that thing is heavier than it looks. But I managed to get it out of the hole so I could chain and drag it to my dump area.


I could only lift it barely out of the hole. I realized later that I had the tractor at only 1500 rpm and should have gassed it up to pump up the hydraulics a little more. I did that a couple of times when other loads pooped out and ran the tractor at 2300rpm and the fel was strong as all get out.
 
   / 3R Home and Barn Project
  • Thread Starter
#50  
Here I am chaining up the Oak to drag it down to the dump where there is a lot of other brush ready to burn. More than likely I'll come back and buck it for firewood though.


This is the dump area where I took everything too. It's about 100 yards from the edge of the homesite down a slope.


So that's how we left the homesite when it was all cleaned up. You can see it past this part of the road. It should be good enough for them not to lose any tools in the tall grass. That was the main reason for the clearing.


Now I can start working on the road repairing some gutters and ruts after the rains.
 

Tractor & Equipment Auctions

CHALLENGER MT465E TRACTOR (A51406)
CHALLENGER MT465E...
GENERATOR HOUSE POEWERED BY TWIN 12.7 DETROITS (A50854)
GENERATOR HOUSE...
2014 Therm Dynamics TD400 Towable Flameless Heater Trailer (A49461)
2014 Therm...
2024 BCL Fabrication Landscape Dump Trailer - Heavy-Duty Utility Trailer for Mulch Debris Hauling (A50397)
2024 BCL...
2015 John Deere 35G Mini Excavator (A49461)
2015 John Deere...
2006 International 9400i (A51039)
2006 International...
 
Top