After weeks of fiddling and ordering parts, I finally got my front bucket cam installed. This is a case where I spent about $100 in parts to rig up an $11 camera, plus a dozen or so hours of labor and more hours of design and ordering parts. So not quite the bargain of 94BULLIT's first post, but still cool.
My goals for the design were:
1) something removable
2) something tough
3) something that could break away gracefully if hit
For the bracket, I welded up an inverted T shape from bar stock, with a small section of rectangular tube at the top to house the camera. Four 39# industrial magnets hold it to the rear of the bucket with the camera facing forward:
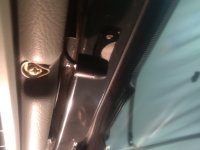
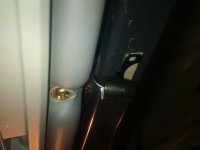
I wanted a tough connector mounted to the front bucket near the camera, so I could easily remove it. I first tried an S-Video connector, which worked OK but was not snug enough to be rugged in my opinion. I changed that out for some military-style sealed bayonet connectors from Switchcraft:
The connection on the bucket is attached to the underside of the front lip in a small aluminum enclosure, with a rubber cap over the connector:
I also used an aluminum enclosure on the back of the camera bracket to hide the splice connecting the camera's harness to my harness -- required because the camera has a small inline 12V to 5V circuit in a molded plastic "bullet" in its harness (I found that out the hard way, trying to splice upstream of that the first time, which ruined a camera and required me to order a replacement). Splicing has to come after that bullet, which creates some extra slack to be gathered up, and a little enclosure seemed to be the best option. Here's a shot from the rear of the bucket with everything in place:
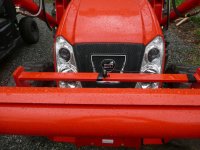
And here's a shot from the front showing the camera peeking out:
To run the harness forward across the bucket pivot pins, I did some studying and thinking, made some mockups, and eventually decided to run the wire inside a 2' piece of fuel line to prevent kinks and tangles, and then put the fuel line inside a nylon hydraulic hose sleeve to protect it and clean up the look. I first had to weld up a simple bracket to attach to the bucket pin mounts and route the cable:
Here's the routing with everything complete and the bucket rolled back about halfway:
When rolled full forward, the harness goes nearly straight with a teeny bit of slack. When rolled all the way back, it leaves a nice gentle bend in the harness that is protected inside the frame. From there, the harness goes back to regular 1/4" split loom tube and follows the loader hard lines up the arms, goes along the soft lines (with slack) and then down the loader frame to the location in the mount tube where I have all my wiring.
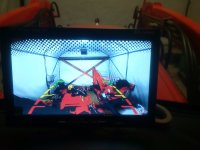
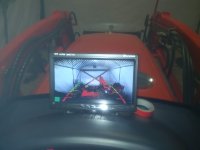
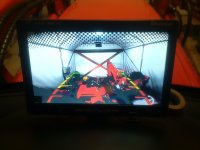
Here are some shots with the camera aimed to just show the front edge of the bucket:
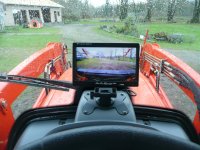
It gives a real good view of the bucket edge, which is what I was shooting for, and also shows what's in front of the bucket far better than what I can see over the hood. That will come in handy when maneuvering in tight spaces. Will also be great when I use my clamp on forks, as I could never tell where they were pointing without standing up in the seat. With the magnetic mount, I can adapt the camera to a QA setup and quick-attach forks when I eventually get some.
From here, I still have to cut and attach a small plexiglass window to the front of the camera mount for extra protection, and connect a small stainless steel safety cable between the camera mount and bucket in case it ever breaks away for some reason. The idea with the magnets is that they will pop free before anything can break, and then the safety cable will keep the bracket from falling off and stressing the wiring harness.