OP
aircommuter
Platinum Member
- Joined
- Nov 26, 2012
- Messages
- 772
- Location
- coulterville,ca
- Tractor
- case 570lxt, JCB 1550B, Gradall 534c, Hyster C612B,Ford 445A
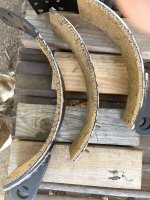
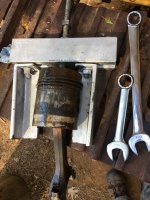
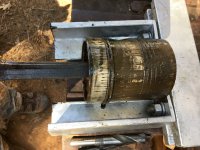
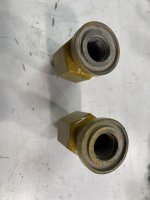
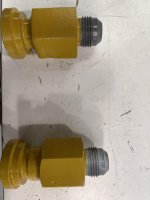
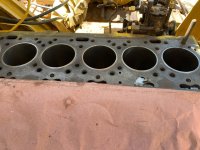
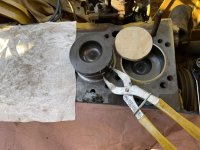
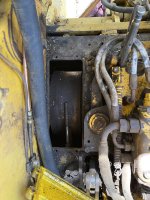
Here is the latest update. I finally got them all out. No.1 was the most challenging. It moved so slowly I had to measure progress with the dial caliper. Here is that movement log. Started with a measurement from the piston to the top of the sleeve. I would tighten the puller to maximum tension I felt safe without pulling out the threads I put in the piston, then go under with a 3/4" diameter punch and a 20 ounce hammer using 10 blows, then taking the measurement, then I removed the bearing insert so I could drive the piston down further to clear more rust. Measurements: 4.011- 3.965- 3.925- 3.820- 3.786- 3.745- 3.650- 3.410 then it kept moving just with the puller. The other ones all came out just with the puller but would not allow me to turn the crank until numbers 1,2,5,6 were out, then I moved it enough to allow me to pull no.3, with just no.4 remaining I could move the crank only slightly, so I put the puller on it and finally they are out.
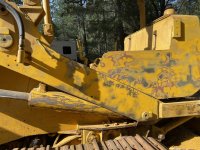
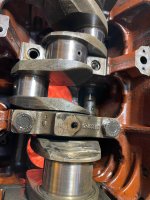
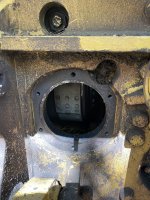
I measured the crank and it is perfect size, round and nicely polished. The sleeves are next.
I measured the crank and it is perfect size, round and nicely polished. The sleeves are next.


") .
.