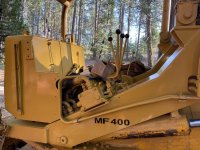
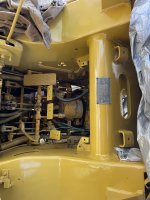
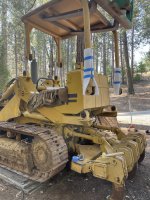
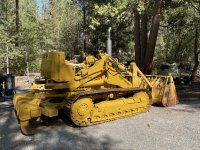
Well it has been a while since an update. I haven’t had a lot of time to devote to this project but I am back on it now. I finished installing the brakes and adjusted them except for the left one which was missing the support bolt so I have to make one. I also adjusted the steering clutches. They show using a turnbuckle which is a MF tool to spread the clutch levers which have a stop adjustment and a given clearance. The left one went OK although it takes a lot force to actuate the lever with a turnbuckle. Mine had fine threads but the tool version may be finer. The right side clutch wouldn’t budge with the turnbuckle, then I put the Porta-Power on it and it still wouldn’t move so I put my heat gun in the housing for 8 hours and still stuck. So I kept going on and off with the Porta-Power and it finally started moving.
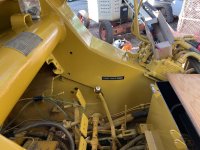
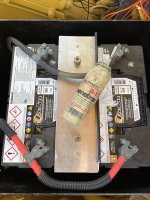
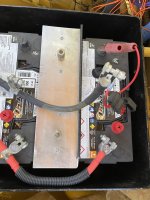
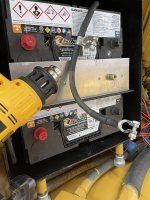
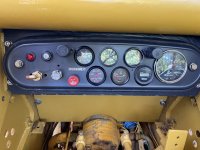
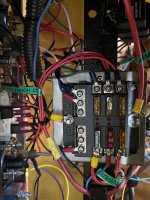
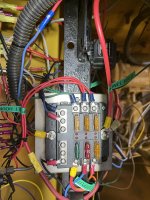
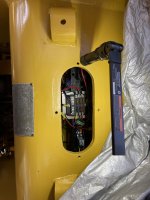
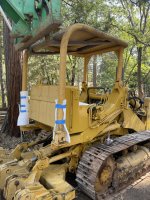
Now that I was done with all that I could paint inside that operator area so I could install the battery box which is also the seat mount. I have a board on it in the picture so I can sit low and work on the wiring and dashboard connections.
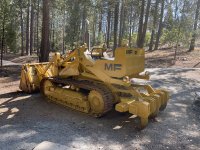
Once I get that done I can start it. Then I can position the loader and ripper so I can prep and paint them.
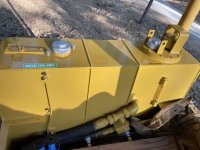
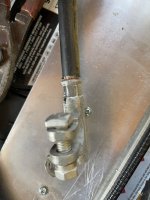
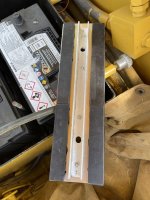
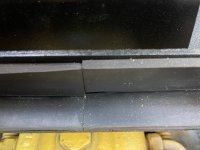
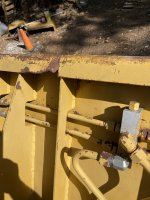
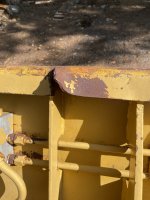
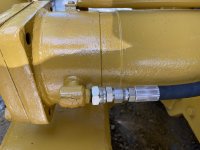
I also fabricated some brackets to allow for locks over the fuel and hydraulic caps.
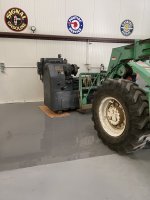
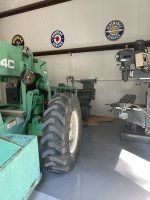
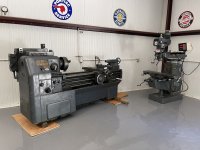
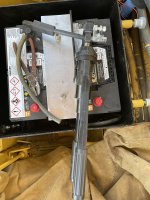
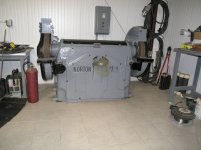
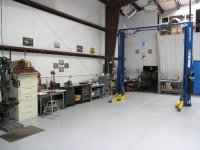
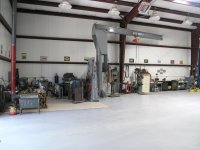
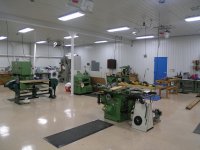
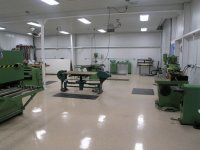
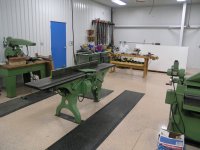
One of my other projects was to upgrade my prewar lathe to a newer machine that can hold tolerance better and also do metric threads. While I had the machine out I moved the mill and some other items and put a new coating of a darker color on the floor, I am still setting up the lathe, cleaning it up and making sure all the oil systems are working.