OP
aircommuter
Platinum Member
- Joined
- Nov 26, 2012
- Messages
- 781
- Location
- coulterville,ca
- Tractor
- case 570lxt, JCB 1550B, Gradall 534c, Hyster C612B,Ford 445A
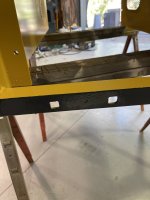
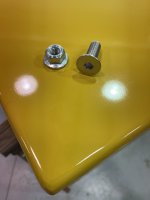
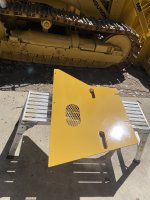
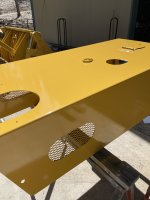
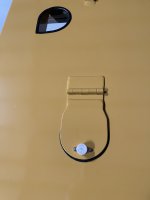
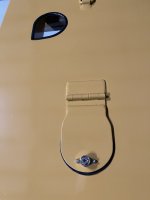
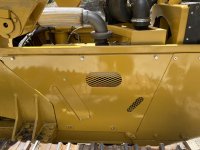
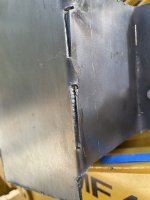
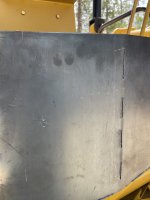
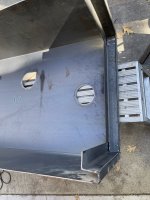
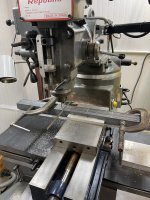
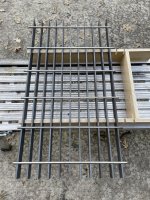
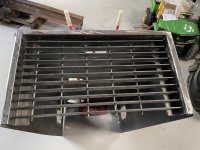
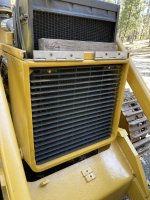
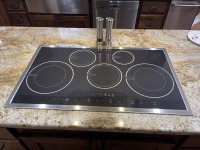
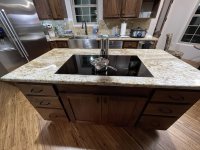
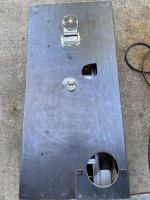
I have been working on framing the front of the hood to match the radiator support on the machine. I milled grooves to press rods into the flat metal to form the grill. This is also like the existing grill. Then I welded the joints from the backside. Kinda snowy outside one day so it was a good day for the cutting and millwork.
Attachments
-
 B2183BEB-9975-48E2-9D30-BC617E5C915E.jpeg2.5 MB · Views: 260
 -
 198DF665-2B62-415E-A26A-0CE8306FFB50.jpeg2.4 MB · Views: 252
 -
 AD1B5262-A294-4CBC-8688-7A0E301B8BB9.jpeg2.4 MB · Views: 252
 -
 D5EC06D9-17C5-4813-B17A-832097808C53.jpeg2.8 MB · Views: 265
 -
 02C0B983-2F2B-4382-A2AD-78F4CE13B1F4.jpeg3.4 MB · Views: 252
 -
 73C19D61-2258-4ADC-98D8-3C856E7332CC.jpeg2.1 MB · Views: 263


")