EddieWalker
Epic Contributor
Renze,
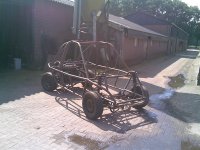
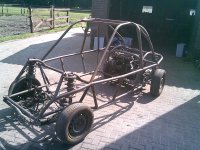
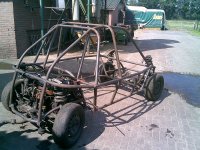
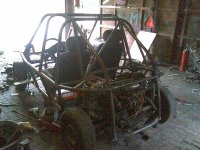
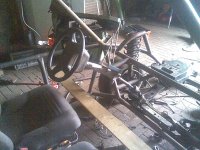
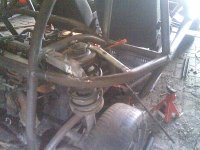
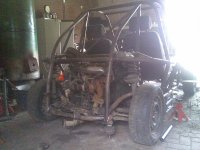
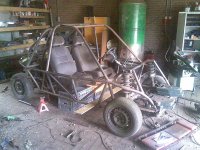
It's really starting to come together!!! The way you have the roll cage built, it almost looks like you should be pretty safe if it rolls. Of course, five point straps are what will make the difference of keeping your arms or head from being crushed if it ever happens. I've been in two rollovers and both times, it happened so quickly, there was no way of keeping my arms in place. One time I was straped in and kept safe, the other time I was drunk on a beach in Bali and flew out onto the sand.
Eddie
")