CT235 True 3rd Function Install - with a twist

   / CT235 True 3rd Function Install - with a twist #1  

powerscol

Veteran Member
Joined
May 25, 2010
Messages
2,323
Location
SW Colorado
Tractor
CT 235
I wasnt to start off thanking some folks for helping me. I had a lot of questions, and being hydraulics and wiring impaird did not help much. I also suffer from senior moments whick males reading and following direction fun.

So lets get started with the sources that made this possible for me:
ND2Fire http://www.tractorbynet.com/forums/customization/358086-kioti-ck-35-3rd-function-3.html Post # 29 is critical as he did an excellent write up. Then jabelding added in as he did the sam to his unit.
Note - these two gentleman have the twin Kioti to mine except they have shuttle shift - this became important as I have the hydro static model and had to dodge the big orange hydraulic filter. Brian with Fit Rite Hydraulics - fitritehydraulics.com helped too as he reminded me of what I already have :D. Then kennyd helped with this thread http://www.tractorbynet.com/forums/customization/110476-joystick-handle-horn-install.html. Then there was Speedex and his thread http://www.tractorbynet.com/forums/hydraulics/349492-l3200-3rd-function-build-3.html. Then Eric The Oracle added in his help - http://www.tractorbynet.com/forums/...ohn-deere-4000-series.html?highlight=LVU16650 Then there are many others that have threads on third function installs.

Everyone else covered the parts and basics, but I thought I would add in a few missing pieces for folks.

I used this valve - yes it is overkill but I wanted to minimize any pressure loss and heat build up. http://www.surpluscenter.com/Hydrau...06-DA-Hydraulic-DO3-Solenoid-Valve-9-8878.axd

Base plate - this is the one I used as it has the P-T and A-B ports oppose each other. A huge help in my situation. There are other makes of this D03 block configuration so look around. http://stage.magnaloy.com.mytempweb.com/detail.aspx?ID=356

Keith
 
Last edited:
   / CT235 True 3rd Function Install - with a twist
  • Thread Starter
#2  
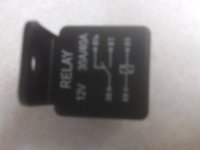
OK lets talk about the relays. Got mine off of amazon with the harness. First kennyd gave me a good link. RELAY BASICS However my relays were 5 pin and the center one 87a is not used. As I said before without his help I would have fried the expensive switch harness.
Relay Guide
Terminal/Pin number Connection
85 ground
86 Coil (power from grip switch)
87 Normally Open (NO) this goes to the solenoid (it closes when power is applied to the coil)
87a Normally Closed (NC) - not used in my situation
30 Common connection to NO & NC terminals This is where your 12V power comes in.
1106171508.jpg
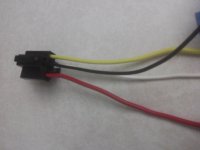
5 pin relay from Amazon
1106171515.jpg
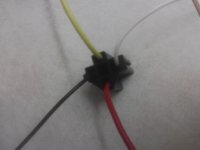
Wiring harness, Originally there was a red wire in the center and a blue wire where the red is now. I pulled the center wire as it is not used and moved the red to the (pin 30 position)
1106171516.jpg
Better view of the back
1106171518.jpg
The pin connections have a tab on the back. To remove use a very small flay screw driver and slide in the back to release.
1111171302a.jpg
Picture of completed harness and relays installed. I had labeled each wire as I went.
 
   / CT235 True 3rd Function Install - with a twist
  • Thread Starter
#3  
Now lets talk about the JD grip. The parts numbers are in several of the thread links. above. When I ordered mine the best price I got was Smith Tractor Parts They were very good to work with and did not question the non JD use. Local JD dealer was no help.

First lets talk about the switch harness

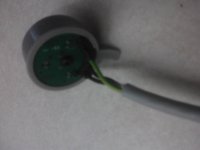
1106171500.jpg
Back of the switch has three wires. there are two black and one yellow/green. At first I thought the yellow green was power in, but one of the black ones is. I used my ohm meter to determine which one.
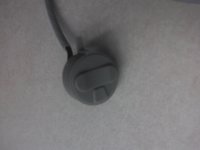
1106171500a.jpg
Front of switch - this mounts in the grip so your thumb operates. behind the rubber cover are two switches. One top and bottom when mounted.
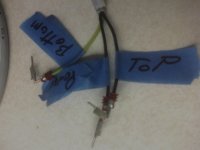
1106171501.jpg
I removed the plug that was attaches and determined what each wire did.
 
   / CT235 True 3rd Function Install - with a twist
  • Thread Starter
#4  
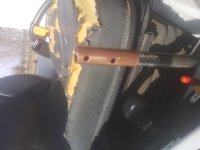
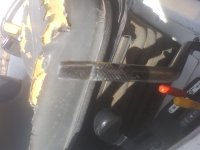
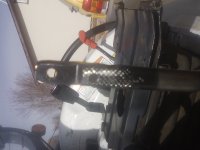
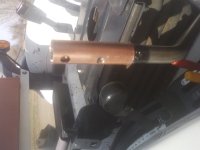
Now on to the grip. ND2Fire shows the handle before modification, but in my case I needed to drill two holes. First the handle is sized for a 1/2 in handle rod. I found that 1/2 copper water line is a perfect bushing. It fits the grip and my existing handle once worked over with an angle grinder. I inserted the pipe in the handle and marked where to drill the mounting holes.

1112171230.jpg
1/2 inch bushing test fit
1112171230a.jpg
handel with wings ground off and before holes are drilled. (note existing Bobcat hole runs front to back, not side to side as on Kioti)
1112171240.jpg
Holed drilled - used a 13/64 bit
1112171243.jpg
Bushing installed - I did re-drill a bit to get everything lined up
1112171247.jpg
This void was filled with 5 minute epoxy. I taped all holes closed and reamed the holes out afterwards for a tight fit
1112171419.jpg
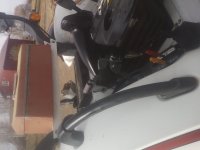
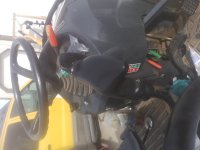
View of installed handle
1112171419a.jpg
Another view of handel
 
   / CT235 True 3rd Function Install - with a twist
  • Thread Starter
#5  
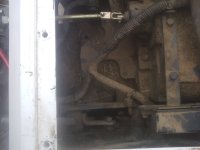
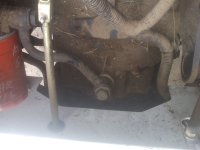
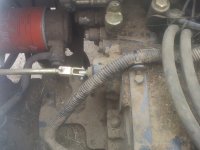
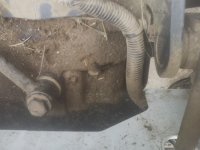
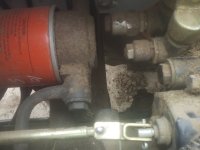
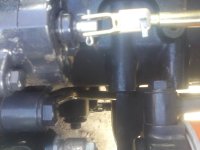
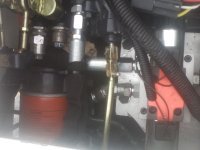
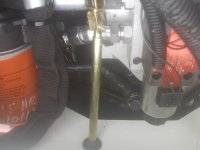
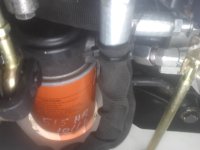
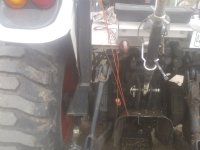
Now on to the mounting area. There is a great space directly under the seat and out of the weather. However the hydraulic filter and especially the return to tank hard line do create an issue both for the mounting plate, solenoid height and P line routing to the D03 block. The area clean us nice after 7 years, Used the wall-mart purple de-greaser and let it sit 30 minutes before a good wash down with the hose. The existing wiring harness has enough slack to move it out of the way. Also before I forget the holes on top of the transmission are 10mm fin thread 1.25. Opposite the hydraulic filter the the mounting lip for the 4x4 lever and others. It is about 3 inches hig and cam into play for routing the A-B lines. I strongly recommend fabricating out your D03 plate and valve with fittings to check clearance and location before deciding on the mounting plate.

1019171318a - Copy.jpg
Overall view ov mounting area. You can see the 4x4 linkage lower and drain line for hydraulic filter center left. There is enough slack in harness to clear.
1019171319.jpg
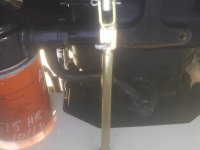
Better view of the return to tank line and top fitting in trans that needs to be cleared.
1019171319a.jpg
A little better top view of work area
1019171319b.jpg
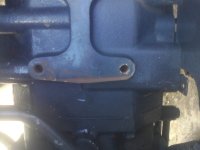
This is the fitting that initially caused me mounting problems until I figured a way to raise up the D03 plate and valve
1105171256a.jpg
Area after cleaning - sorry for the bad photo
1105171256b.jpg
Mounting holes (there are 4) 10mm fine thread 1.25
1105171256d.jpg
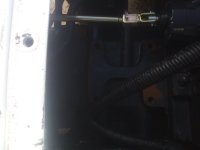
The attachment to 3pt drop control. I was able to leave in place during install, but in hind site removal would have made it a bit easier.
 
   / CT235 True 3rd Function Install - with a twist
  • Thread Starter
#6  
Now on to the solenoid valve and base plate.

1106171456a.jpg
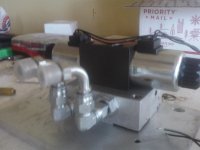
Valve and D03 plate mounted. On the D03 plate I went with #8 ORB holes. All other fittings are JIC in my install.
1106171457.jpg
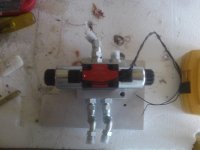
Top view. I used the A-B fittings to get up and over the 4x4 bracket, however in the final install I did modify the use a bit. On this solenoid valve one wire from each side goes to ground. the other two wires go to the switched leads at the relays. At first I temp mounted the base plate then placed the valve and moved it to a position that fit before drilling and taping the holes to mount the valve body down.
1106171456.jpg
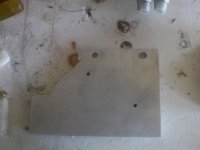
Base plate trimmed to fit around the drain fitting. I went with 1/2 inch thick aluminum plate to raise things up enough to clear. two mounting holes were used on the trans
 
   / CT235 True 3rd Function Install - with a twist
  • Thread Starter
#7  
P and T lines
First if using JIC fittings you will need the following to replace the hard line with 1/2 inch hoses.

9068-08-18 | 1/2" JIC Male x M18x1.5 Metric Male w/ seal - for 3pt connection
9069-08-18 | 1/2" JIC Male x M18x1.5 Metric Male Adj. 90ー - For loader valve connection

To get to the T port on the loader valve I had to duck under the hydro-static filter using a 45 degree swivel at the D03 block off of a #8 ORB by #8 JIC nipple. for the P line to the 3pt connection I used the ND2Fire clover leaf to go under and over the hydro static filter. Note I got my lines locally but they are very flexible. You need to carefully measure and take the bend radius into consideration. I should have double check my measurements using old hose if available. I found out after the fact my fabricater would have given me old hoses to work with

1019171321b.jpg
3pt fitting is center right. IT installed with a banjo bolt, same with the front. Removing this hard line is a bear without help. I ended up removing a spring fitting underneath and it took me the better part of 3 hours to re-attach it.
1105171256c.jpg
Better view of the banjo bolt fitting at the 3pt housing
1115171506.jpg
P&T lines attached - note the 45 degree fitting to clear the filter
1115171506a.jpg
A better view of the solenoid base plate the the drain fitting and the T line routing over the filter housing headed back to the T port on the 3pt housing
1115171507.jpg
Another view of the clover leaf house routing to the 3pt connection
 
   / CT235 True 3rd Function Install - with a twist
  • Thread Starter
#8  
Now on to the A-B hoses. I came off the AB side and wet over under the trans range lever and pto lever where I teed forward and aft to put rear remotes and tie into my existing lines to the front for my hay grapple. I wanted a third set of remotes out back for my hydraulic top link and for a future third circuit on my blade. The front lines were already in place down the left side of my tractor to run a hay grapple.

1019171321.jpg
I used the existing metal plate to locate the rear remotes
1105171256.jpg
Remotes installed

1111171302.jpg
Its hard to see but looking up at Tees and fittings
1111171303.jpg
Second look up. Whats important here is to secure these lines so they do not interfere with the trans selection lever or the PTO lever. I used 2 rubber insulated hose clips to hold them to the inside of the fender.
1111171301.jpg
lines running down and forward to existing bulkhead installed so loader could be removed if needed

Hope this helps everyone.

For switch power see my thread of making the # fuse hot in the fuse block

Everything works, (had 1 leak) but I did have a panic attack when I first fired everything up. Switch worked well, but the go peddle did not work for a few seconds. Had to get the fluid to refill something. It took over a quart of trans/hydro fluid to top things off after the install.

And one thing to remember - check for leaks before reinstalling the plate over the trans and PTO levers - would have saves me some time. :D
 
   / CT235 True 3rd Function Install - with a twist #9  
Outstanding work & documentation of your project!

I knew you could do it all the time. ;)
 
   / CT235 True 3rd Function Install - with a twist
  • Thread Starter
#10  
Outstanding work & documentation of your project!

I knew you could do it all the time. ;)

I appreciate your help. At some points I was wondering. The big point you mentioned was the hose measuring. I goofed in telling my fabricator to use hose length plus fitting when I should have used total length. I was lucky the Parker hoses were so flexible.

If it was not for you and many others here there is no way I would have ever considered this. Now I have a thumb control instead of abusing my shoulder reaching for the lever to operate my grapple. Thanks to everyone here even a old guy could do this.

Thanks again - Keith
 
 
Top