OP
deere5105
Veteran Member
- Joined
- May 6, 2009
- Messages
- 1,096
- Location
- South Mississippi
- Tractor
- 2008 John Deere 5303 MFWD, 2004 John Deere 5205
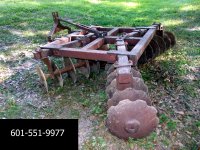
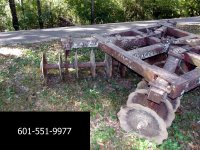
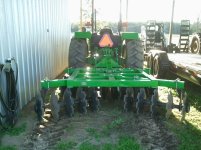
Check out these pics from when I first purchased. If I am purchasing new axles anyway, what about purchasing the same length front and rear axles and going back with 5 on each gang. This would actually get me back to the 8' width I was looking for. I notice now looking at these pics that the widest rear blade extends a bit further than the 4" gang tube. Cutting one blade off each end would move this back in to almost flush with the gang tube and looks like it would better support the axle since it wouldn't extend far beyond the bearing assembly. Also notice in the pics that the front gangs are this way. The more I consider the more I think I like this idea. Am I missing anything??

")