joshuabardwell
Elite Member
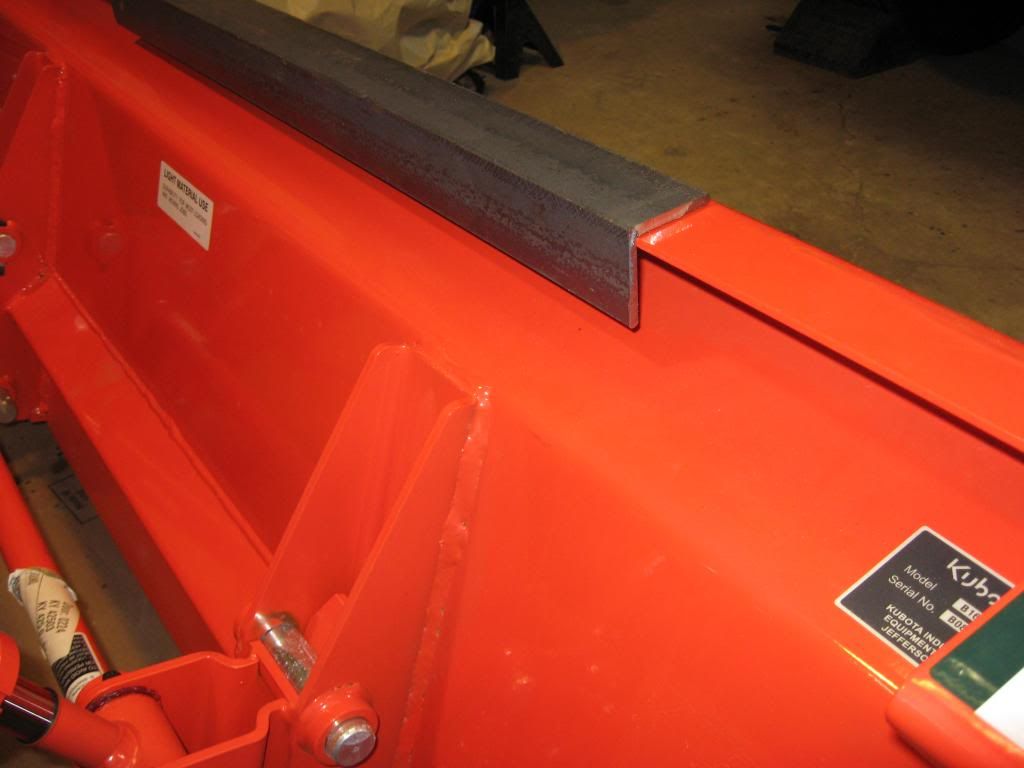
I want to stitch/skip weld the angle to the bucket so I don't warp anything.
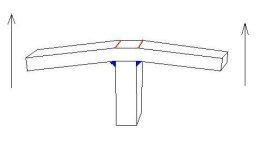
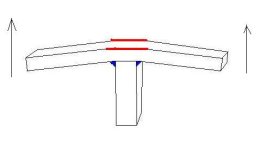
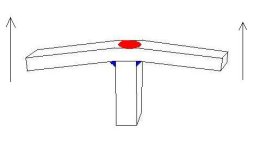
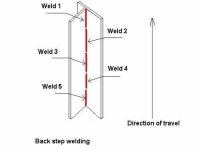
I'm not an expert, but I suspect that you don't absolutely need to do a full seam weld all the way around the angle. That being said, if you did want to fully weld it up, backstepping would be one approach to use. When you backstep, you skip ahead 6" or so, then weld backwards toward your previous bead. This gives the beginning of your current bead extra time to cool down while you finish the bead and then set up the next bead. Backstepping is probably more effective with stick welding, where you have to chip slag and brush the weld before tying in another bead. With MIG, you could finish the bead and immediately go on to the next 6" section. Still, it'd probably make some difference.
")