OP
EddieWalker
Epic Contributor
Thank you for the kind words.
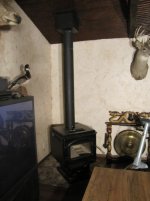
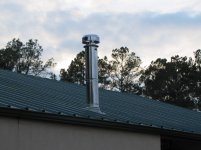
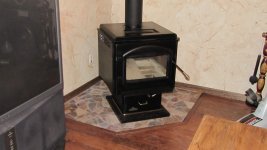
I trimed out the tile and set the stove where I wanted it. Then figured I'd run to the store and buy the rest of the pipe I needed and the parts to run it through the roof. While there are plenty of places who will order them for me, I couldn't find any that have what I need in stock. Lowes has the best prices, but said it will take three weeks to get here.
I'm searching online and found several suppliers, including Amazon, but with shipping and buying the individual pieces, it's twice as much money. The kit from Lowes is looking better and better. I'm impatient, but don't really have to have it done right away. I don't even have any wood ready to burn, so 3 weeks isn't such a big deal if I decide to go that route.
I'm back to thinking about stacking the wood next to the house. If I pour a concrete pad, use 2 inch pipe for the ends and put a metal, awning type roof over it, I think I'll have something that I'll be proud of. What I'm struggling with is makeing the wall bug proof so termintes can never get through. I have Hardi for my siding, and I'm thinking about using roofing tar over it, and then another layer of Hardi that overlaps down to my foundation. With a rediculous amount of roofing tar spread all over and oozing out of the hardy, I think that I should be fine.
How dumb is this? or do I have a chance?
Thanks,
Eddie
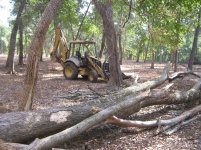
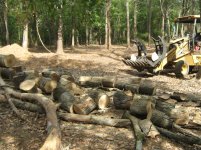
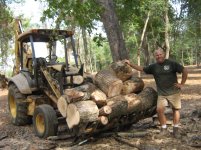
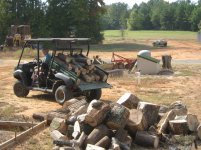
 And I used the tractor with pallet forks to move the cord wood to the house! Our back porch has a large roof overhang so the wood would be out of must rain/snow but I could easily throw a tarp as needed. The wood got split where the tree fell and put one pallets. Then I would just move the wood pallets as needed.