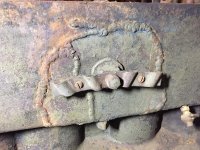
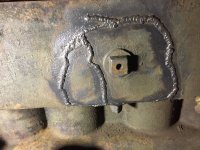
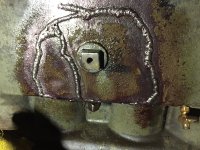
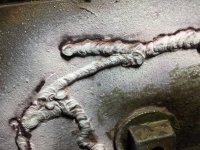
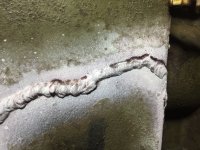
Got around to grinding open some of the cracks. The welds were laid using a nickle rod and the stuff is so hard that I wasn't making much progress. Lots of sparks, but little material removed.
Ironically the iron is super soft and cuts easier than aluminum. I drilled a hole at the end of the one crack and the bit bite into the iron like it was oak.
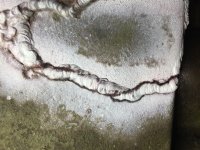
In some spots the crack reached from one side of the weld, under it and back up the other side so once I ground the ends off the weld fell right out. Yea, I've got at least one 2" long weld bead laying on the floor like it was a bead of caulk that got ripped off. Unfortunately, some of the cracks reach under a horizontal surface so I can't grind it in place. I'll have to pull the engine and lay it on it's side. This isn't the end of the world because now I can weld on a horizontal surface instead of a vertical one. At the moment the project is on hold because I'm waiting for these sub-zero temps to pass. Was originally planning on using a Lincoln Ferroweld rod for the repair, but I think I should stick with a nickle rod as I won't be grinding all of the existing welds out due to them being so hard.
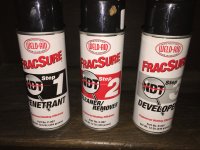
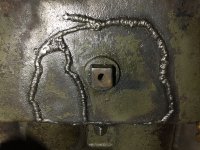
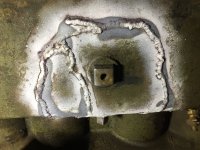
The white developer you see in the above photos melts once it gets hot enough. I could see the heat line slowly working it's way across the surface as the developer melted. It was kinda cool to watch.