Texas Blues
Gold Member
- Joined
- Sep 22, 2008
- Messages
- 339
- Location
- Manvel Texas
- Tractor
- Massey 1655 Ford 1700 2cyl, Ford 1600 2cyl Massey 135 3cyl gas
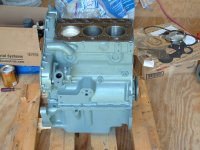
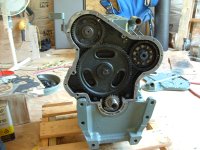
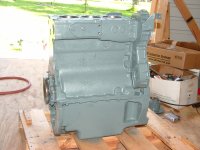
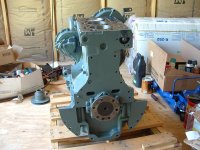
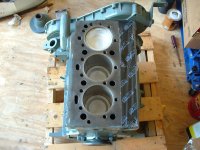
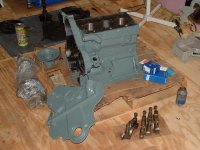
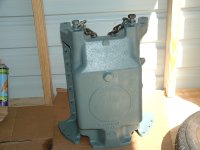
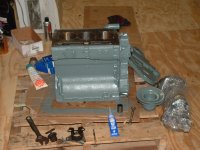
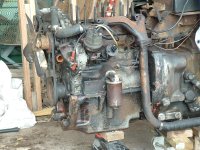
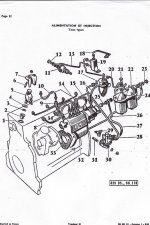
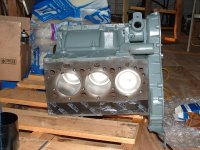
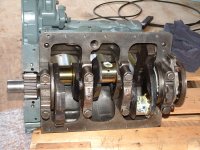
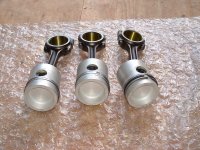
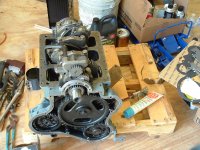
Got the crankshaft back from the machine shop. He ended up going 20 over to get it right. Putting things back together slowly. I ordered the piston/ring kit today, should be in before next weekend. Will possibly have the motor back together in a couple of weeks, then there will be another couple of hurry up and waits while I get together more money for the clutch assembly and misc things. I have yet to find anyone just giving that stuff away! lol

")