OP
Graydin
Bronze Member
- Joined
- Dec 23, 2024
- Messages
- 51
- Tractor
- 3B
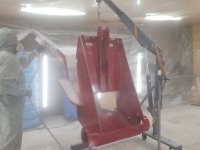
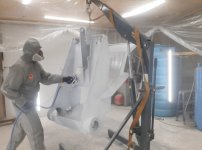
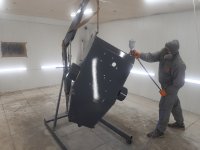
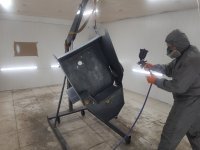
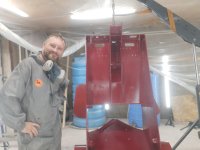
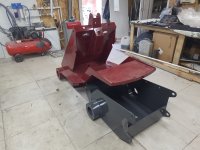
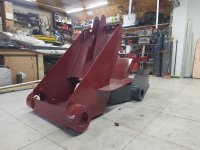
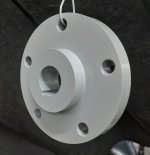
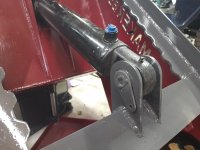
Thank you for the kind words. I appreciate it! Now, the continuation. So, I hung the parts of the loader in the air and started painting. First, the epoxy primer, then the enamel. Unfortunately, I miscalculated the amount of paint, and the front part received less than I would have liked.