OP
Graydin
Bronze Member
- Joined
- Dec 23, 2024
- Messages
- 51
- Tractor
- 3B
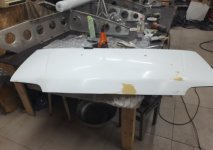
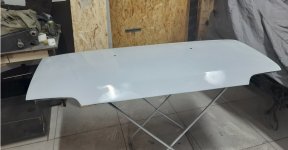
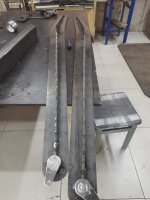
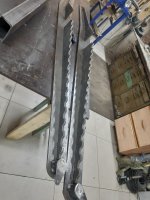
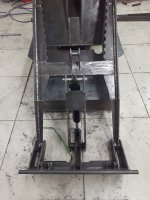
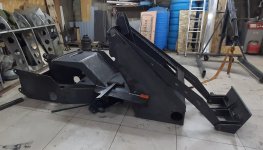
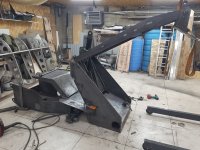
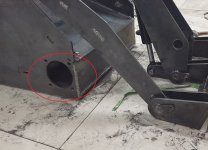
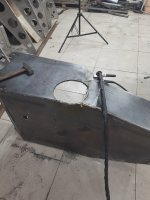
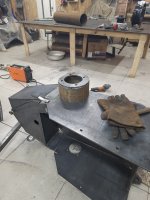
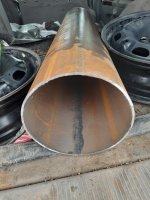
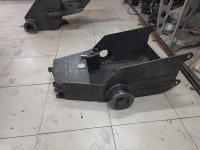
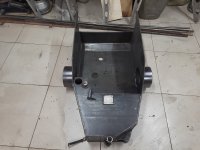
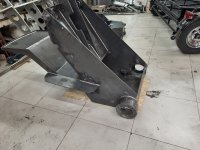
The lifting boom looks quite simple. But it provides a lift capacity of up to 450kg. That's quite a lot, if you think about it... But I still don't like this solution. In my loader, I will use a rectangular tube. This is a closed loop that works very well under torsion. I think the load that my boom will withstand will be up to 5000kg. This is not the weight that the loader can lift, but it is a large safety margin that will satisfy me. I will sleep peacefully.


")