OP
jcaron2
Silver Member
Step 11: Stall footing
The combination of concrete and the crushed rock base under it make the aisleway floor a full 8" higher than grade. To make up most of that height difference in the horse stalls, I had to bring in a few inches of dirt to be topped off with 4-5" of rock screenings. The screenings make a really good base for the stalls. The material compacts very well when it's wet and provides a nice stable surface for the stall mats to sit on, but isn't as hard and unforgiving as concrete. (Picture really good sand-castle sand, but the grains are sharp-edged, rather than rounded, so they stay locked together even after they dry). Plus, it is permeable enough to drain whatever urine happens to get through the bedding (wood shavings) and stall mats.
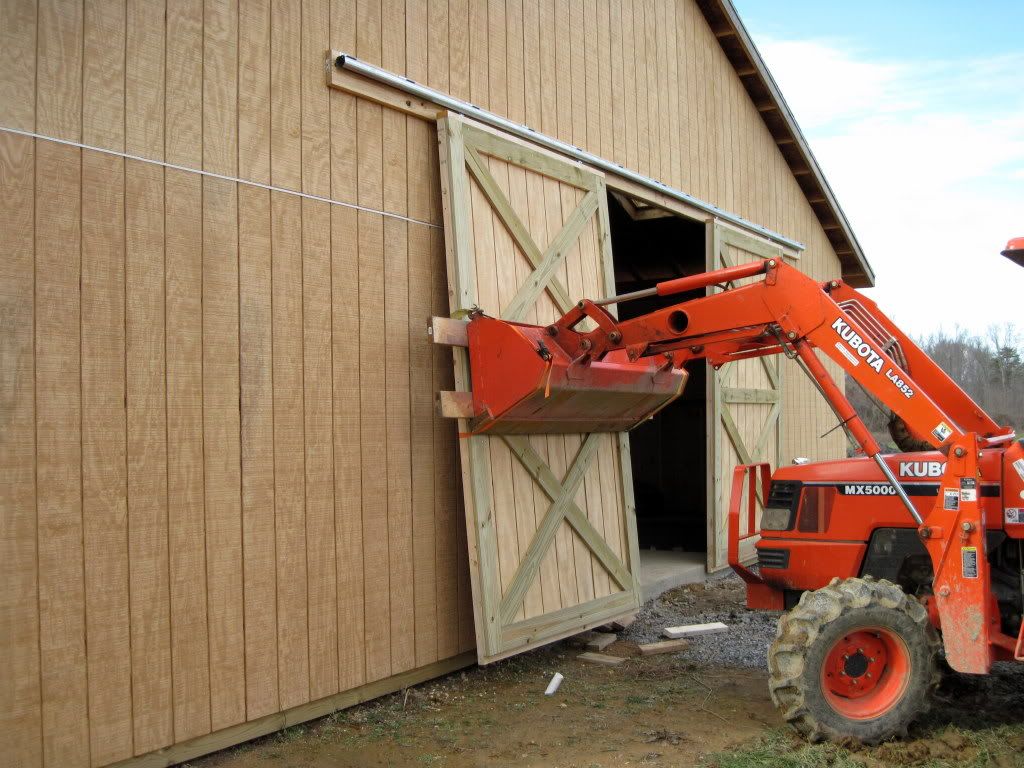
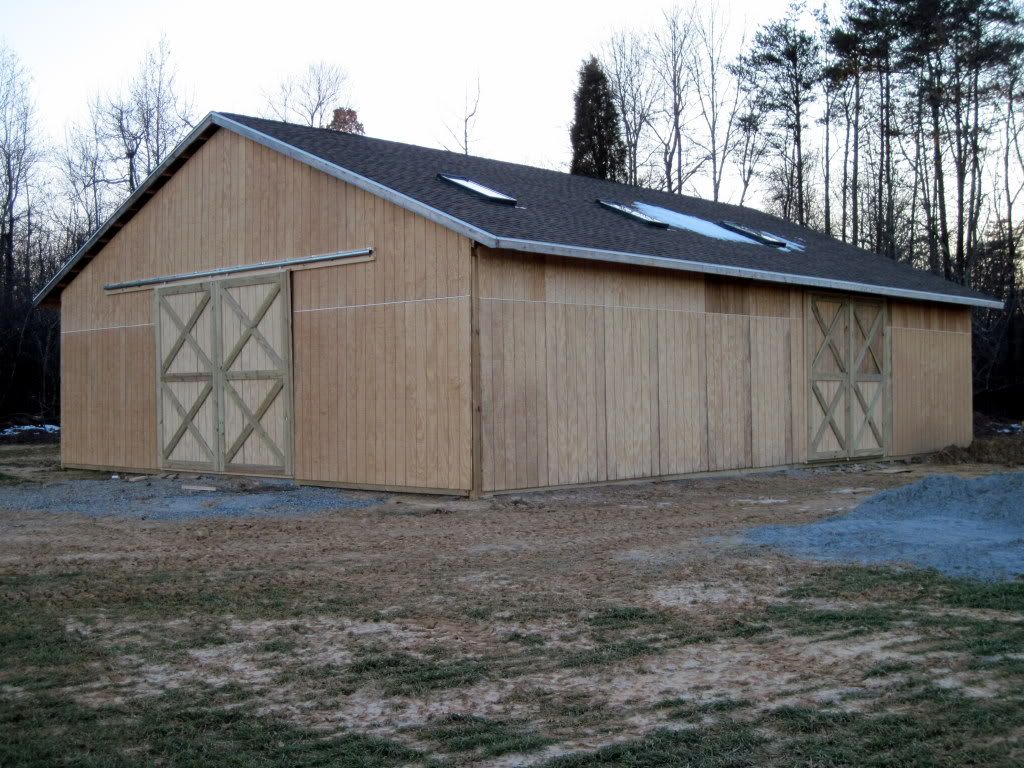
Pending all of this work, I left the walls off the north side of the barn so that I could still drive in with the tractor to dump the various material in the stalls. It was about 20 tons in all, and I definitely didn't want to have to do it with a shovel and a wheelbarrow! My 50HP tractor with a 6' bucket can't possibly make the turn into the 8' opening to the stalls from a 12' aisleway, so my only option was to leave the exterior walls off until the floors were done.
In retrospect, I should have paid for a dumptruck load of clean fill (which would be rock-free red clay around here) for the first few inches. However, wanting to save money I decided to "harvest" the dirt from a location nearby the barn. It's still good compactable clay, but unlike the dirt I could have bought, it was absolutely FILLED with rocks, not to mention lots of kudzu roots and, as it turns out, a very cold baby snake.")
To make matters worse, right after I got the dirt dumped in the stalls, we got 6" of snow. With no north walls on the barn, the snow blew in and covered all the dirt, then spent the following week melting and turning the clay into a rock-filled muddy mess. If you've never experienced this Carolina clay, let me explain a little about it. When it's wet, if you take one step in it, you'll have an inch of clay stuck to the bottom of your boot. If you take six steps in it, you'll have six inches stuck to the bottoms of your boots. It's pretty incredible stuff. Anyway, needless to say, it's absolutely impossible to rake rocks and roots out of the stuff when it's wet.
Eventually, things melted and dried out enough for me to rake (and rake and rake and rake), interrupted occasionally by some cursing and self-kicking for not buying the dirt instead, until eventually I got most of the rocks out. Then it was a matter of dumping, spreading, and screeding the screenings, which was still a lot of work, but much easier than the clay. The last step (which I still have yet to do) is to compact the screenings and re-screed to get a final hard, flat surface.
Here are some pics:
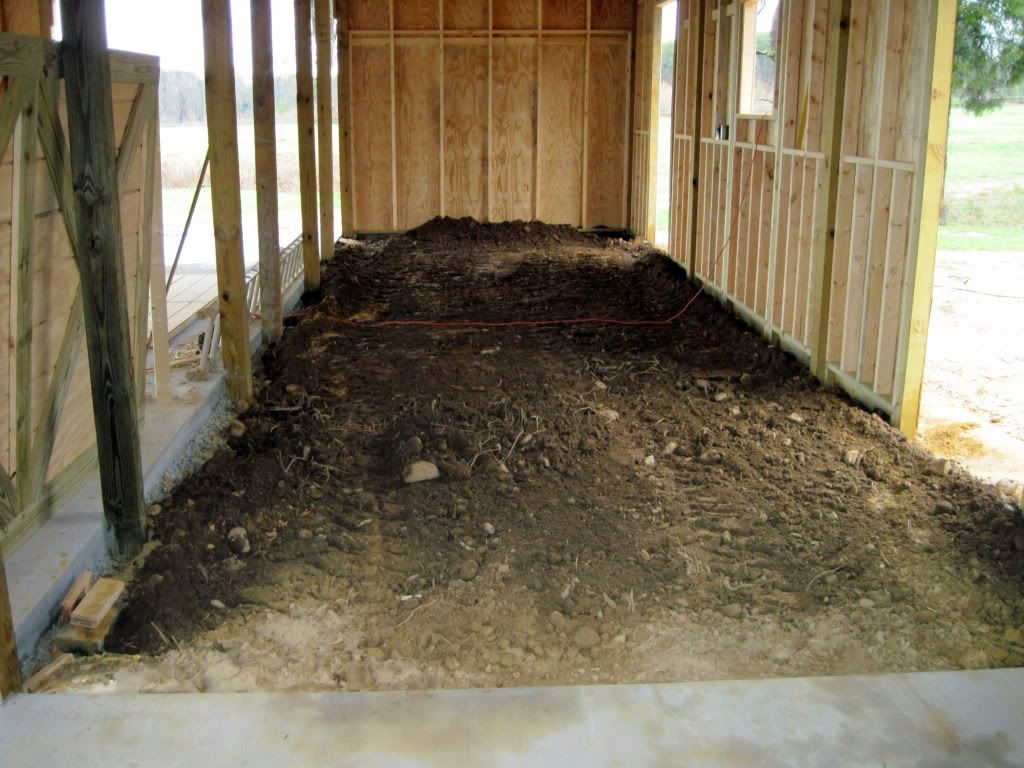
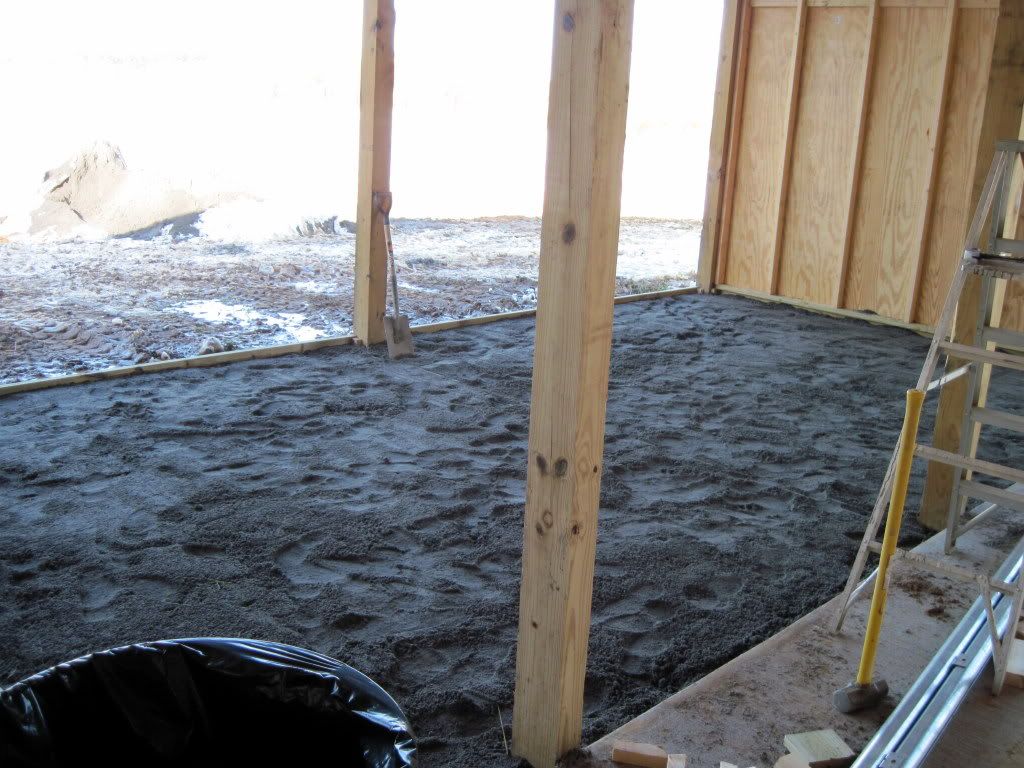
First, a pic of the freshly dumped dirt (pre-snow).
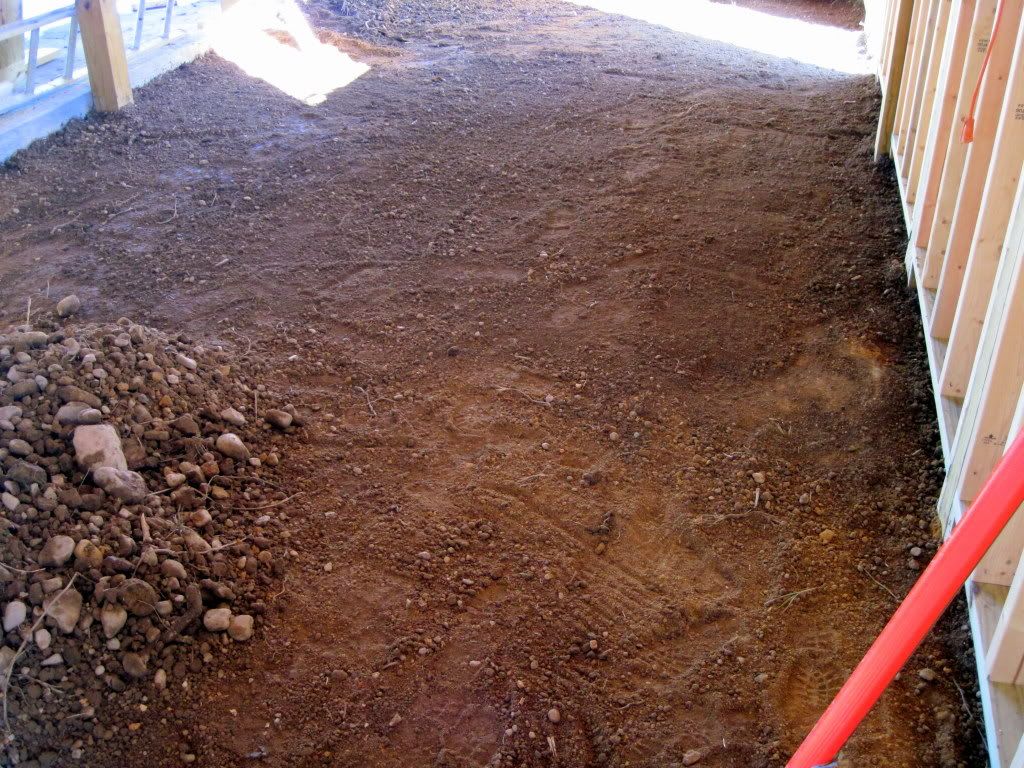
After some raking. (This is the south side of the barn, so there had been a lot less snow on this side). I ended up removing 3 full 6' bucketloads of rocks from these three stalls alone, plus a bunch more that I raked directly out the side doors.
This little guy must have had a rude awakening when he got scooped up. He's a brown watersnake, so I don't know what he was doing buried in the dirt more than a quarter mile away from the river. Maybe that's how they spend the winter? Anyway, it's hard to tell from the picture, but he's only about five or six inches long.

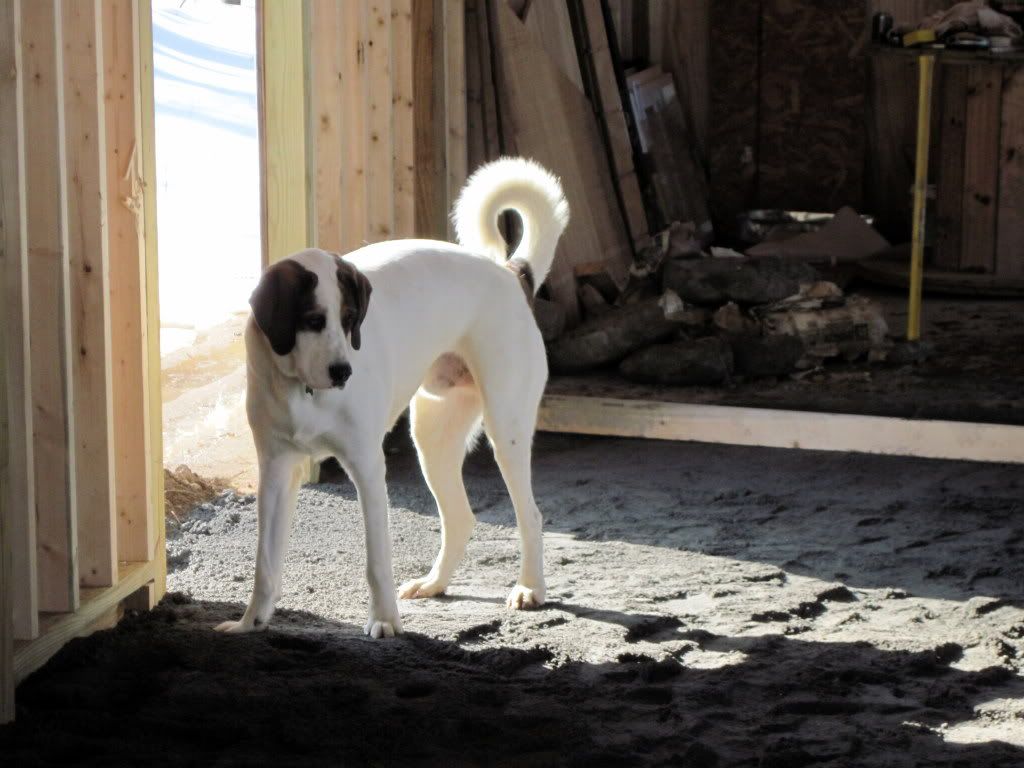
Screenings in the north side of the barn, along with one of my "helpers".
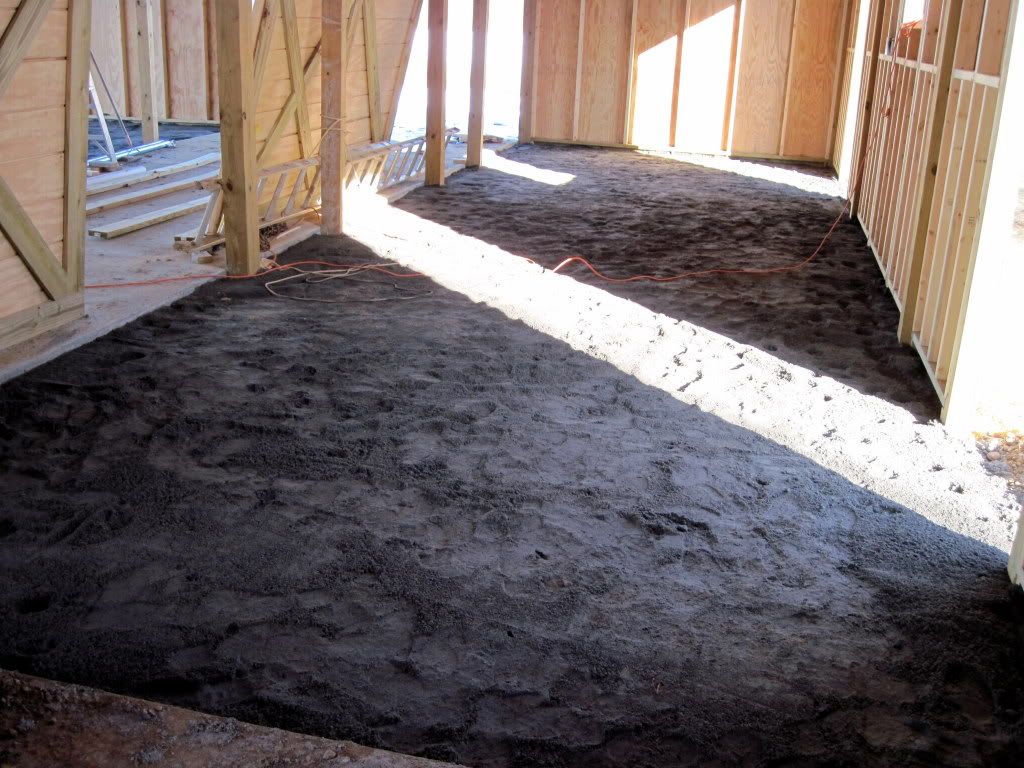
Screenings in the north side of the barn.
Another shot of the south side.
The combination of concrete and the crushed rock base under it make the aisleway floor a full 8" higher than grade. To make up most of that height difference in the horse stalls, I had to bring in a few inches of dirt to be topped off with 4-5" of rock screenings. The screenings make a really good base for the stalls. The material compacts very well when it's wet and provides a nice stable surface for the stall mats to sit on, but isn't as hard and unforgiving as concrete. (Picture really good sand-castle sand, but the grains are sharp-edged, rather than rounded, so they stay locked together even after they dry). Plus, it is permeable enough to drain whatever urine happens to get through the bedding (wood shavings) and stall mats.
Pending all of this work, I left the walls off the north side of the barn so that I could still drive in with the tractor to dump the various material in the stalls. It was about 20 tons in all, and I definitely didn't want to have to do it with a shovel and a wheelbarrow! My 50HP tractor with a 6' bucket can't possibly make the turn into the 8' opening to the stalls from a 12' aisleway, so my only option was to leave the exterior walls off until the floors were done.
In retrospect, I should have paid for a dumptruck load of clean fill (which would be rock-free red clay around here) for the first few inches. However, wanting to save money I decided to "harvest" the dirt from a location nearby the barn. It's still good compactable clay, but unlike the dirt I could have bought, it was absolutely FILLED with rocks, not to mention lots of kudzu roots and, as it turns out, a very cold baby snake.
To make matters worse, right after I got the dirt dumped in the stalls, we got 6" of snow. With no north walls on the barn, the snow blew in and covered all the dirt, then spent the following week melting and turning the clay into a rock-filled muddy mess. If you've never experienced this Carolina clay, let me explain a little about it. When it's wet, if you take one step in it, you'll have an inch of clay stuck to the bottom of your boot. If you take six steps in it, you'll have six inches stuck to the bottoms of your boots.
It's pretty incredible stuff. Anyway, needless to say, it's absolutely impossible to rake rocks and roots out of the stuff when it's wet.Eventually, things melted and dried out enough for me to rake (and rake and rake and rake), interrupted occasionally by some cursing and self-kicking for not buying the dirt instead, until eventually I got most of the rocks out. Then it was a matter of dumping, spreading, and screeding the screenings, which was still a lot of work, but much easier than the clay. The last step (which I still have yet to do) is to compact the screenings and re-screed to get a final hard, flat surface.
Here are some pics:
First, a pic of the freshly dumped dirt (pre-snow).
After some raking. (This is the south side of the barn, so there had been a lot less snow on this side). I ended up removing 3 full 6' bucketloads of rocks from these three stalls alone, plus a bunch more that I raked directly out the side doors.
This little guy must have had a rude awakening when he got scooped up. He's a brown watersnake, so I don't know what he was doing buried in the dirt more than a quarter mile away from the river. Maybe that's how they spend the winter? Anyway, it's hard to tell from the picture, but he's only about five or six inches long.
Screenings in the north side of the barn, along with one of my "helpers".
Screenings in the north side of the barn.
Another shot of the south side.