My very own grapples!

   / My very own grapples! #61  
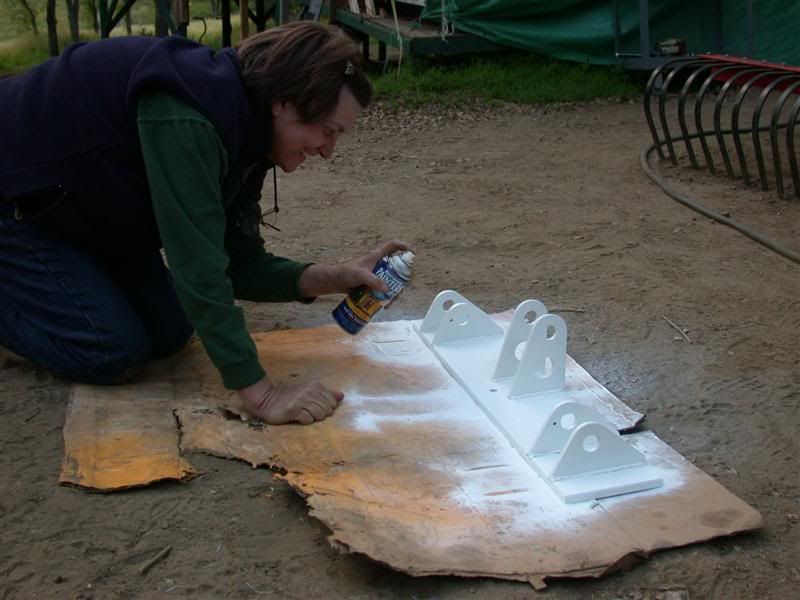
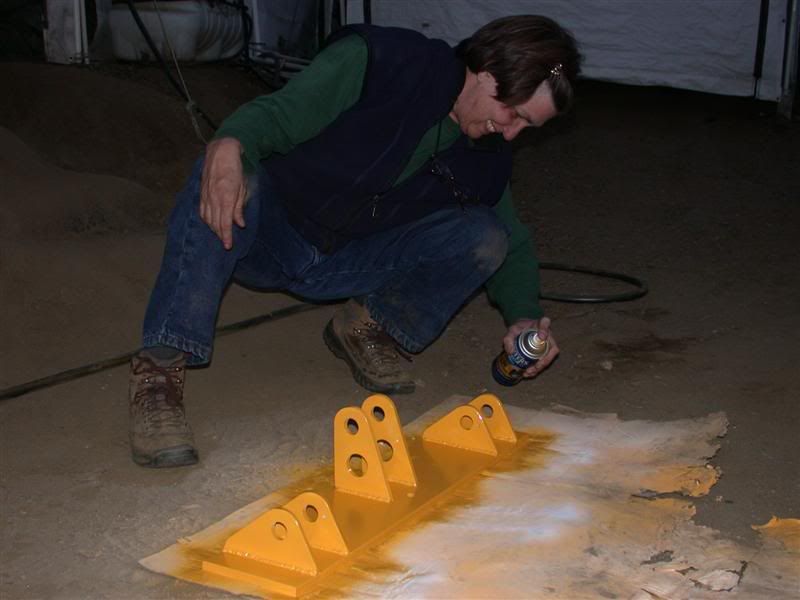
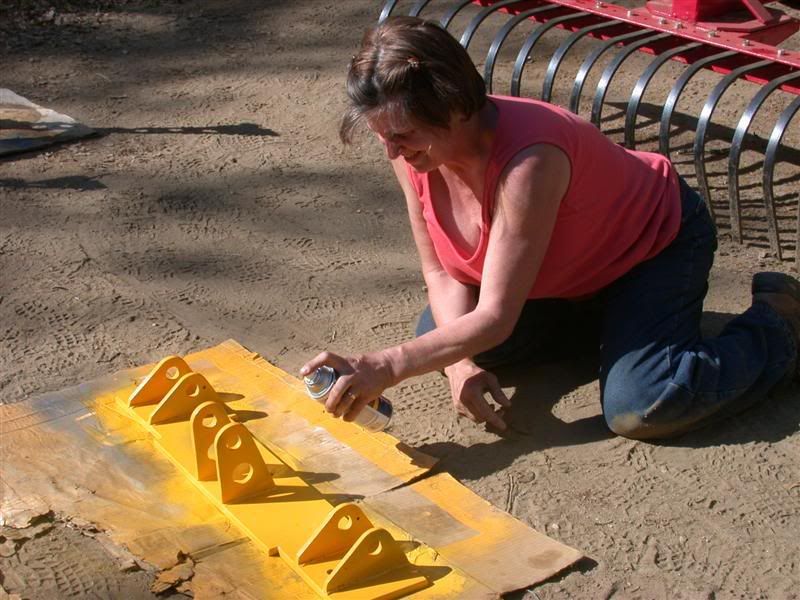
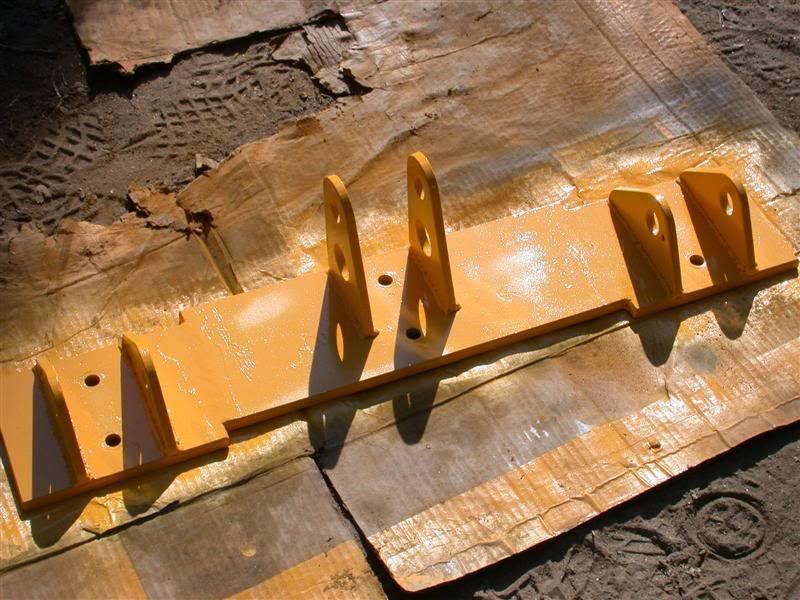
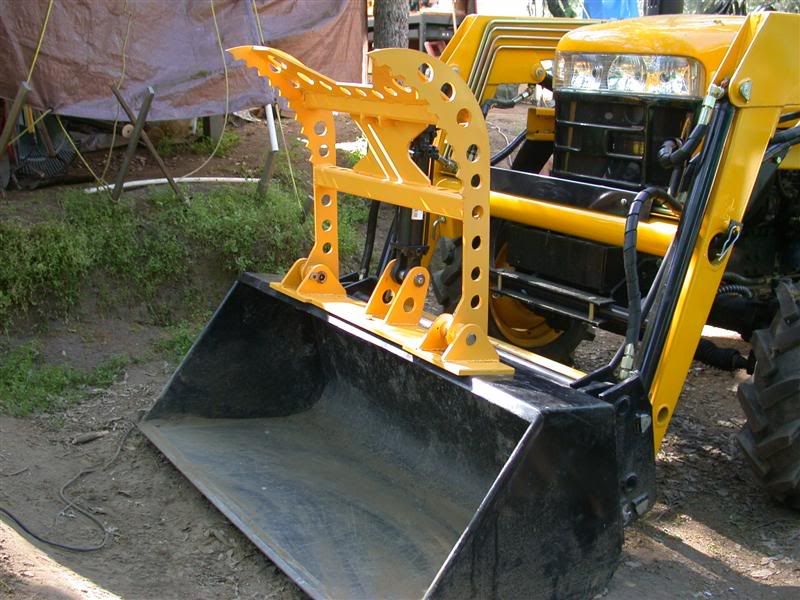
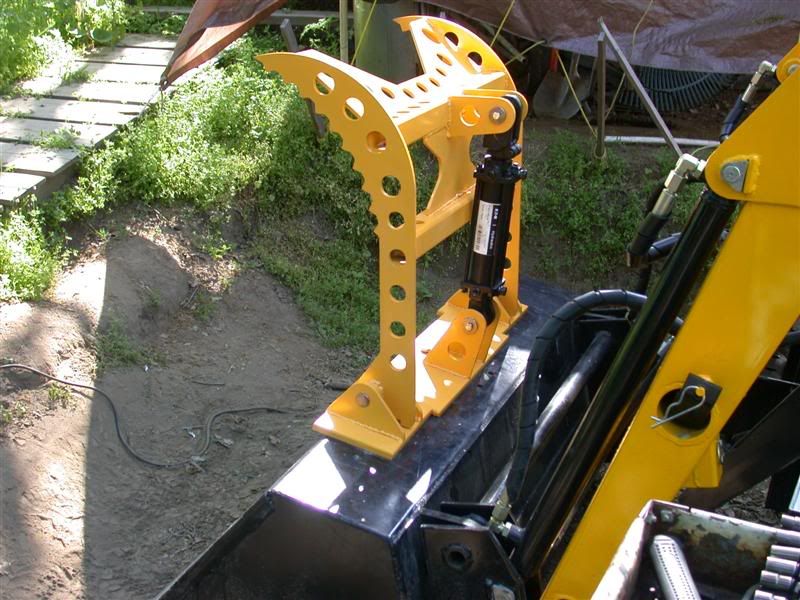
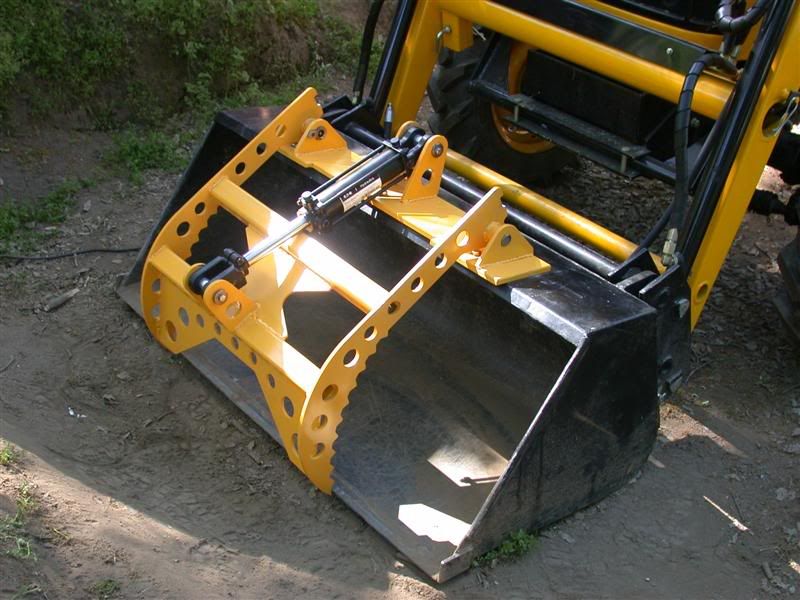
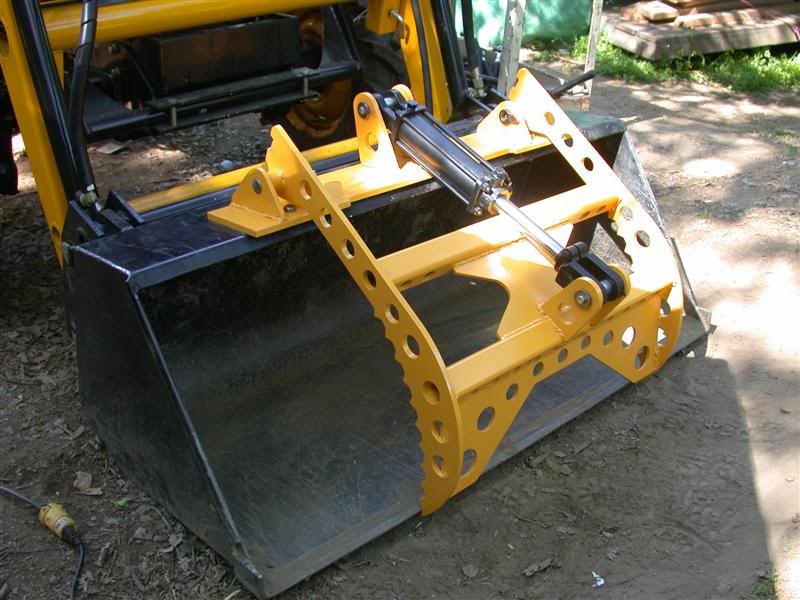
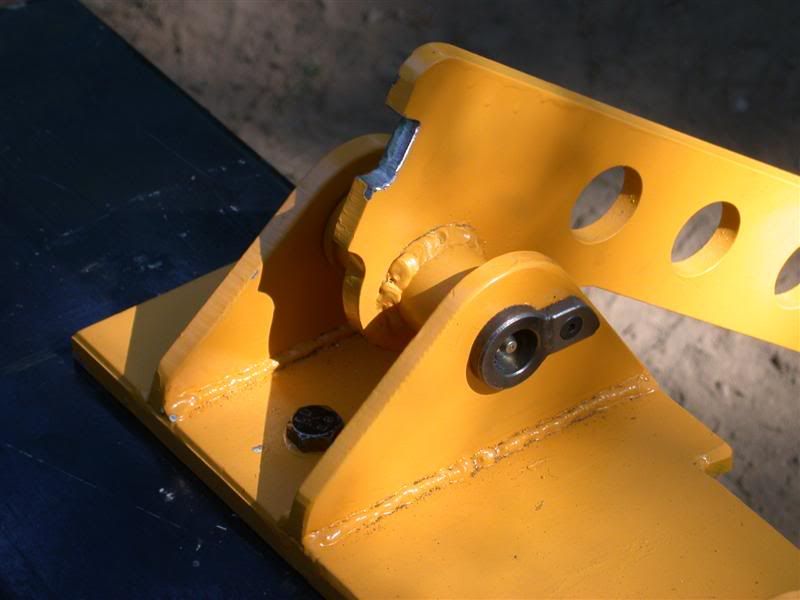
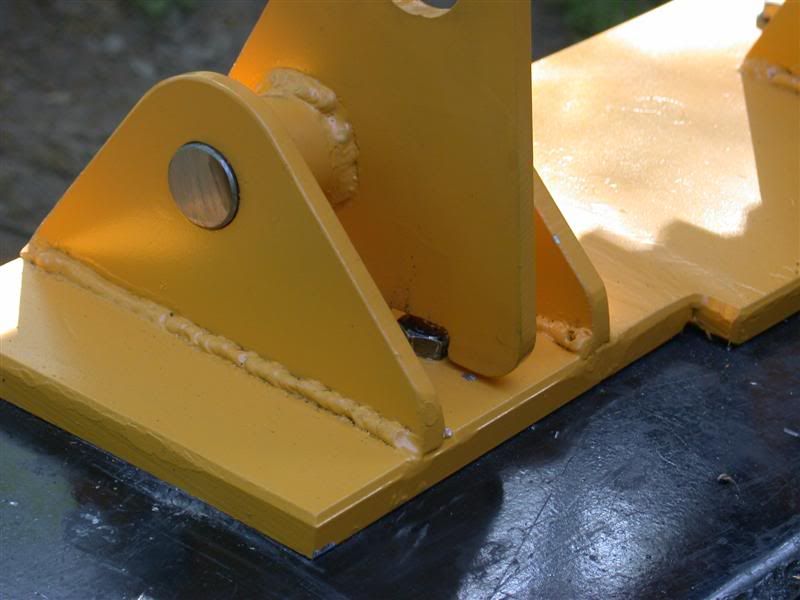
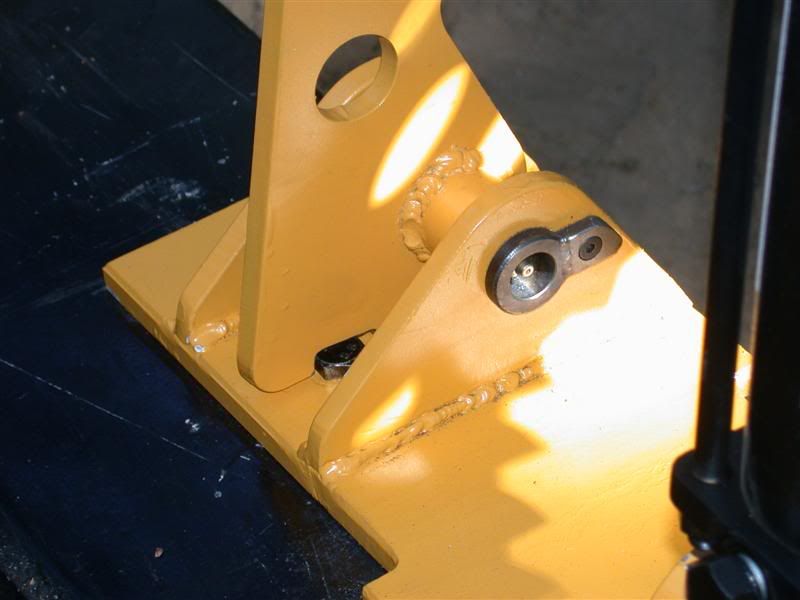
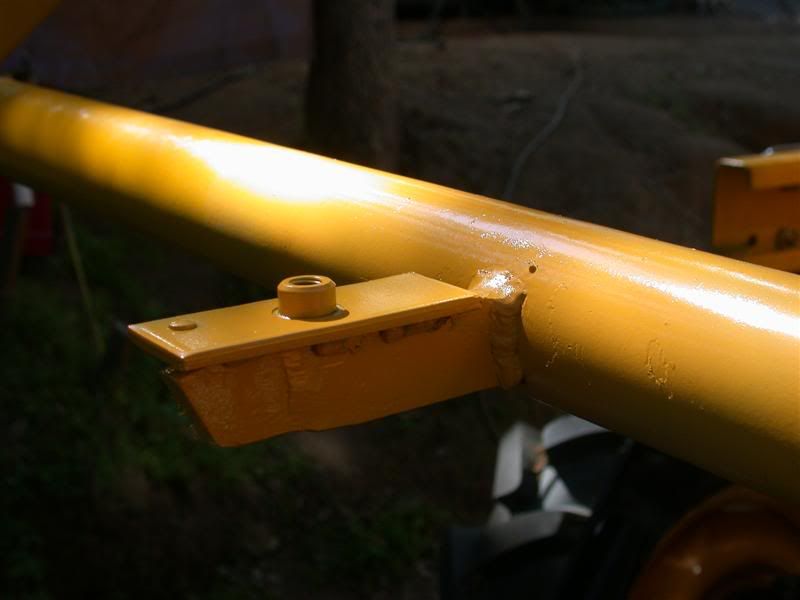
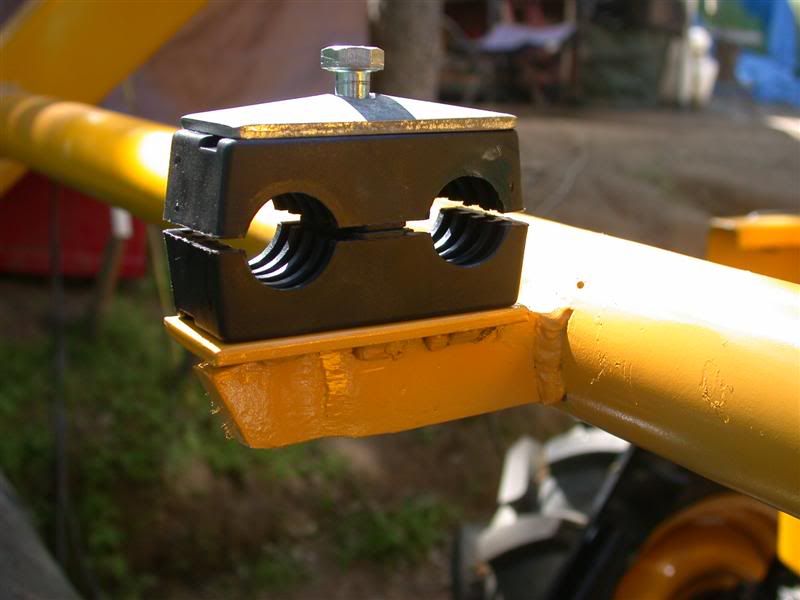
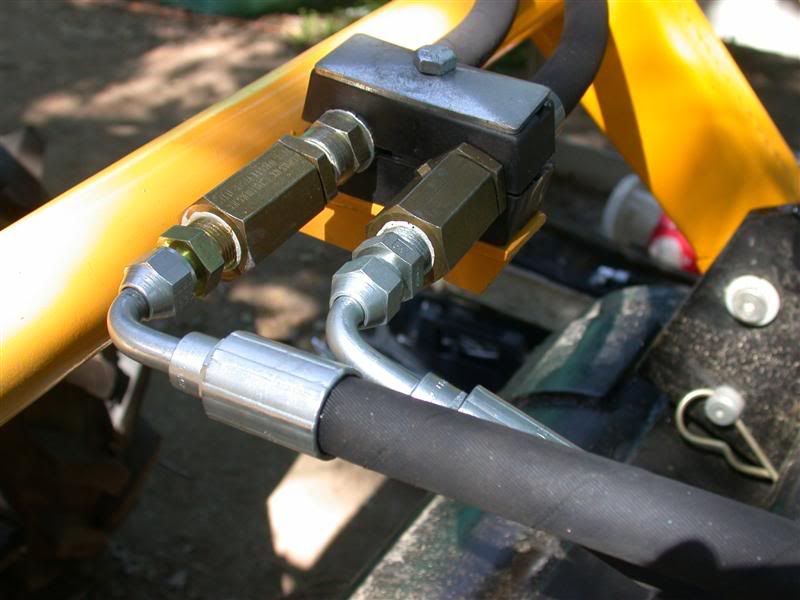
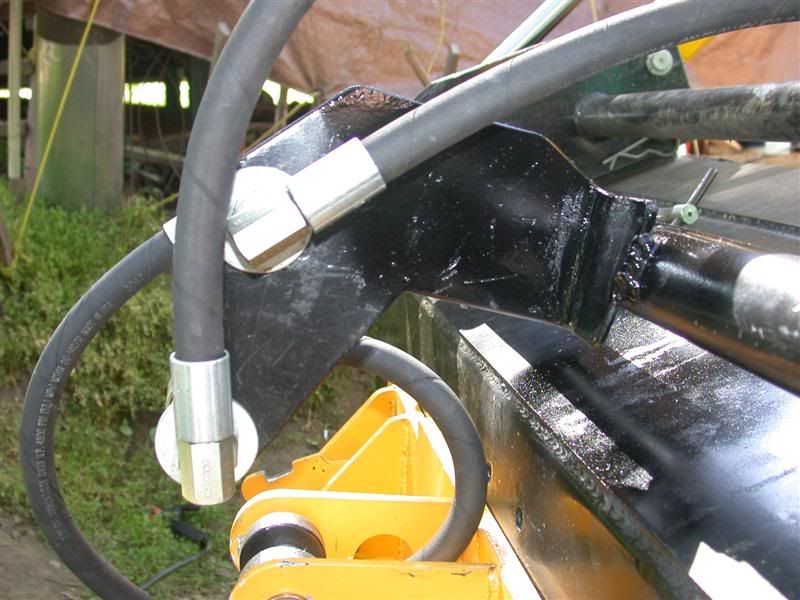
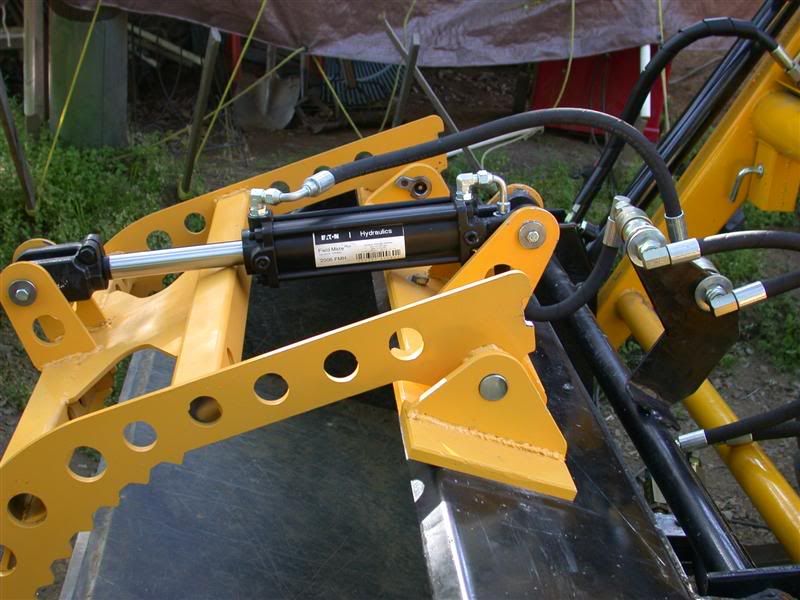
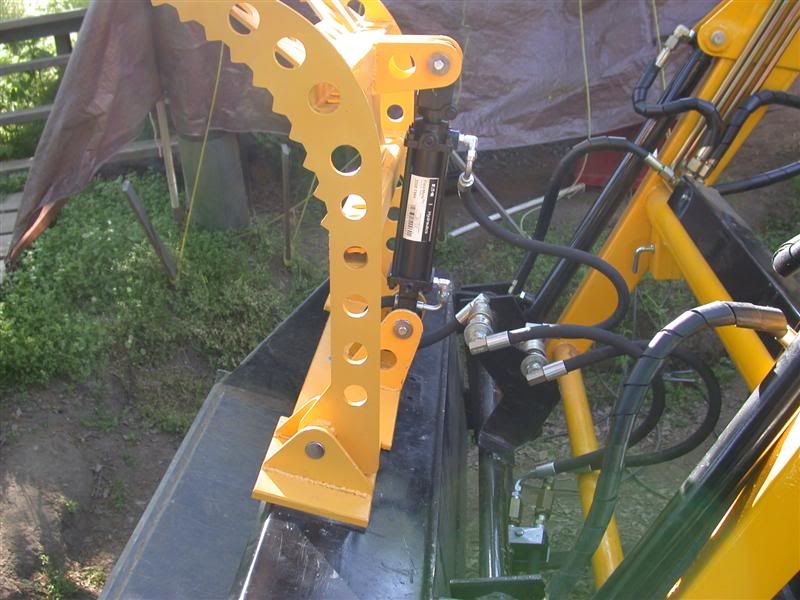
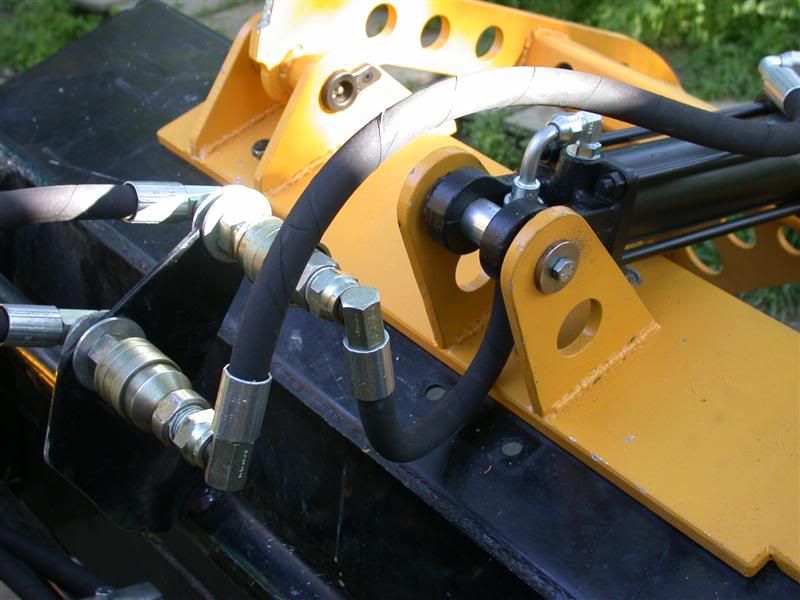
I'm not having any problems seeing the pictures at all. In fact I keep going back to them to pick up details I didn't see the first time.

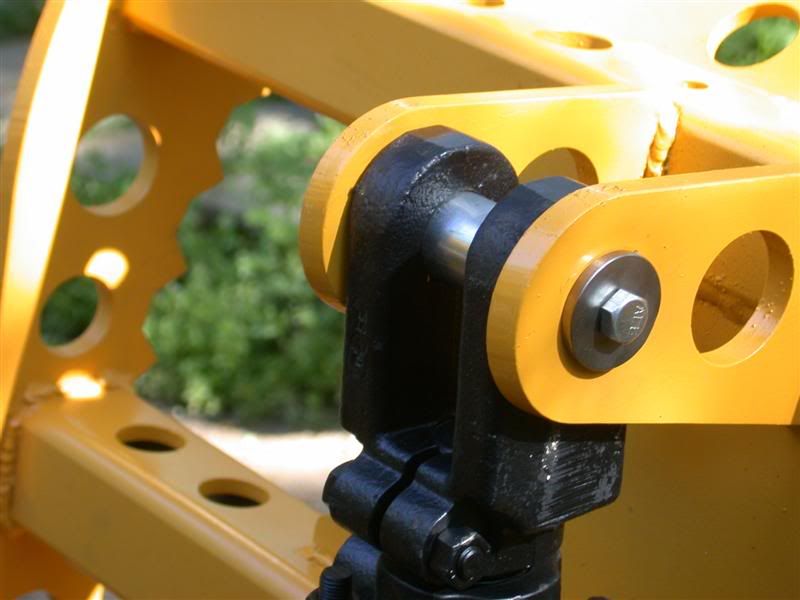
Great job Rob, as usual. You may have some competition getting to your machines in the future!:D

Mike
 
   / My very own grapples! #62  
Mrs3RRL said:
What, you guys don't know that we wives totally understand that the way you select your projects is that you need a new tool in order to do it??

WHAT :eek: not us, I simply won't believe that there is even one of us that do such things.:rolleyes: Oh, new 7"x12" cutoff band saw on the way shortly. It's something that I need so that I can build a new hydraulic rear blade that I think that I want, uh need.:D ;)
 
   / My very own grapples! #63  
Tom_H said:
Somehow, in this thread, the only pics showing up on my screen are the cars in posts #44 & #48. Is anybody else having this problem? I am dying to see these grapples, but can't.
Tom,
Have you checked your browser settings?
All those photos as clickable thumbnails and are posted out of our Photobucket account. You should be able to view them. This is the first I've heard of this problem.
 
   / My very own grapples! #64  
The last visit up was to get the hoses all plumbed, but I got a couple of them made too long and also with the wrong ends on them ... oh just great. So we need to go back next week to get that part fixed. The other thing we did was to weld the pivot mounts to the mounting plate. That part went a little better. We fit the grapples on and checked the lower and upper positions, then I welded them all up.
They will bolt onto the top of her bucket.
Here's Loretta staring to paint them.


Of course I did all the fitting by memory since I forgot to bring a drawing up with me. I thought I got them in the right place but screwed that up too!! I had to cut the plate into 3 sections and move the cylinder pivot back a half inch to be correct. CRAP!!! :mad:
So here is Loretta painting them AGAIN after I finished welding them back up.
I blamed it all on having to meet with the builders several times about that darn log home project and I couldn't concentrate.

 
   / My very own grapples! #65  
Loreta
Those grappels are going to be handy!

My back hurts looking at you and Rob painting them on the ground!

Find a nearby tree and a couple of coat hangers and hang them up My back will appricate it!

tommu56
 
   / My very own grapples!
  • Thread Starter
#66  
RobJ said:
So the boring head (IE or drill bit thingy)

hey, cool! you talk like I do!
 
   / My very own grapples!
  • Thread Starter
#67  
tommu56 said:
Loreta
Those grappels are going to be handy!

My back hurts looking at you and Rob painting them on the ground!

Find a nearby tree and a couple of coat hangers and hang them up My back will appricate it!

tommu56

Heh, heh.... I'm sure Rob will start thinking of things for me to do, as soon as they're on. Already, he's talking about ME mowing the lawn:confused: .... I have this sneaking suspicion that he's doing all this work so he can pawn some of the chores off on me and HoneyBee.

Actually, tommu, we do have a place where we hang smaller stuff up to paint. But these are reaaallllyyyy hheeeaaavvvvyyy. Much easier to paint on the ground. Besides, I'm not too old (yet) to sit on the ground :D
 
   / My very own grapples! #68  
We started mounting Loretta's grapples this week.
All the brackets are now at the right distance apart on the bolt on plate and I adjusted the hydraulic cylinder so the jaw tips meet the front edge. The opening is awesome on this design.

 
   / My very own grapples! #69  
Since we decided to make the top plate a bolt on, I had to cut a clearance in the back of the jaws to miss the bolt head so the grapples could open all the way up and hit those jaw stops. The jaw stops are designed to keep the jaws from flipping over backwards even at maximum opening. The last photo shows how we decided to make the hydraulic cylinder pivot pins attach to the grapple.

 
   / My very own grapples! #70  
Loretta's bucket is a quick attach. We wanted to be able to remove the bucket and grapple from the loader with QC's, so we made some extra brackets for that connection. We had to make some other brackets to allow the shorter hoses to pivot on live swivels while making their bends without kinking. Here are a couple shots of the hoses and brackets that swivel. These are mounted onto the cross tube of the loader itself.
The last photos shows the live swivels we used.


From the loader itself, the hoses connect to the quick attach part of the loader. That is the part that dumps and curls the bucket. We used short hoses there ending in the Quick Connects where the bucket and loader can be removed, leaving the QC's on the loader part.
We had to make special brackets for all those connections.


Tractor & Equipment Auctions

2013 HINO CONVENTIONAL TYPE TRUCK (A47001)
2013 HINO...
Tire Cage (A49339)
Tire Cage (A49339)
2087 (A49339)
2087 (A49339)
John Deere TX Gator (A48561)
John Deere TX...
2077 (A46502)
2077 (A46502)
30in.x57in. Welding Table (A49339)
30in.x57in...
 
Top