Mark_in_IN said:What kind of directions/plans did you get from DIY? Are they very detailed? Did you hand nail or use a powered nailer?
you said you roof metal was 17'-3" was it cut to the right legth or do you have to cut each sheet?
thanks
mark
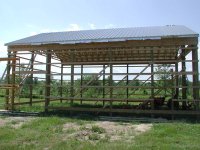
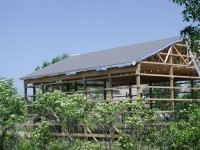
The plans were detailed enough for me but you do need to have a basic understanding on what goes where. It contains detailed pictures on all sides of the building and roof along with elevations. Not everything is detailed like nailing the hurican straps and blocking the trusses. You can ask them for a sample packet and they will send it to you.
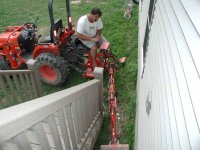
As for nails I asked them to credit me and went and bought my own nails as I have a Paslod framing nailer.
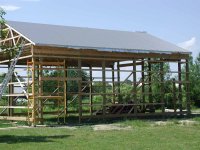
All my steel is cut to length except for the gable ends which I will need to cut the correct angle. The corner rakes, facia, ridge vent all come in 10 ro 12' lengths so I will need to trim these where needed.
Hope this helps.