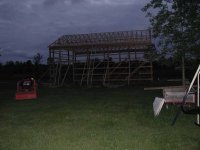
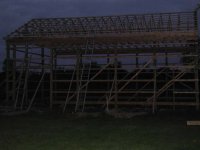
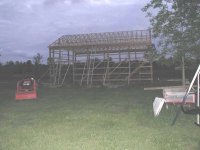
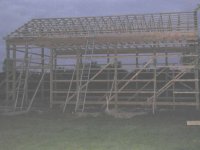
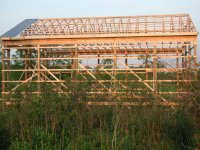
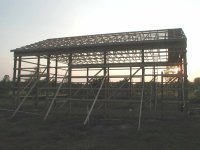
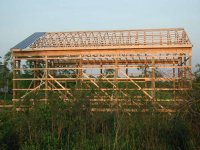
I know what you mean about getting that roofing up there. I built mine myself, I ended up grabbing the edge of the sheet in the middle and carrying it up the ladder with one hand, then grab with both hands and flipped it up on the purlins, then slid it over. I put a temporary stop at the bottom to keep it from sliding off before it got screwed down. Couldn't take pictures, my hands were full trying to not fall off the ladder
")