POLE BARNS RECYCLED

   / POLE BARNS RECYCLED #91  
early on you mentioned

Today, after finishing the holes and adding 2" of #57 stone for drainage, we sunk our first pole I've never heard of putting this stone in a post hole for drainage before. Does anyone else have experience with this and does it work?
 
   / POLE BARNS RECYCLED #92  
billycalexander said:
early on you mentioned

Today, after finishing the holes and adding 2" of #57 stone for drainage, we sunk our first pole I've never heard of putting this stone in a post hole for drainage before. Does anyone else have experience with this and does it work?
I am not positive about the stone working for drainage but it has been a recommended practice for years in all of my self help books. Guess the drainage may be dependent on your soil. The practice has always made sense to me so I have been doing it for years and haven't had any problems. I have seen the damage that water can do to wood that has sat in it for a long time.
David B
 
   / POLE BARNS RECYCLED #93  
Mudcat,

Just found your thread. Great looking project and enjoyed all the progress pics. Hope to see more soon...

Jim H.
 
   / POLE BARNS RECYCLED #94  
Mudcat,
You have a nice building, nice work! As far as the permit is concerned, it took me 3 months to get one here in Alachua County 3 years ago ... an unbelievable experience ... you will need to make sure you get the final inspection and occupancy approval … Many places now days the Tax Assessor does fly overs to check the property for unapproved construction (read more property tax)!
Leo
 
   / POLE BARNS RECYCLED
  • Thread Starter
#95  
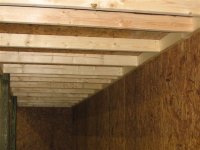
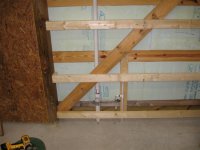
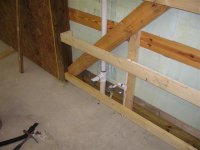
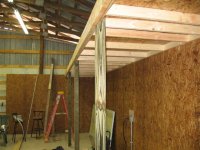
Well it has been a while since I posted. Progress is at a crawl. I have been working the plumbing, insulating and putting OSB on the interior walls, and built a storage shelf.

Here are some pics.


1,2,&3 are of the storage shelf
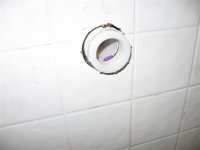
4&5 are of the plumbing for the laundry sink
 

Attachments

  • IMG_0503 (Small).JPG
    IMG_0503 (Small).JPG
    60.6 KB · Views: 322
  • IMG_0504 (Small).JPG
    IMG_0504 (Small).JPG
    59.1 KB · Views: 266
  • IMG_0505 (Small).JPG
    IMG_0505 (Small).JPG
    46.2 KB · Views: 257
  • IMG_1272 (Small).JPG
    IMG_1272 (Small).JPG
    41.2 KB · Views: 256
  • IMG_1273 (Small).JPG
    IMG_1273 (Small).JPG
    39.4 KB · Views: 264
   / POLE BARNS RECYCLED
  • Thread Starter
#96  
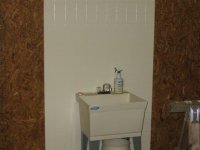
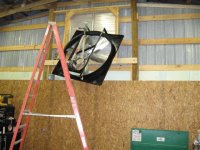
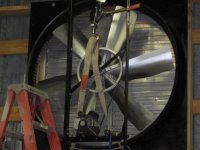
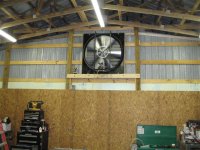
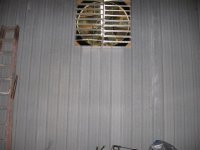
Well I almost have the sink finished and I did get the exhaust fan installed and temp. wired.

Here's a few more photos.


#1 is a shot of the almost finished laundry sink
the next five are of the fan being installed
 

Attachments

  • 20070523_00000001 (Small).JPG
    20070523_00000001 (Small).JPG
    32.5 KB · Views: 199
  • 20070523_00000001_1 (Small).JPG
    20070523_00000001_1 (Small).JPG
    62.1 KB · Views: 176
  • 20070523_00000001_2 (Small).JPG
    20070523_00000001_2 (Small).JPG
    61.6 KB · Views: 169
  • 20070523_00000001_3 (Small).JPG
    20070523_00000001_3 (Small).JPG
    45.7 KB · Views: 162
  • 20070523_00000001_4 (Small).JPG
    20070523_00000001_4 (Small).JPG
    60.7 KB · Views: 176
  • 20070523_00000001_5 (Small).JPG
    20070523_00000001_5 (Small).JPG
    38.5 KB · Views: 188
   / POLE BARNS RECYCLED
  • Thread Starter
#97  
Okay the only thing holding up finishing the sink was an oops. I installed the wrong pvc adapter. I thought I put on an adapter that was for 1-1/2" to
1-1/2" threaded. Not the case when I attempted to plumb the p-trap. It turns out I had installed an 1-1/2"-1-1/4" threaded adapter.

Off to the store to pick up the right part. I thought I could notch the old adapter and chip it off. Lets just say that didn't work out to well.

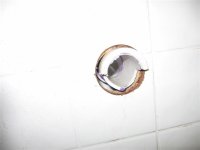
Now I'm looking at a pipe broke off in the wall. And I walked away.:) I did not want to remove the fiberglass tile board and OSB to repair the pipe. Nor did I feel like another trip to the store.

After thinking it over awhile I remembered a trick an old Friend showed me.
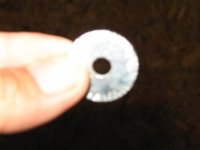
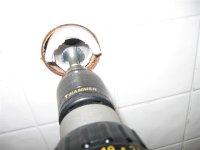
I took a 1" fender washer and lightly notched the edge all the way around, inserted a bolt and nut,attach to a cordless and tah-dah, a poor mans cut off wheel. In a pinch it did the trick.


#1 pvc adapters
#2 busted pipe
#3 modified fender washer
#4 work in progress
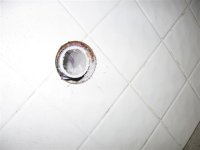
#5 repaired pipe
#6 new adapter installed


NOTE:There was a tractor involved in the making of this project.:rolleyes: :D :D :)
 

Attachments

  • 20070524_00000001 (Small).JPG
    20070524_00000001 (Small).JPG
    39.5 KB · Views: 221
  • 20070524_00000001_1 (Small).JPG
    20070524_00000001_1 (Small).JPG
    18.9 KB · Views: 189
  • 20070524_00000001_2 (Small).JPG
    20070524_00000001_2 (Small).JPG
    20.9 KB · Views: 180
  • 20070524_00000001_3 (Small).JPG
    20070524_00000001_3 (Small).JPG
    24.9 KB · Views: 184
  • 20070524_00000001_4 (Small).JPG
    20070524_00000001_4 (Small).JPG
    23.3 KB · Views: 182
  • 20070524_00000001_5 (Small).JPG
    20070524_00000001_5 (Small).JPG
    21.4 KB · Views: 222
   / POLE BARNS RECYCLED
  • Thread Starter
#98  
Almost 3 years and still not finished. I've had other priorities. But now I'm looking at shop layout. Hoping to get some ideas on what others have done.
 

Tractor & Equipment Auctions

2015 Ford Explorer AWD SUV (A50324)
2015 Ford Explorer...
UNUSED AGT KFE-20 ELECTRIC STRAIGHT MAST FORKLIFT (A51243)
UNUSED AGT KFE-20...
2004 Dodge Dakota Ext. Cab Pickup Truck (A50323)
2004 Dodge Dakota...
PORTER CABLE 150 PSI AIR COMPRESSOR (A50854)
PORTER CABLE 150...
2015 Jeep Compass SUV (A50324)
2015 Jeep Compass...
Quick Attach Pallet Forks (A47384)
Quick Attach...
 
Top