billycalexander
Member
early on you mentioned
Today, after finishing the holes and adding 2" of #57 stone for drainage, we sunk our first pole I've never heard of putting this stone in a post hole for drainage before. Does anyone else have experience with this and does it work?
Today, after finishing the holes and adding 2" of #57 stone for drainage, we sunk our first pole I've never heard of putting this stone in a post hole for drainage before. Does anyone else have experience with this and does it work?

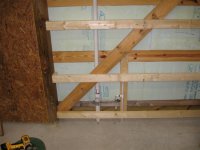
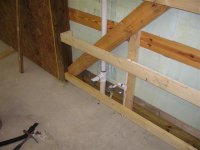
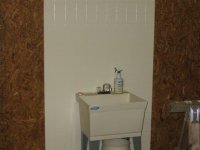


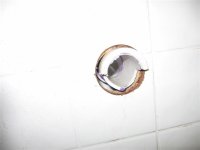
") I did not want to remove the fiberglass tile board and OSB to repair the pipe. Nor did I feel like another trip to the store.
I did not want to remove the fiberglass tile board and OSB to repair the pipe. Nor did I feel like another trip to the store.