OP
Iplayfarmer
Super Member
What is it about a bedrail that it has to be made from such hard steel?
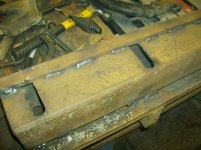
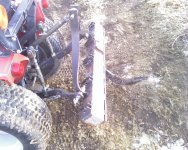
how i mounted my shanks
More work tonight and more pics.
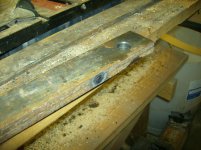
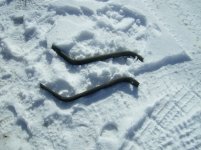
I got the good angle (not the bedrail) cut, drilled, and welded in place.
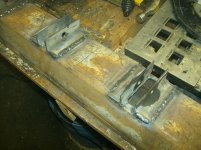
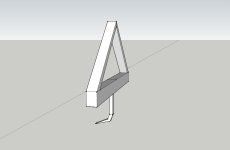
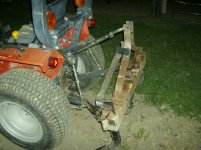
I also got the stock cut and drilled for the A-frame to accept the 3 point. Notice how I tacked the two pieces together before drilling to be sure I had exact mirror image sides. Now I have to figure out how to bend the angles in the A-frame without a torch to heat the metal.
A shop press could bend up to 1/2 in steel. You could cut the metal to the angle and weld together. You could take the pieces to a fab shop and let them bend them. Back yard style, place the steel between two cement blocks, or wood, or other pieces of steel, and use a steel wedge or sledge or both. If you can mount the steel solid somewhere, you might be able to use a hydraulic jack.
What is it about a bedrail that it has to be made from such hard steel?

I give up. I guess I'll have to download Sketchup and fritter away a day learning how to use it or buy a scanner ... grrrr.
Thats a 4 inche square stock, then how wide are the shanks? 3 inches? I'm also curious about why some subsoilers have shear bolts, and others do not. Thanks.