I also recommend more rollback be built into the frame, especially for going downhill. :thumbsup:
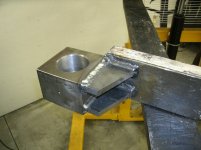
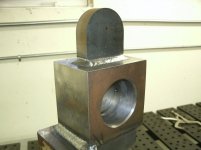
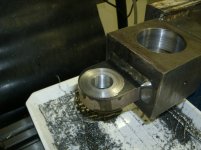
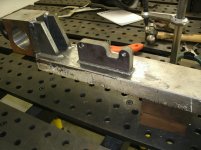
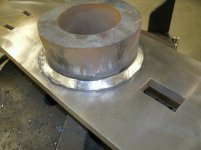
Here is a visual from my 3 point adapter.
View attachment 452804
Jim T alluded to this also. Thanks! Good stuff!
I also recommend more rollback be built into the frame, especially for going downhill. :thumbsup:
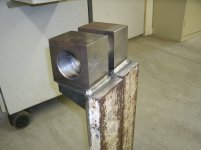
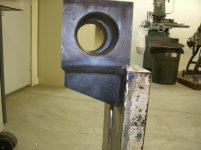
Here is a visual from my 3 point adapter.
View attachment 452804
Rack and pinion would work too. You'd need another bar to keep them from binding, but a little hydraulic motor would turn that pinion with ease and speed. Put the motor in the middle between the SSQA pads.
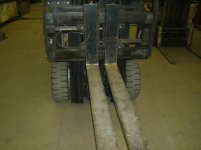
Good point. How do they do it on forklifts?
I don't think I've ever seen a forklift with hydraulically adjusted forks spacing but if they exist, I'm sure they have 2 cylinders. Forklifts aren't cheap so they're not likely to try to save the money on 1 cylinder and control if they have that feature.
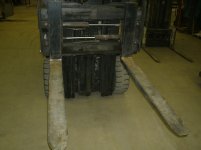
This forklift has it and yes, it is run by two cylinders. The forks are supported on the top and bottom where they slide by fairly wide supports to prevent binding, which is my biggest concern with my design. I'm guessing this forklift uses a flow divider between the two cylinders, but I don't know for sure.
I think painting or coating the forks themselves will be a waste of time. They get subjected to some pretty gnarly scraping forces. I've never seen a used set of forks with paint left on them, just light rust.
Nice build so far though.
Reason for coating the forks is that I do not have any space to store them inside. In fact, I'm running out of room on my cement slab outside.I think painting or coating the forks themselves will be a waste of time. They get subjected to some pretty gnarly scraping forces. I've never seen a used set of forks with paint left on them, just light rust.
Nice build so far though.