You are using an out of date browser. It may not display this or other websites correctly.
You should upgrade or use an alternative browser.
You should upgrade or use an alternative browser.
Water Line and MiraFount Installation - lots of Pictures
- Thread starter DT86
- Start date
- Views: 22835
More options
Who Replied?
/ Water Line and MiraFount Installation - lots of Pictures
#31
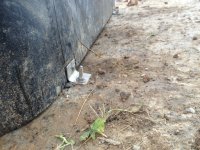
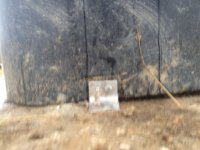
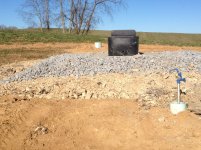
Once you've got the through back on your marks you drill the holes for the concrete anchors and install them, since my concrete was less than a day old I didn't tighten them up all the way. With 70 gallons of water plus the weight of the trough it will weigh ~712#'s, I thought it would be ok until I decided it was cured enough to tighten them the rest of the way. Here they are all tightened down as of yesterday.
After setting the anchors it is time to install the float and valve.
I thought that I had plenty of pictures to help explain this step but after reviewing them they seem to be lacking.
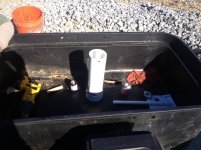
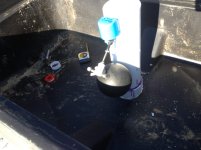
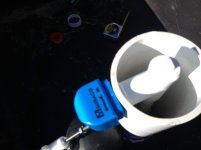
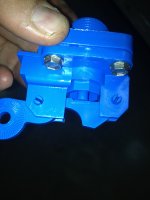
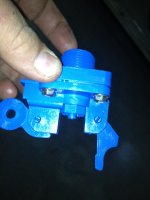
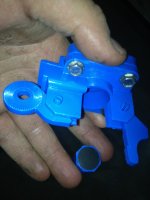
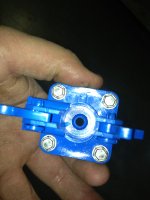
The first thing is to remove the valve supply fitting from the included goodie bag. It is simply a 90 degree fitting that is formed to fit snug to the inside of the internal 4" heat well with female threads for the valve to screw into. It also has a top plug that can be removed to bleed air.
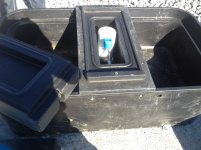
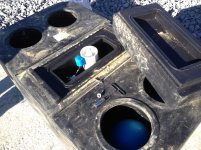
Dry fit the 4" heat tube into the bottom of the trough. Now mark the 3/4" supply line 2 3/4" below the top of the 4" tube. Remove tube and cut the supply line. Now refit the tube and test fit the supply fitting height to ensure it will protrude through the 4" tube when installed. Make adjustments as needed and then install the 4" tube and the supply fitting using the pipe primer and glue. I like to glue them and fit them both at the same time so if the supply line is slightly short you can adjust how far the supply pipe engages the supply fitting.
The next thing to do is to put Teflon tape on the valve threads and screw it into the supply fitting hand tight. The pictures here show the float arm already installed. You want to leave this off until the valve is screwed in.
Willl
Elite Member
Nice job DT.
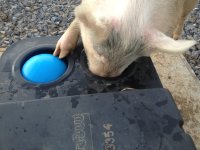
Had a ? on the install instructions, specifically the water level to keep the balls from getting freeze stuck in the openings.
Is the idea to keep the balls just barely touching the openings so they don't stick or ?
You going to do something with the studs sticking up at the base hold downs ?
Had a ? on the install instructions, specifically the water level to keep the balls from getting freeze stuck in the openings.
Is the idea to keep the balls just barely touching the openings so they don't stick or ?
You going to do something with the studs sticking up at the base hold downs ?
Nice job DT.
Had a ? on the install instructions, specifically the water level to keep the balls from getting freeze stuck in the openings.
Is the idea to keep the balls just barely touching the openings so they don't stick or ?
You going to do something with the studs sticking up at the base hold downs ?
Why thank you Sir.
According to the instructions supplied with the trough, the balls are supposed to just barely touch the openings and leaving them "a little loose is recommended".
In my experience the slab won't be perfectly level, either because you poured it a little off, the base under it has settled over time or both. This leaves one set tighter than the other. The cattle don't seem to prefer the looser fitting balls over the tighter ones leaving me to believe they don't care either way.
As far as freezing goes I have never had all the balls freeze tight on one trough. It seems like three of them might freeze, then the fourth one gets used by all the cattle. Since it then gets used more frequently being the only one available it never sits long enough between uses to freeze solid.
The biggest thing to watch out for is overflow. There are two small over flow ports, one on each side at opposite ends of the trough. I have one trough that must settle more so than the others, (I have 6 total now) and I have to readjust the float about once a year. Sometimes it overflows and other times it isn't full enough.
I should also mention here that there are fiberglass rods included to hold the balls in the water, these are suppose to be used to train new cattle to drink from them. I personally have never used them.
And the studs, they are close enough to the trough that they cannot really be stepped on. I left them on all my other troughs the same as shown here without any problems so far.
Thanks for your questions and for watching.
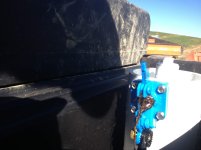
After letting the glue dry over night it's finally time to turn on the water and adjust the floats.
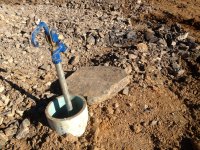
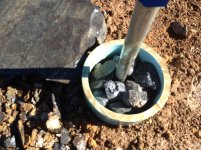
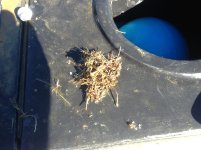
When I turned on trough #2 no water came out. Upon closer inspection this little ball of dry grass turned out to be the problem.
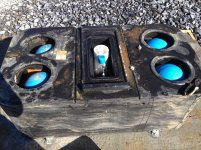
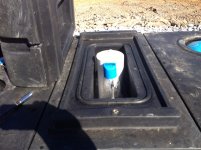
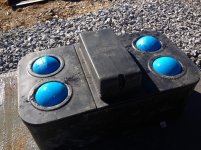
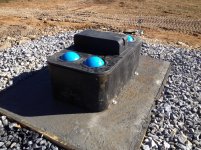
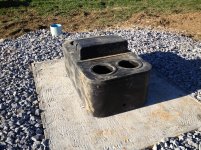
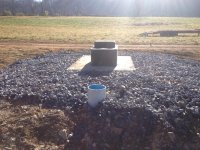
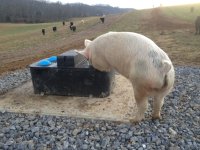
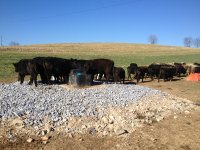
All set and ready to go.

My reward for completing the project.
:drink::cool2:
I couldn't have gotten this done with out the help of my friend who loaned me his skidsteer, my other friends Dad who rode that dreadful Ditch Witch for me, one buddy that works for me when he can, another who helps out occasionally for the hunting rights and my Girlfriend, who has to deal with all of our BS!!
:laughing: :thumbsup:
As mentioned before, this is all part of a much longer project of turning a corn/alfalfa field into useable pasture for rotational grazing. The other parts of the project include almost 13,000' of high tensile fence building (part way complete), about 2,800' of slate farm road (built during the same time as the water line), planting Timothy, Orchard grass and Ladino clover (complete) and spreading 120 tons of chicken litter (got ~60 tons this Fall, the rest in the Spring 2013).
I hope to share the rest of these projects over time, I'm just so slow at uploading them it may take FOREVER.
