OP
weldingisfun
Veteran Member
- Joined
- Dec 12, 2006
- Messages
- 1,824
- Location
- West Bell County, Texas
- Tractor
- Mahindra 4500 4WD w/FEL, and Scotts S2048 lawn tractor
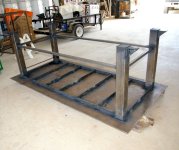
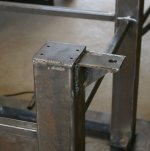
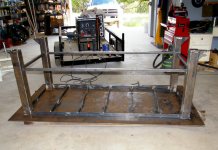
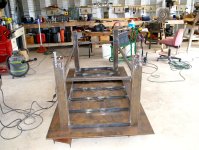
Finish welding began. My approach was to finish the legs one at a time. First the leveller/brake was welded in place, then the caster mounting plates, the spreaders and finally the external stiffeners.
The wire feed welder didn't like it to much when the temperature went over 90 and I exceeded it's duty cycle, so it shut down. Not wanting to waste time waiting on the wire feed recycle, I cranked up the Hobart and started finish welding the stiffeners to the table top.
You may notice that there are no close up shots of my welds. If you don't understand why. just go back and read the first post.
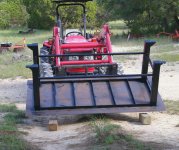
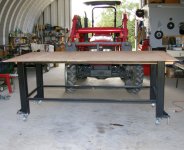
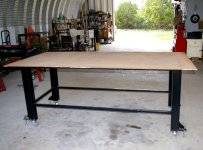
By the end of the day, two legs were finished and about half of the stiffeners. This baby will be finished this weekend. Waa-hoo!:thumbsup:
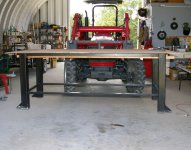
Still haven't figured out how I'm going to turn this thing over without damaging something or killing myself. Any suggestions?
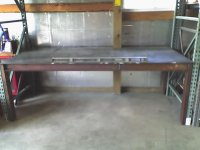
Harv, you can see that 24' workbench in that last pic. That is why no deck under the table.
The wire feed welder didn't like it to much when the temperature went over 90 and I exceeded it's duty cycle, so it shut down. Not wanting to waste time waiting on the wire feed recycle, I cranked up the Hobart and started finish welding the stiffeners to the table top.
You may notice that there are no close up shots of my welds. If you don't understand why. just go back and read the first post.
By the end of the day, two legs were finished and about half of the stiffeners. This baby will be finished this weekend. Waa-hoo!:thumbsup:
Still haven't figured out how I'm going to turn this thing over without damaging something or killing myself. Any suggestions?
Harv, you can see that 24' workbench in that last pic. That is why no deck under the table.
")