TBDonnelly
Veteran Member
- Joined
- Sep 11, 2005
- Messages
- 1,402
- Tractor
- Kioti CK30HST, KL130 FEL, turf tires
You guys make me laugh...and that's a good thing!
.......and I always thought Borax came from 20 mule teams. :confused2:
Don
You guys make me laugh...and that's a good thing!
.......and I always thought Borax came from 20 mule teams. :confused2:
Don
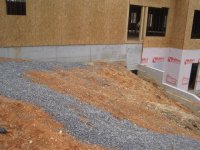
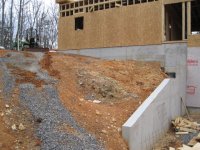
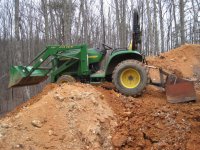
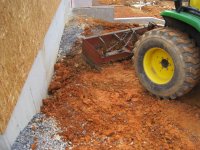
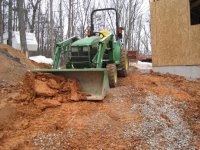
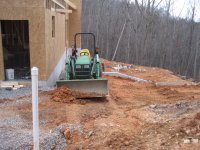
My goal is to have the dirt against the retaining wall slope away from the wall for 6 feet to minimize water that reaches the wall. Doing so will help minimize freezing forces against the wall during the winter.