4shorts
Elite Member
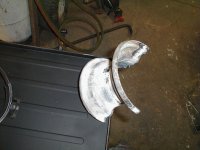
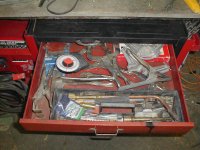
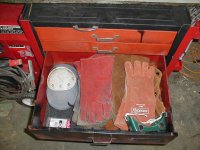
I'm realizing that test fitting may not have been the best idea. It's taking intense self control to not load up the tool box and start using the cart "in the raw". I like building, but paint and finish is not my favorite part.
What I need to do is take the toolbox back off now while I still can. Then I won't be tempted to load it up with tools.
Patience is a virtue my friend. By you taking your time and not taking short cuts will prove you have what it takes to get it done and done right. When ever you do something remember what I'm going to tell you now.
" ...Excellence is not a skill. It is an attitude..."
Nice job farmer. It looks good.:thumbsup:
The only problem that I can see is that you've got me thinking again that I've got to get myself a welder.:laughing: :laughing:
Jeeze. I thought you had a guy up in Canada that did welding for you
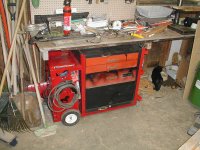
:laughing:I made myself do it. I painted the cart. I even tried my hand at stenciling. The flat parts of the cart were a little streaky, so I put some pictures on them to distract the eye from the poor paint job.
I put the question to the kids what picture I should put on there. My oldest daughter won by suggesting a horse. My son suggested a dinosaur, but I can't really relate to the dinosaur. I can relate to the horses. The top horse is supposed to be our grey gelding. He's in the second picture so you can see what the stencil is supposed to look like.
I still have to put the cord reels on. I'm going to paint the cord reels separate and then weld them on. I'll have to do a little touch up painting.
Man oh man that looks good! What a difference a flick of paint does! You've arrived sir and you did it right (pat on the back) If your not proud then you should be
See what using your imagination and not taking short cuts did to your project? It did a mighty fine job. Tip my lid to you :thumbsup: