USNative,
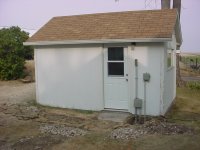
I attempted to determine if you had run your underground power in conduit or if it is direct buried, but I was unable to tell from the pictures. A very close friend of mine is an electrician and he convinced me, many years ago, to put all underground services in oversized conduit so it is possible to add to, or upgrade a service, simply by pulling the new wire in and thus avoiding new excavation to make service changes. He also recommended placing a seperate empty conduit on the other side of the ditch, with a pull line in it so a telephone line or data line of some type could be pulled in at a later date without more digging.
Over the years, his recommendations have come in handy a number of times when I have made service changes between facilities. In the pictures your ground appeared to be plenty rocky and keeping excavation to a minimum is probably pretty desireable.
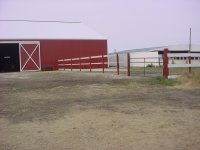
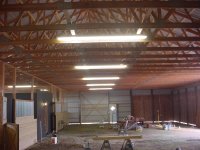
That was the only other item that came to mind. Your new building is something to be proud of. I just thought I would mention the conduit recommendation because I know how glad I have been that a service had been installed in conduit when considering making service changes.


 That solar power you are talking abut sounds pretty nice. I may look into that later as another option as well.