Here are some pictures of the backhoe main frame housing; cleaning, prepping and painting.... My overhead crane was really indispensable for this part of the restore. The metal is so thick and massive that you just can't maneuver it for all the operations that I needed to do, without an ability to lift, swing, tip the part.
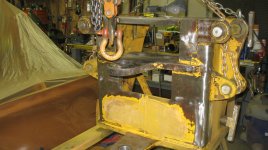
This is a shot of the housing upside down and I was stripping paint, chasing threads and prepping for later welding.
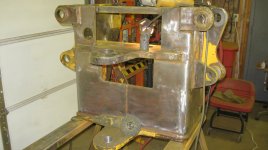
Most of the paint off the sides, then lacquer thinner was applied by rag, to clean any remaining grease and paint dust off. I used these really neat paint removing disks on my 4 1/2" angle grinder. For me, it was less messy than liquid paint remover and faster to remove paint and rust.
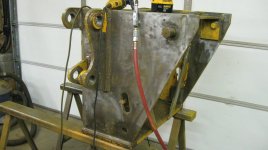
Just a shot of the right side and still upside down.
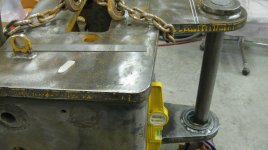
Ok, I now have the housing cleaned up and back over behind the tractor, and checking the alignment of the two bores that connect with the tower. Somehow, the upper flat had been bent up and by using a solid straight piece of round 2"bar I was able to see the problem. The lines on the flat shows where I had to heat it, then bend it down for the final alignment. Man that thick iron soaked up the heat. I turned up my largest rose bud tip and it took a long time to get it to a bendable temperature.
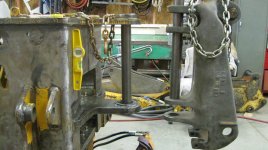
This one shows how much it was off. The bottom (self-aligning) bushing was in it's housing and 2'' round bar was about 1/2" off of the bore. I have no idea how you bend an over 1" thick flat stock. It's just that after installing all the new bushings nothing would line up, which means that there was an awful lot of play in all of my connection and now I know why everything was so loose!
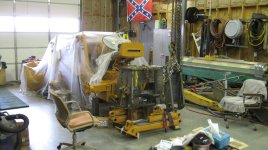
This one is just for perspective, show how I was using the crane to align parts.
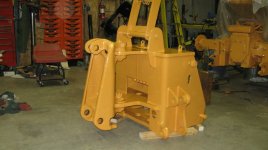
After machining the pins, bushings and such I now have the right tension set on the bottom pin-bolt and it really rotates nice!
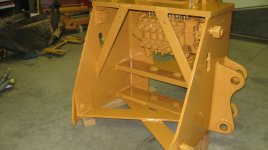
Got the valve body cleaned, painted and bolted up, ready for the levers.
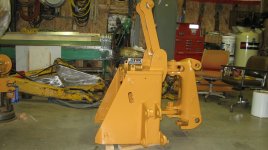
This is a good angle of the boom holder that I designed and fabricated. It really came in handy as a crane connection for moving this part around. It made it so that I didn't have to scratch paint with my lifting chains as I was positioning the heavy thing.
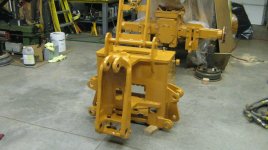
This picture is just showing it's time to hook it up with the docking bars on the tractor.
I've got several more posts that I'm working on to show you guys before I make may final presentation and maybe I'll still get another one out later today, thank you all again.....


