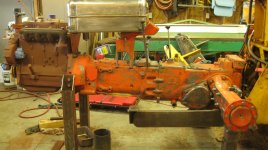
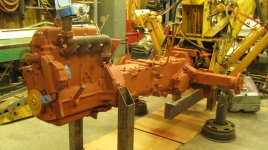
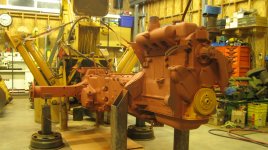
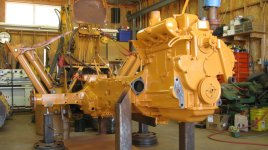
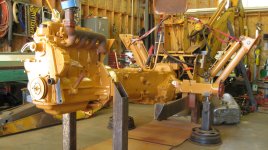
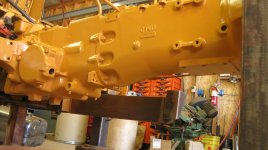
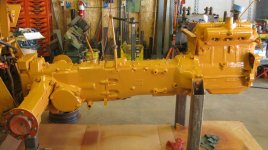
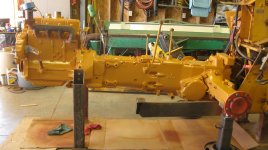
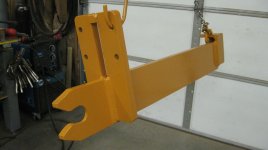
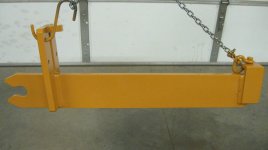
Here are some of the pictures that I promised.
I've included some old and the new ones so that you can see it in order of progression. Well most of the pictures are kind of self explanatory and you probably don't need captions, but here goes:
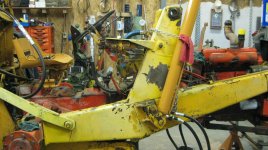
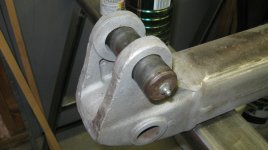
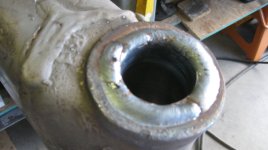
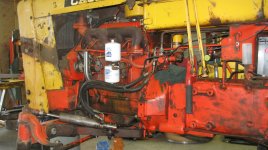
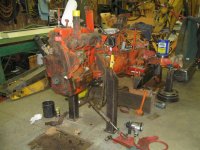
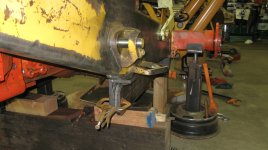
Just one to show how it looked before disassembly, the damage on the front part of the arm. If you look at the very upper part of the tower with the hole through it you can see how buggered up the welding and fit were. Someone at an earlier time had tried to fabricate a partial replacement of the tower and re-align the pivot boss and bushing and it was never right so I am discarding most of it and using only the rear undamaged flange that attaches the arm to the rear axle.
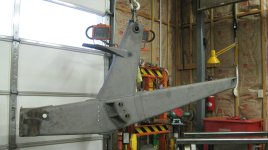
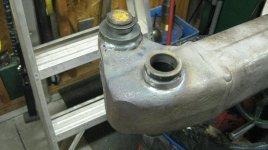
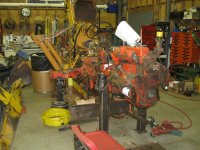
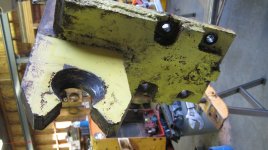
This is my used replacement arm (after sandblasting), shows the damage to the rear flange and why I am cutting it off and discarding it. You know, most of these pieces of equipment are so abused that I don't think you could ever find one that is complete and undamaged at least some place on the tractor after 50+ years of use.
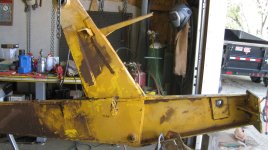
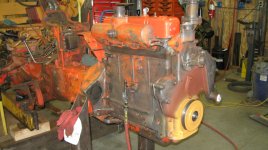
This one shows how bad the repair was on the front part of the old arm (angle iron and fish plates on the tower) but the axle flange is good. It was leaking hydraulic fluid in so many places (looking at the dried dirt and oil on face and this was after I had pressure washed the machine) that there was no way to rebuild or preserve it.
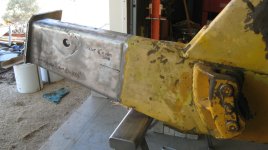
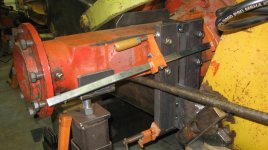
OK, I determined where to cut the frame and put indexing marks on the rear flange (removed paint on the surface of the part) to speed up the re-join. Look at how the upper bracing arm of the backhoe has dug into the metal frame from the pressure exerted from the hoe working on the frame..
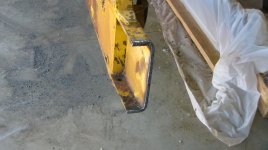
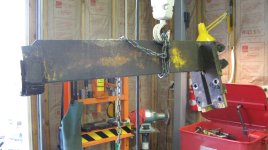
This is what is left from cutting the old frame arm and will discard this part. By the way; the section is 3/8" steel. I'm sure that Case sheared the steel from plate stock then broke the radiuses bends, then put them together in a jig and welded them up to form the structural frame arm. I found it pretty amazing that the two frames that I had from different build years were so close in size and shape, it shows Case's willingness to maintain quality control in their manufacturing process!
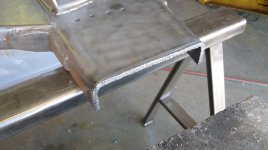
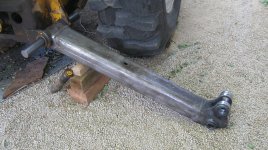
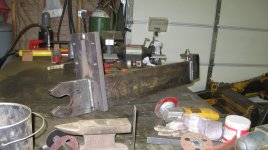
This is the sandblasted front section and will dress this to weld to the flange off of the other arm.
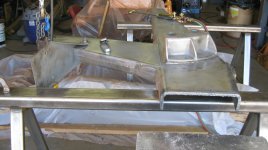
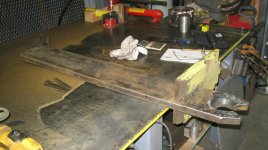
Just a larger picture of saved piece and my cutting torch.
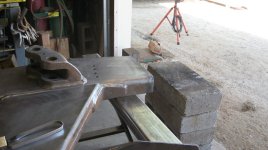
I stacked up a pile of PT blocks to catch the end as it is falling off after burning off the flange, so it won't fall on my toes.
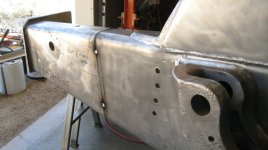
After grinding and preparing both pieces and several test fits I clamped the 2 pieces together and tack welded them.
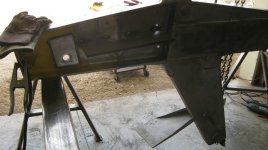
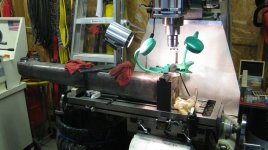
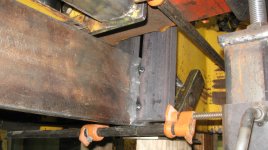
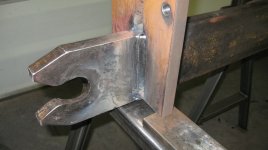
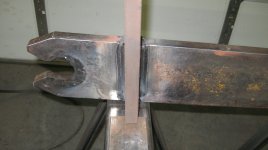
Fitting up the stiff backs (1/2"x6" bar stock) to maintaining straight and cut down on warpage during welding. Doing something like this is akin to putting walers (horizontal support) on concrete forms, resists the pressure exerted by the heat of welding.
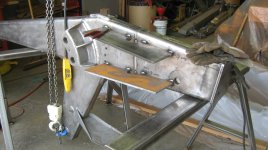
Looking at the set up from the outside after tacking.
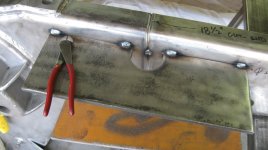
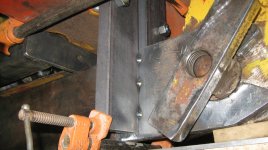
Close-up of the rat holes and stiff backs. The rat holes were so that you can continue the weld through the backing stock.
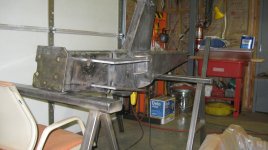
I only welded about 4" at a time let it set for awhile to cool (keep the heat warp to a minimum) then proceed again.
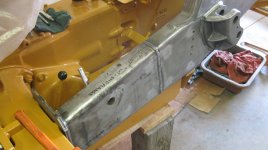
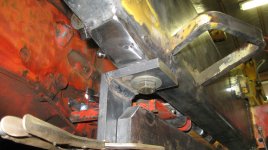
This picture is while I was checking fit and seeing what needed to be done for final install. I had to take it off and adjust a little at some of the points of contact, but I was real lucky and nailed the fit, considering how easily I could have screwed it up! An 1/8"-1/4" off and it would throw off all of the other points of contact and sync would have made for an unworkable piece of junk! It's not as easy as welding two pieces of steel together, trust me!!!
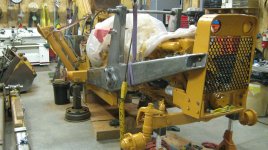
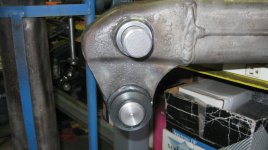
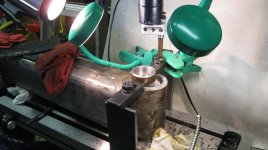
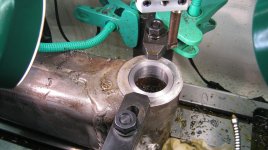
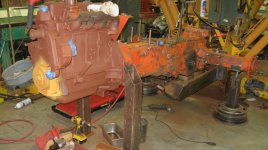
I included this one to show you how many parts would be out of alignment if I had got the angles in my initial cutting of the parts wrong. The arm has compound angles on both ends of attachment at the tractor, it angles in toward the front frame where the radiator is. If any of the parts are out of sync. at any of the dimensions, the shaft or rod that goes through both arms will be in a bind or worse, won't slide through both bosses and the loader arms would be in a bind and you know what happens then!
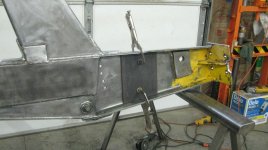
I was setting up the fish plate as extra backing and getting ready to weld. I'm using that duo-shield .045 wire.
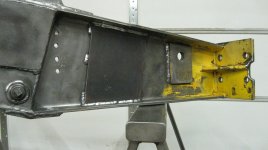
Got her done and no distortions or warps. I welded it in steps again (not too much heat).
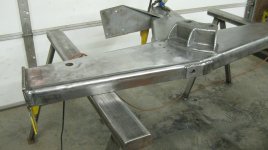
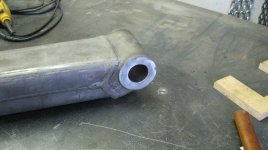
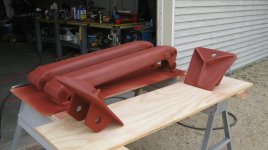
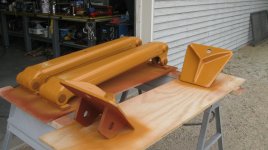
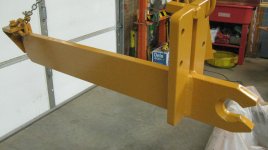
Here's the final and finished arm.
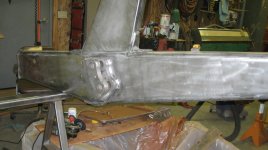
I still have to pressure test it for leaks then paint the frame before I install it. I've already welded up several leaking spots and re-welded the boss where the loader arm shaft rotates. There were several cracks in the weld and sheet metal of the tower but I think I got those repaired.
Thanks for waiting for this later submission, but it takes time to put it all together as well as doing the project.
