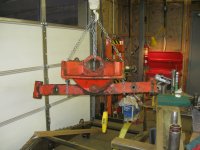
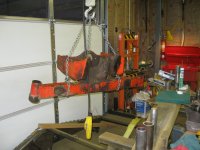
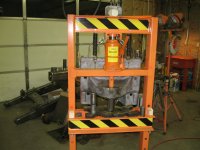
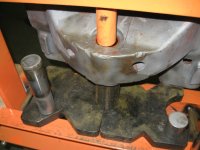
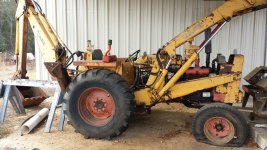
Hi again and here are more pictures and notes. Several months ago I started taking the tractor apart to get it down to just engine, torque tube final drive and axles. I had always planned to remove the pumps, starter, generator, power steering, and tubes and assorted hoses so that I could repaint and get rid of the red colored power train and parts.

Even though I had pressure washed my hoe several times before bringing it into the shop to disassemble, all surfaces still had a lot of built up grease, hydraulic fluid, oil and petrified dirt on them!

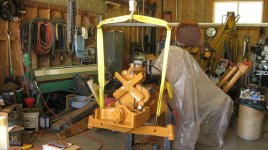
After I removed the front axle and radiator group I started scraping the muck and crud off of the engine and then put the wire brush on my 41/2 inch grinder and went to work.

Just removed the generator and front pulley on the end of the crankshaft. I found that the crank pulley had really been wallowed out from the crank nut coming loose, and between the resistance from the hydraulic pump that was attached to it really did a number on the woodruff key and pulley fit! I am positive in that condition it would have only been a matter of time before the pulley would have spun on the crank and failed. Leaving me in some place that would have required a service truck to lift the hydraulics to get access to and then fix the connection between crank and pump, so I was glad to find out now!

Engine Clean, ready to prime. You cannot see from the picture the bushing that I had to machine to take up the slack between crank nut and pulley, but I machined it tight enough to make a nice tight fit again including a new key and refurbished keyway. I put in a new oil seal then painted everything behind the pulley so as not to rust before mounting it back on the crankshaft.

Everything clean and the engine is completely primed. I now was starting on the torque tube, brakes and axle area.

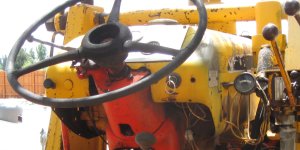
Ok, the whole thing is clean as well as hand rubbed with lacquer thinner to remove any remaining grease or oil. Also, I mounted the steering pedestal so I could then mount the tank to check the fit before painting. I then removed the tank and pedestal and taped a couple of things and it is ready to paint. You will notice that the backhoe docking bar is still mounted on the left side. I have to leave one connection point from tractor to hoe to keep things stable.

The whole thing is primed and ready for the sand down. I personally like to use a scotch type pad to rub over the surface to help bond the new finish coat and also to rub off the many rag threads that pull loose from the lacquer soaked cloth.

Just another perspective of the fully primered powertrain. I taped all of the mating surfaces where the starter, power steering pump, and oil filter etc.

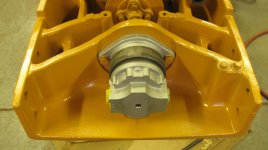
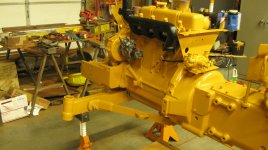
I used the Case color chart and painted it the newer Case color Power Tan. I like it better than the stock red that Case painted the 530ck. When you look at the newer hoes, 580 series, it just seemed more construction like, than the farm tractor color that was originally picked by Case.

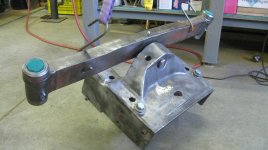
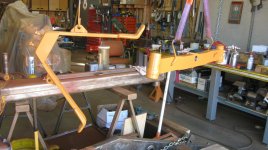
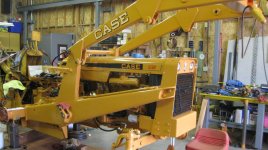
In this picture you can see the a-frame rectangle tube that I stitch welded on to the boom at the rear of the picture. When you remove as much stuff as I had, it is the only way to keep things safe and stable. Later, they will be cut off and anyway I intend to install a newer boom that I had acquired some time earlier and shuck this one.

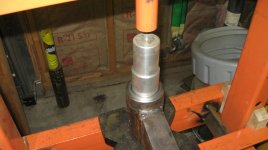
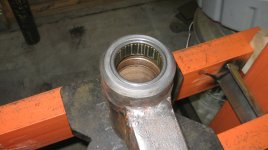
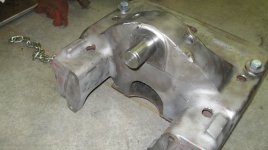
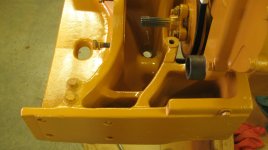
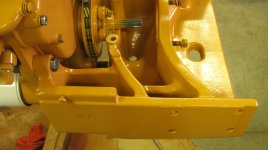
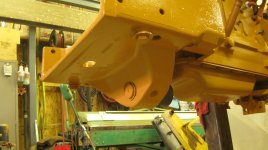
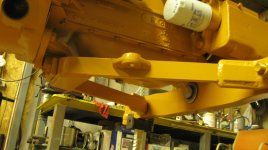
Just thought I would include one of the tranny and shuttle tube. Brakes are all cleaned out inside and I repaired the brake and clutch shaft that is contained in the rounded looking area with the two grease zirks. Had to really spend some time straightening both arms that attach to the bottom of the transmission casting (the area that is squared off and has three holes in the casting.

Just a shot of the right side of the power train and if you look at the shift levers you will see the old knobs. I was able to purchase new ones just like OEM from:
McMaster-Carr . I wound up getting both shift knobs and backhoe knobs for a really reasonable price. I just painted these because it was easier than taping the threads.

Final view to show entire tractor power train. I still have to get the Roosa Master pump (fuel injection) rebuilt from a local shop. I'm really glad to be at this point on the project, most of the major parts have been cleaned up, so now I have a bunch of painting to do and then reinstallation of those part. In the following post that I make I will show you how I repaired other parts and the steps.
Thanks again for taking a look.