OP
GuglioLS
Veteran Member
- Joined
- Feb 13, 2005
- Messages
- 1,155
- Location
- Edgewood, NM USA
- Tractor
- Jinma 354, 1953 Ford NAA Golden Jubilee, Komatsu Bulldozer
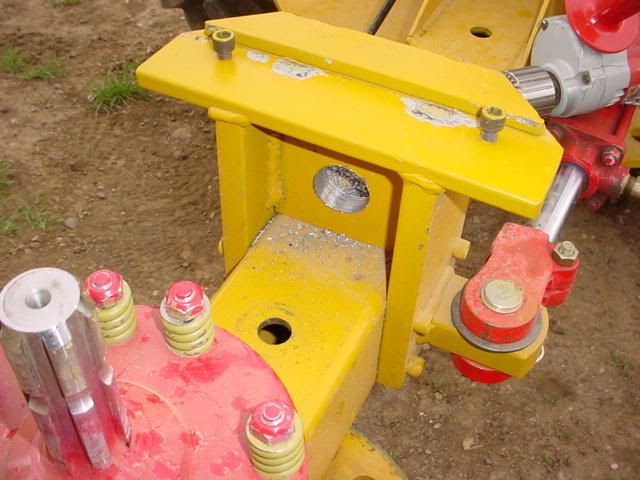
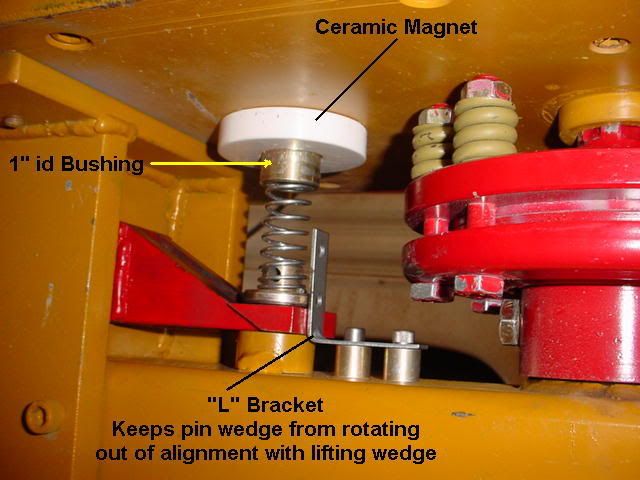
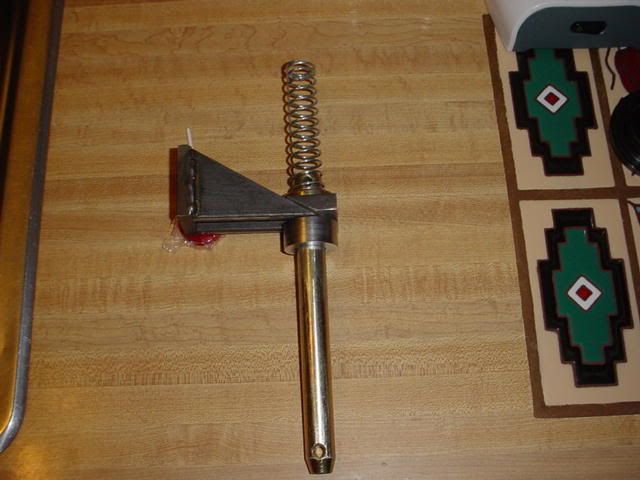
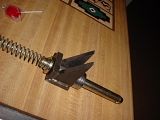
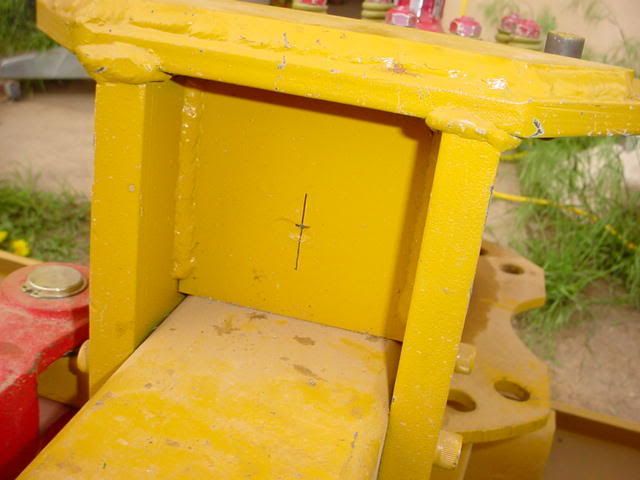
Here is a side view of the wedge showing a little more detail.
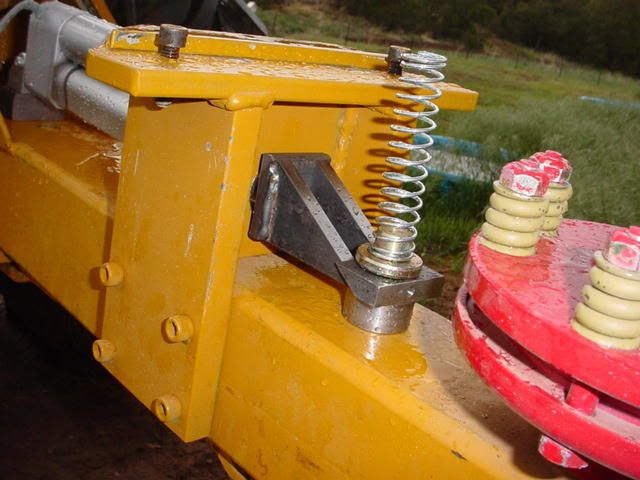
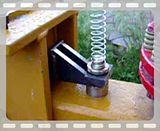
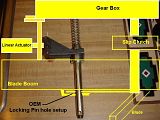
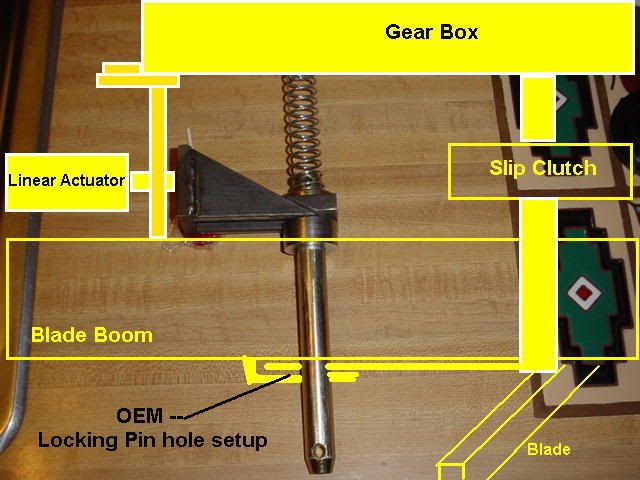
This is the theory of how it operates-
Lets say I want to rotate the blade - push a switch to activate the linear actuator, wedge lifts pin, rotate blade, push another switch, retract the wedge, if the pin in not exactly lined up, rotate blade a little then the pin will instantly index then lock into the hole by a spring.
Larry
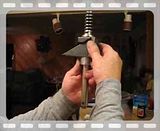
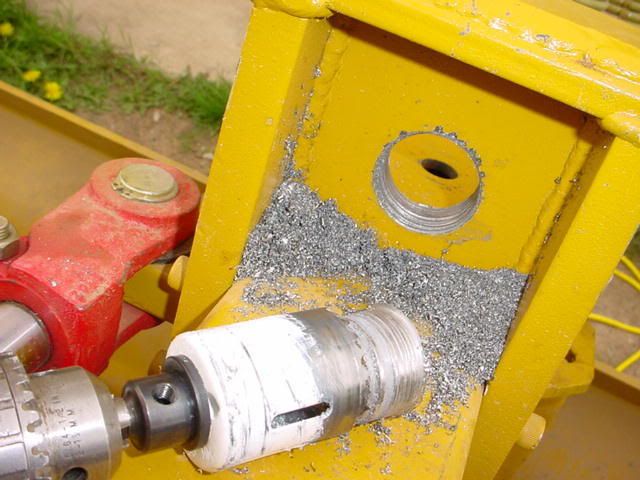
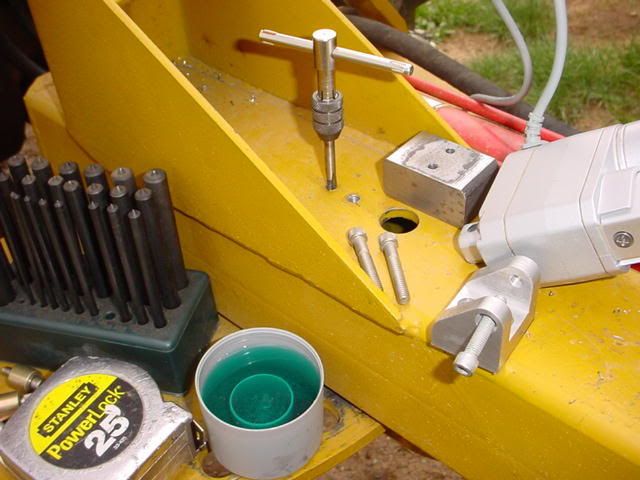
 , after replacing the pilot bit, I continued punching out the hole. I made it through though