OP
GuglioLS
Veteran Member
- Joined
- Feb 13, 2005
- Messages
- 1,155
- Location
- Edgewood, NM USA
- Tractor
- Jinma 354, 1953 Ford NAA Golden Jubilee, Komatsu Bulldozer
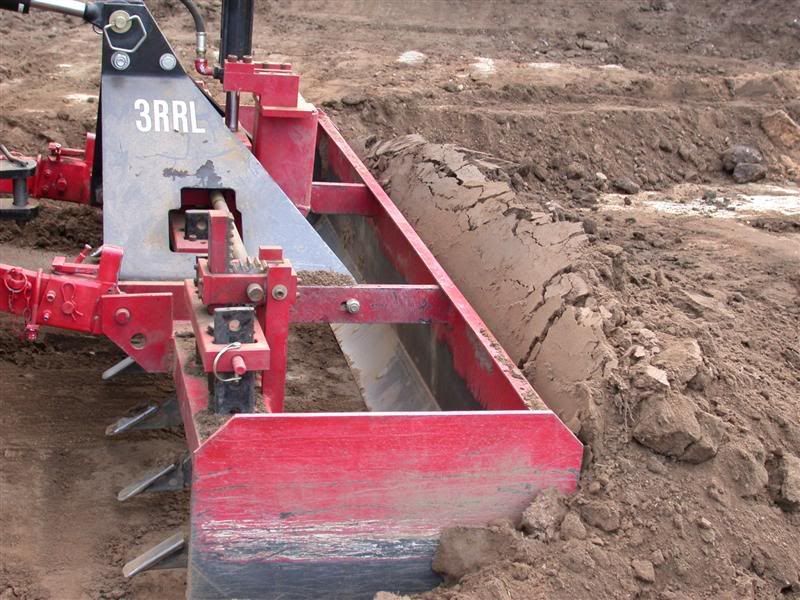
Scott, Good estimate - It weighs somewhere around 250 lbs. And yes the blade should dig in good. I dragged it around the field yesterday with the blade reversed knocking down a bunch of gopher dirt mounds just to get a feel for it. With the extra weight from the Gear Box installed, the blade really hugs the ground, I can definitely feel the extra resistance. There is no bouncing up & down like standard Blades. I can't wait to get the rear bracket installed so as to see how well it really digs in with the cutting edge facing the direction of travel.Scott: ....Im guessing that gearbox must weigh 300-350 lbs ? That should make that blade dig !
EddieWalker said:Larry & Rob,
Congratulations and THANK YOU!!! You two have added an entire new level of what this site is all about. Not just tractors, or working the land, but combining two brilliant minds to from a friendship that is able to create something totally new and unique.
From an idea all the way through the process, it's been an a amazing adventure for me to follow along. I've learned more in this thread then I have in any others!!!!
The video came out realy cool, but now I'm looking forward to seeing what it's like to work it in the dirt.
Eddie
Eddie - Thank you for your kind comments. Working together with Rob on this project has been a fun and rewarding experience for me as well.
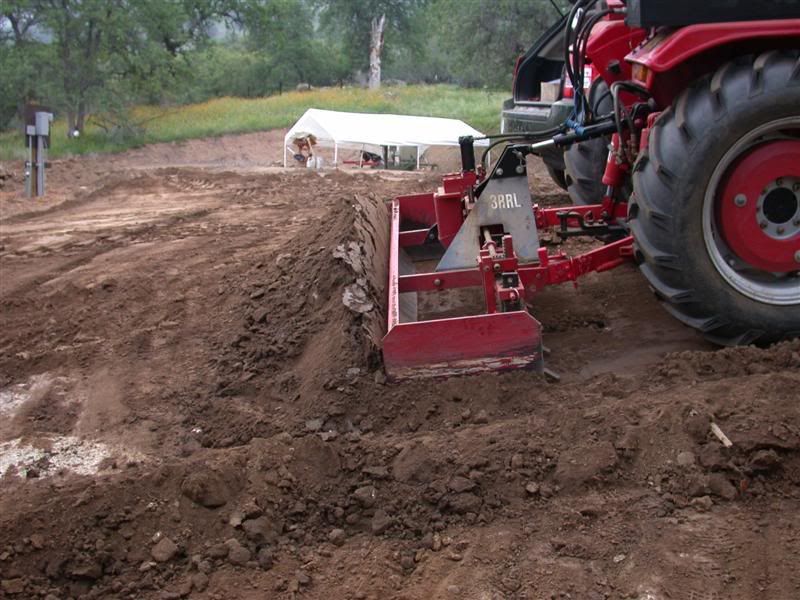
And yes, I agree that we really need to see the blade move some dirt! I promise to get the rear bracket installed ASAP, then when the mud dries up, (it's raining right now)
 we'll see what it can do.
Larry
Last edited: