3R Home and Barn Project

   / 3R Home and Barn Project
  • Thread Starter
#1,341  
Yeah, that is one of those scary moments when you think what COULD have happened.
Hope you get it fixed. It's just a little above freezing out here. Everything is frosted over this morning. Loretta and I are traveling down South for our Christmas eve get together with all the kids and grand kids.
Merry Christmas to all.
 
   / 3R Home and Barn Project #1,342  
I would say that you are having a darn good evening, you caught it before you had a big problem.

Good luck , hope that it is a quick and inexpensive repair.

I have to agree. It could have been alot worse if I hadn't been there. I have an appointment to have a repair tech out to fix it at 4:00 this evening. As I can't find a brand or model number on the furnace, I took and Emailed pictures to them so that they can make sure to have the right parts before leaving their shop. Hopefully this will help save on repair costs if they don't have to make two trips. Or if they need to order something, they can order it today while the supply house is still open.
 

Attachments

  • Furnace_005.jpg
    Furnace_005.jpg
    66.1 KB · Views: 254
   / 3R Home and Barn Project
  • Thread Starter
#1,344  
Man, it's been quite a while since I updated this old thread.
Loretta and I have been very busy with rebuilding the engine on my 55hp Kama tractor. It was a 2-fold job. You may have seen what we went through?
If not here is the thread on that: Engine Overhaul, Kama 554

Anyway, once we got the Kama running again, we started back on the pond project.


One of the first things we did was make a trail to the back side of the pond.
It would be to access the back of the dam and drain-off area so we could scrape off the top soil, plant more boulders, and compact the dam as we built it up. After I pushed in the first part of the trail with the Kama, access from our road, Loretta took over with her 284 Jinma. She did quite a good job avoiding the huge boulders, zig-zagging the trail as needed. She encountered a few large rocks which she removed using a combination of her boxblade to dislodge, and bucket grapple to move the rocks. We stored the rocks so we could later put them into the dam as a backstop...there were lots of them.

 
   / 3R Home and Barn Project
  • Thread Starter
#1,345  
Pretty soon, she had the trail completed.
That's when she started on one side of the dam and I on the other. She scraped off the topsoil while I brought buckets of fresh soil, mixed with decomposed granite, to the top of the dam. Every bucket I put up there, she would spread out and compact. Knowing we will have tons of yards of soil to move, we plan on making the dam as wide as it takes. There is a large gulley that goes back several hundred yards, so we are not concerned (at this point) where to put all the dirt we get out of the pond area. Our plan is to keep the dam very low for now as we work our way backwards, away form the pond. That way, we can drive the tractors over the top of the dam and down the back, or visa-versa.

 
   / 3R Home and Barn Project #1,346  
Well I see the team is back in action!:D Looks good and I guess the Kama is back in full swing? Looking foward to the pond building portion of this on going project.
 
   / 3R Home and Barn Project
  • Thread Starter
#1,347  
Like I said, there were plenty of boulders to move around.
They will come in handy when we raise the level of the dam as additional backstops. I had to use the Nardi Backhoe and the bucket grapples to move the larger ones.


I can see why it takes so long build a good sized pond now.
Even after moving dirt all day, we hardly made a scratch on the final shape of the pond. But at least we were starting to outline the perimeter near the dam. The pond will eventually be deeper than what is shown in these last couple photos. And the dam will end up higher than it is now as well. We have to keep in mind the access to the top of the dam and to the back of it so we can compact as layers and layers of soil are being moved to it, and over it. We figure the trail Loretta pushed in from the back side will eventually lead right to the top of the dam. There will be a gradual very long slope so we can climb it from either side. But for now, we need to keep the dam low and keep working it backwards. Heck, it might end up 50' or 100' wide? Then before we start increasing the height, I will trench for overflow pipes, backfilling an compacting along the way.
But we are a long ways from that.
Rob-

 
Last edited:
   / 3R Home and Barn Project
  • Thread Starter
#1,348  
I had another little episode with the tractor.
After working it for about 14 hours on the pond, I shattered the radiator fan and had to braze a small hole in the radiator. You can read about in this thread: New Water Pump, Fan & Accu-Link Belt, Kama 554
This morning, after a couple rains, I saw that the pond had filled up a bit and was holding water. Loretta and I are waiting for Brian (MtView Ranch) and Dave (dfkrug) to get here. They are staying with us to attend the Tulare Ag Fair.
Rob-

 
Last edited:
   / 3R Home and Barn Project #1,349  
Hi Rob and Loretta,

Your tread has taken on a life of its own. I know I have enjoyed it. Though I have tried to keep up I don't recall how large and deep you plan the pond to be? Depending on your soil type, dams can be tricky to build if you are holding a lot of water.

Looks like your are making great progress.

MarkV
 
   / 3R Home and Barn Project #1,350  
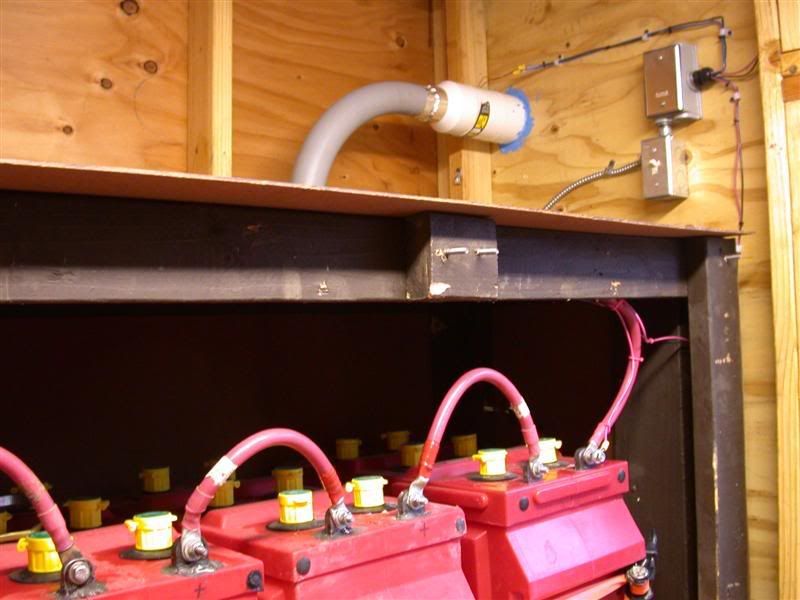
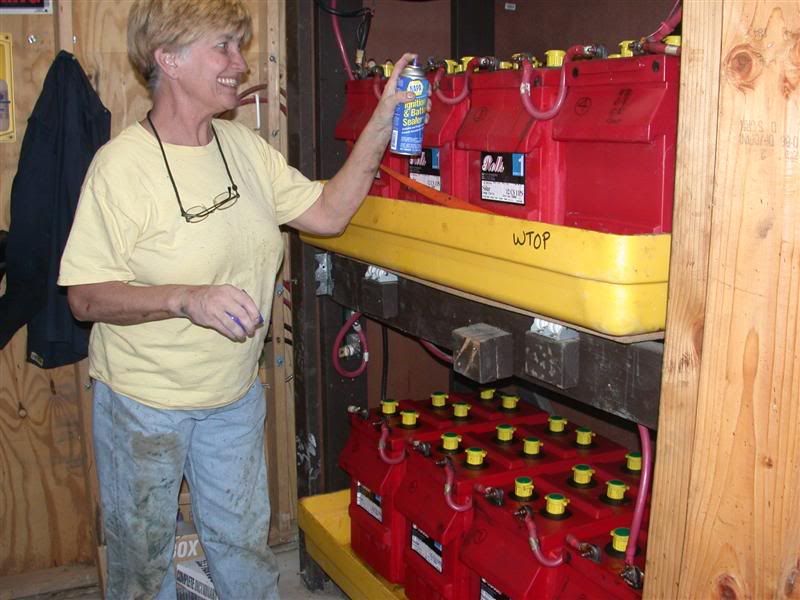
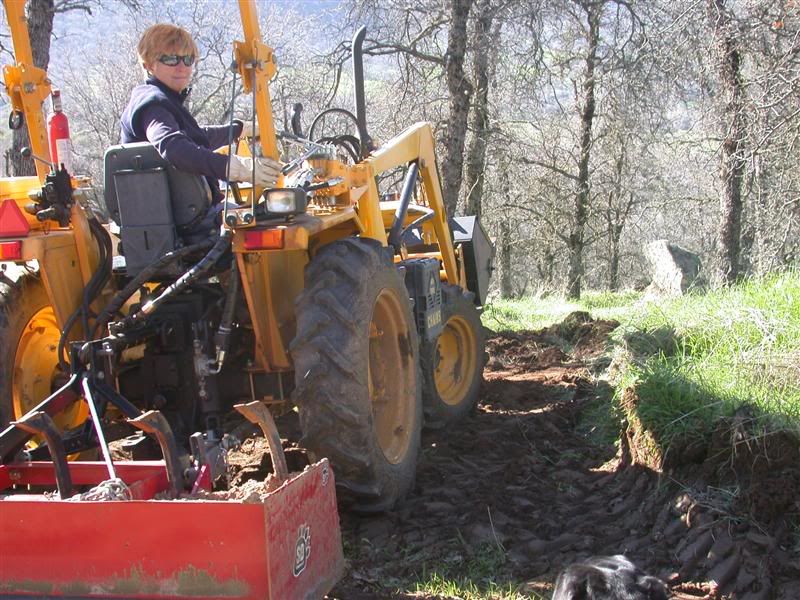
Another thing that is a continuous chore is keeping after the solar batteries.
Besides having to monitor them ... we check them every month. Loretta checks the specific gravity and adds distilled water when they are low. That may not seem like a big deal, but there are 16 of those giant Surette batteries and each has 6 fill caps on them. So that's 96 places to check and/or fill each month.

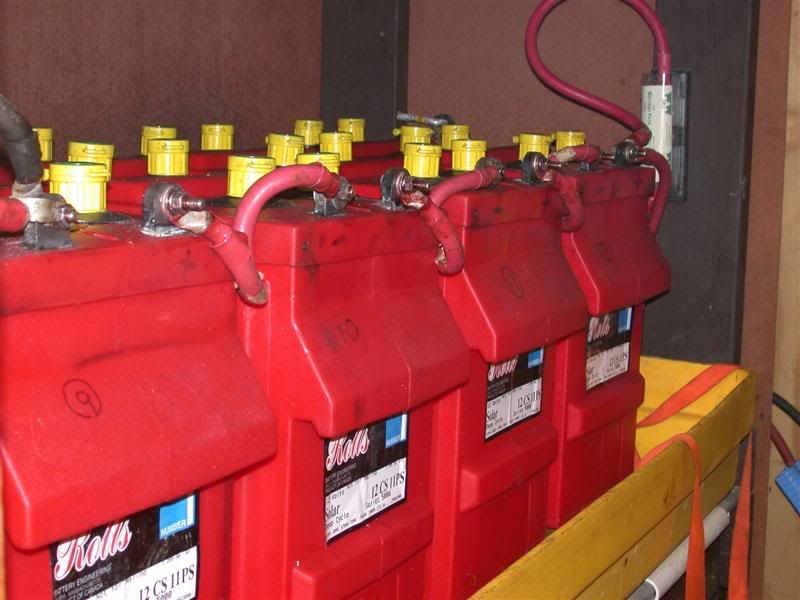
Each cell has those Hydrogen recapture caps on them.
You have to be sure to "click" them completely shut every time. Sometime they click on the front, but the back is still up. So you have to double check they are completely closed. She keeps a log on how much each battery takes. It's interesting to see that during the Summer it takes way more water. Not only that, but some cells in the same battery take more than others.

This month (yesterday) she cleaned all the corrosion (after 3 years) off each battery terminal and cable. Then she turned all cables downwards (first photo below). They were looped up (2nd photo below). So it would be easier to get to the cells in the back. Man, we've been avoiding those upwards loops for 3 dang years! We constantly knocked our hands or elbows when checking/filling in the past. Of course we spilled a lot.
Now there's plenty of room and no obstacles.


She cleaned the corrosion off with baking soda first.
The she got the Makita with a small wire brush and cleaned (super good) both the battery terminals and all the cable ends. She borrowed my socket set and tightened them metal to metal for a really good connection. Then she sprayed them with a Sealer she got from Napa.
They are really sano now!
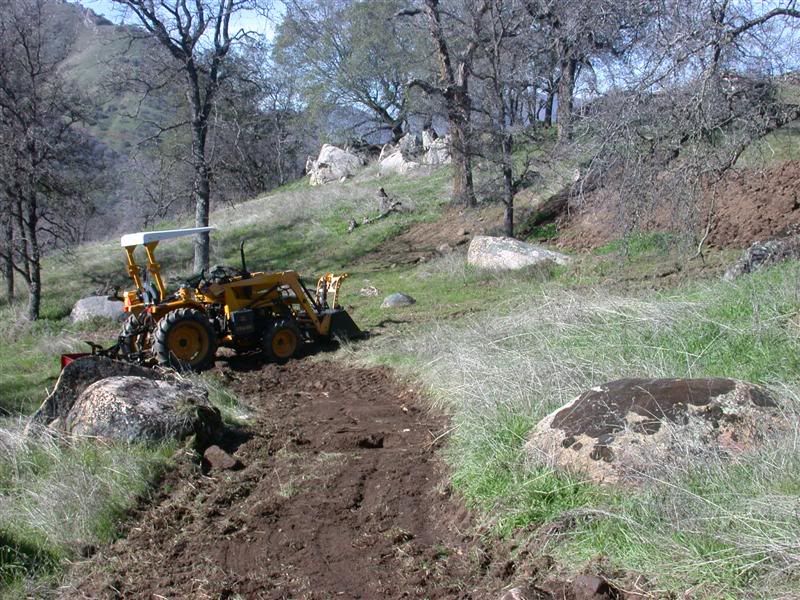
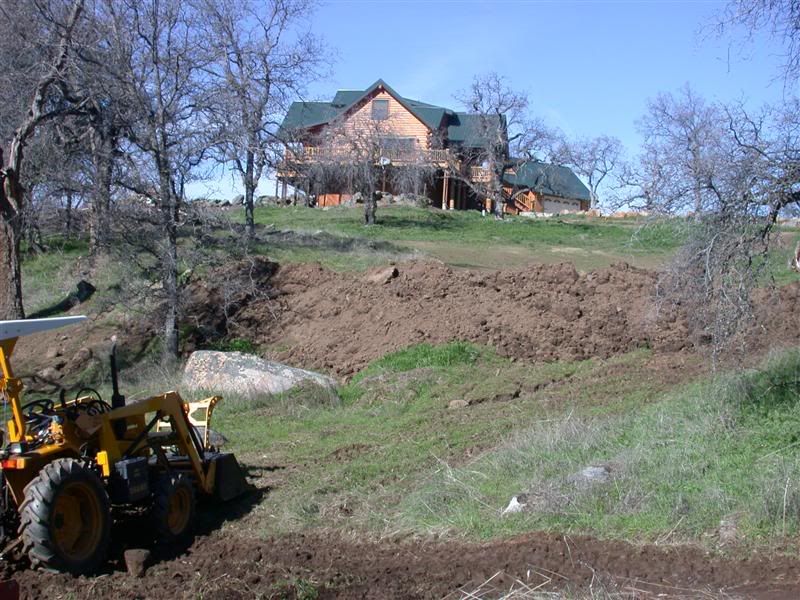
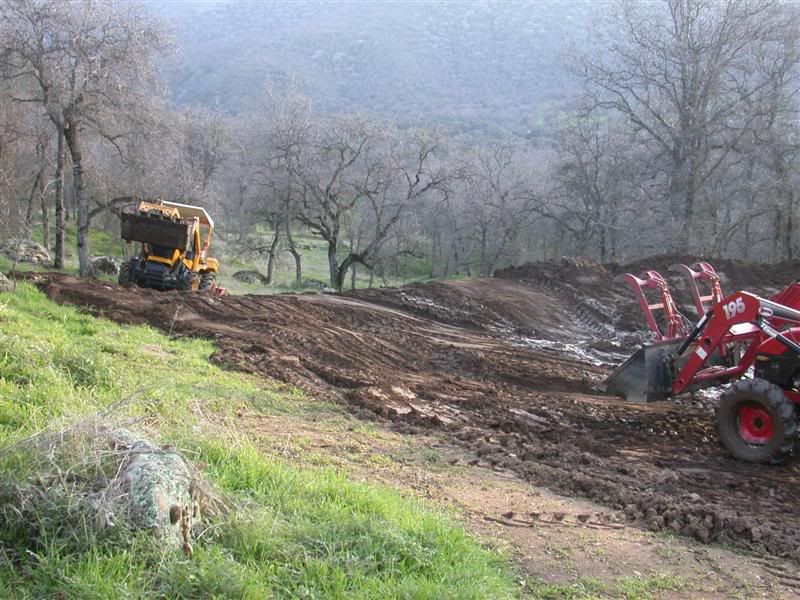
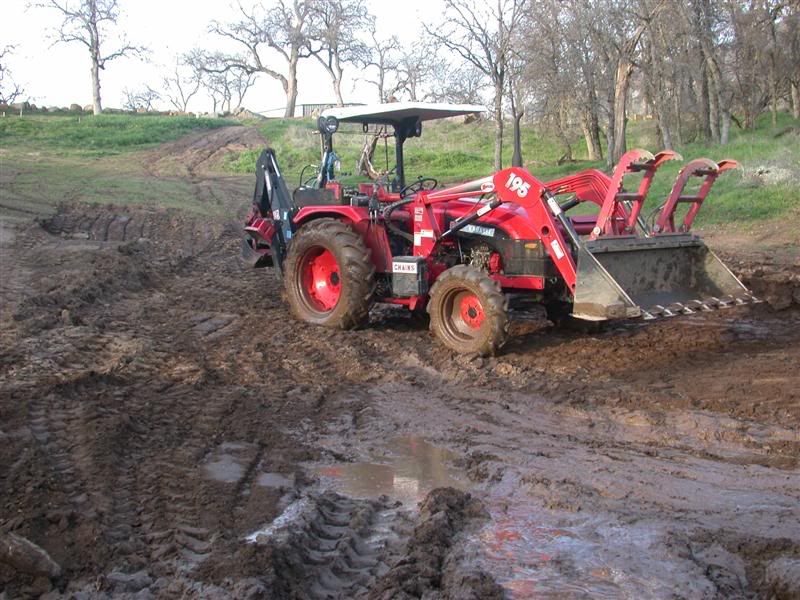
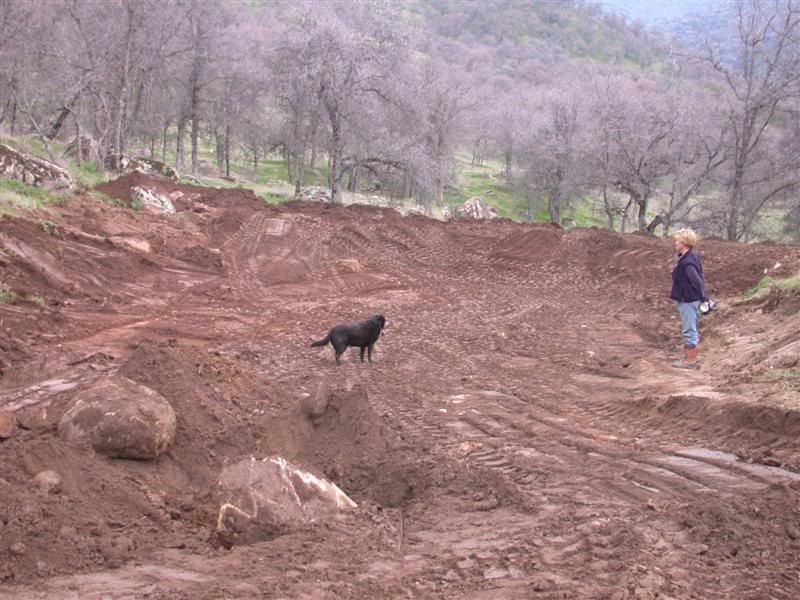
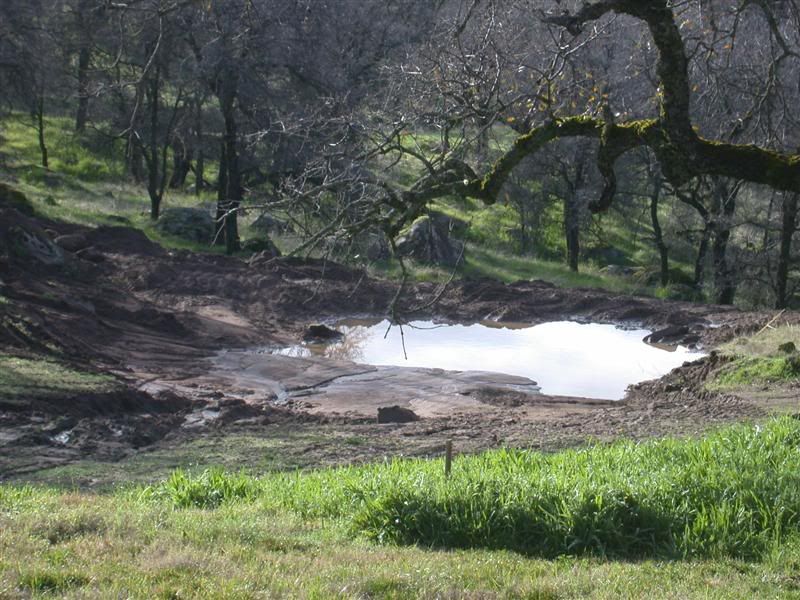
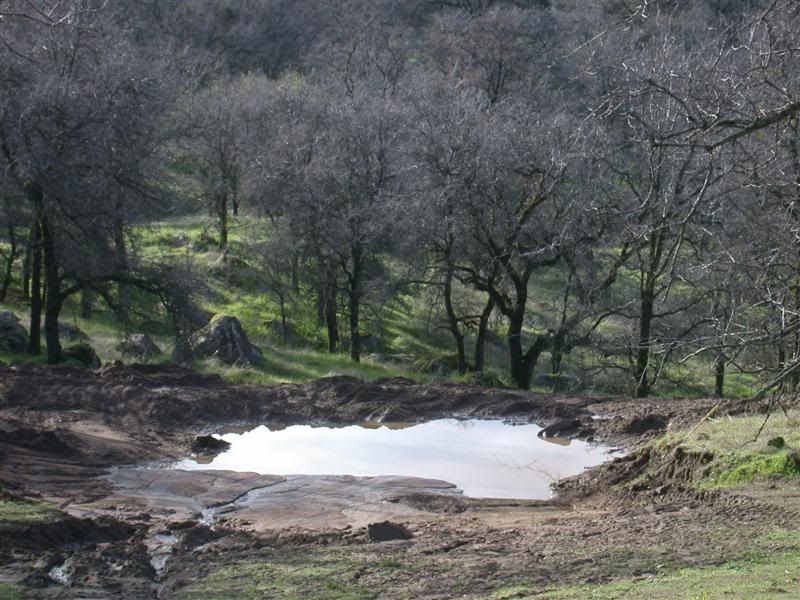

Have you looked into an automatic watering system?

Automatic Battery Watering Systems
 

Tractor & Equipment Auctions

2016 Hurricane Blo-Vac X3 Stand-On Blower (A50324)
2016 Hurricane...
Quick Attach Plate (A53316)
Quick Attach Plate...
2018 KENWORTH T800 DAYCAB (INOPERABLE) (A53843)
2018 KENWORTH T800...
2015 Chevrolet Silverado 1500 4x4 Crew Cab Pickup Truck (A55788)
2015 Chevrolet...
2019 Ford Explorer (A55758)
2019 Ford Explorer...
2004 CAT 953C Crawler Loader (A47477)
2004 CAT 953C...
 
Top